Warpwire provides integrated plugins to view and manage media within your LMS. Our seamless LTI integration means that all of Warpwire is accessible from within Populi. There are no accounts to create. Warpwire integrates with your institution's Single Sign-On system — giving every account access to Warpwire to securely view and manage video according to defined role and group permissions.
Best of all, every feature of Warpwire is easily accessible from within Populi: capture video, upload, organize, tag, and share. We’ve built Warpwire to function the same way no matter your point of access.
First, you'll need the configuration URL in order to configure the Warpwire tool. Go to the tool setup page at: https://[YOUR-WARPWIRE-URL]/p/configureLTI/. You will replace "YOUR-WARPWIRE-URL" with your institution's domain, which has been provided to you by Warpwire. For example, if your Warpwire site is located at: https://warpwire.example.com", your [YOUR-WARPWIRE-URL] would be "warpwire.example.com".
On the the Warpwire LTI Configuration page, you will see a collection of settings for configuring the tool. While we recommend you keep everything as the default, you can modify the configuration settings to fit the needs at your organization.
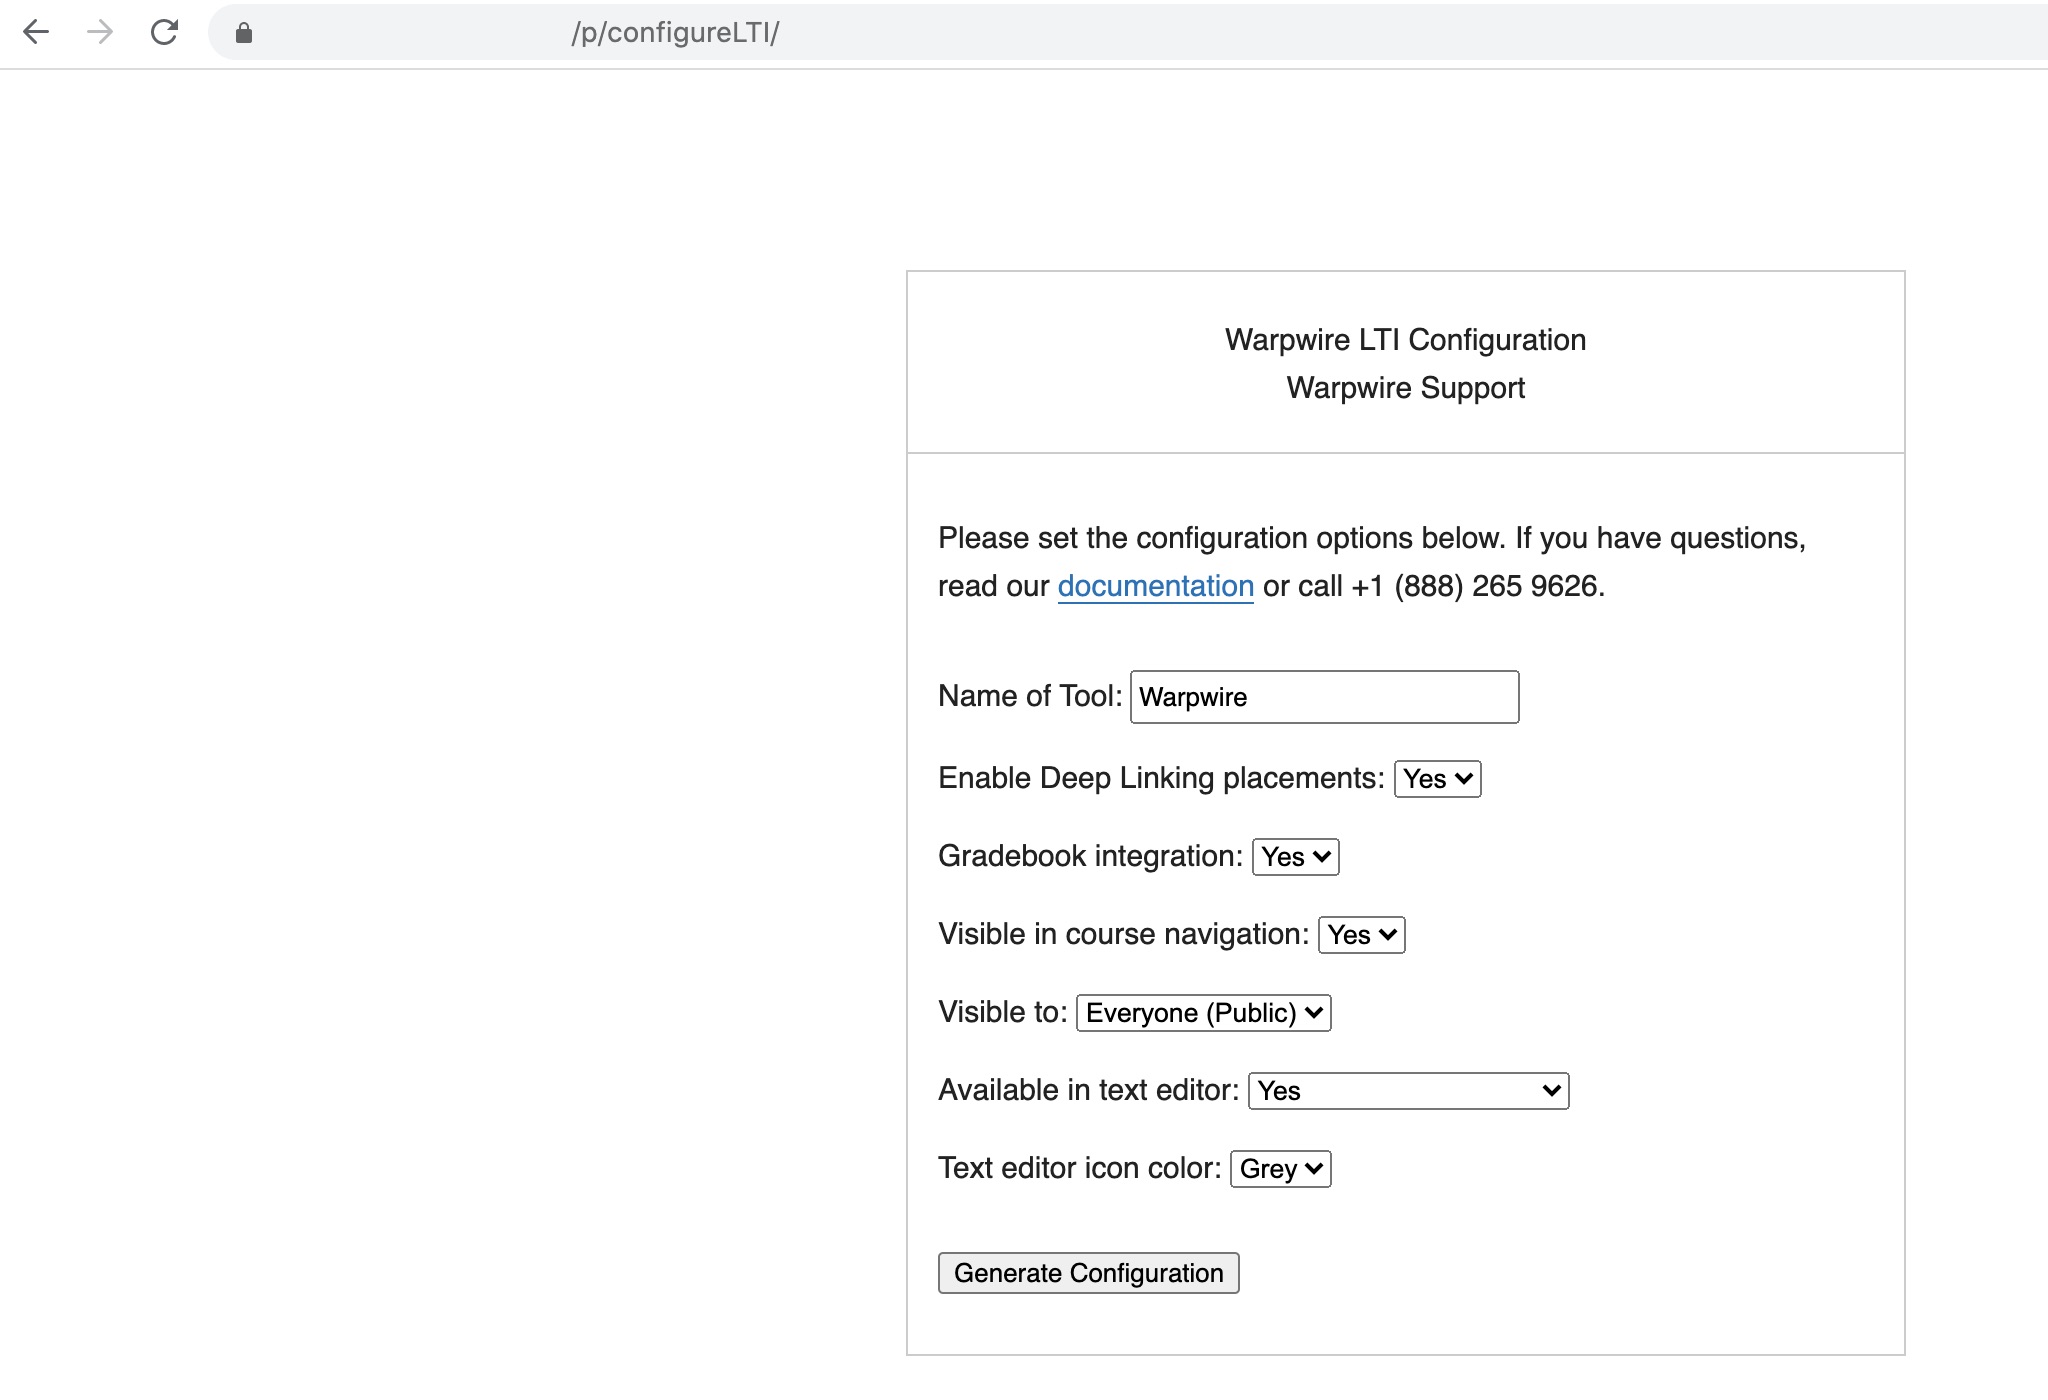
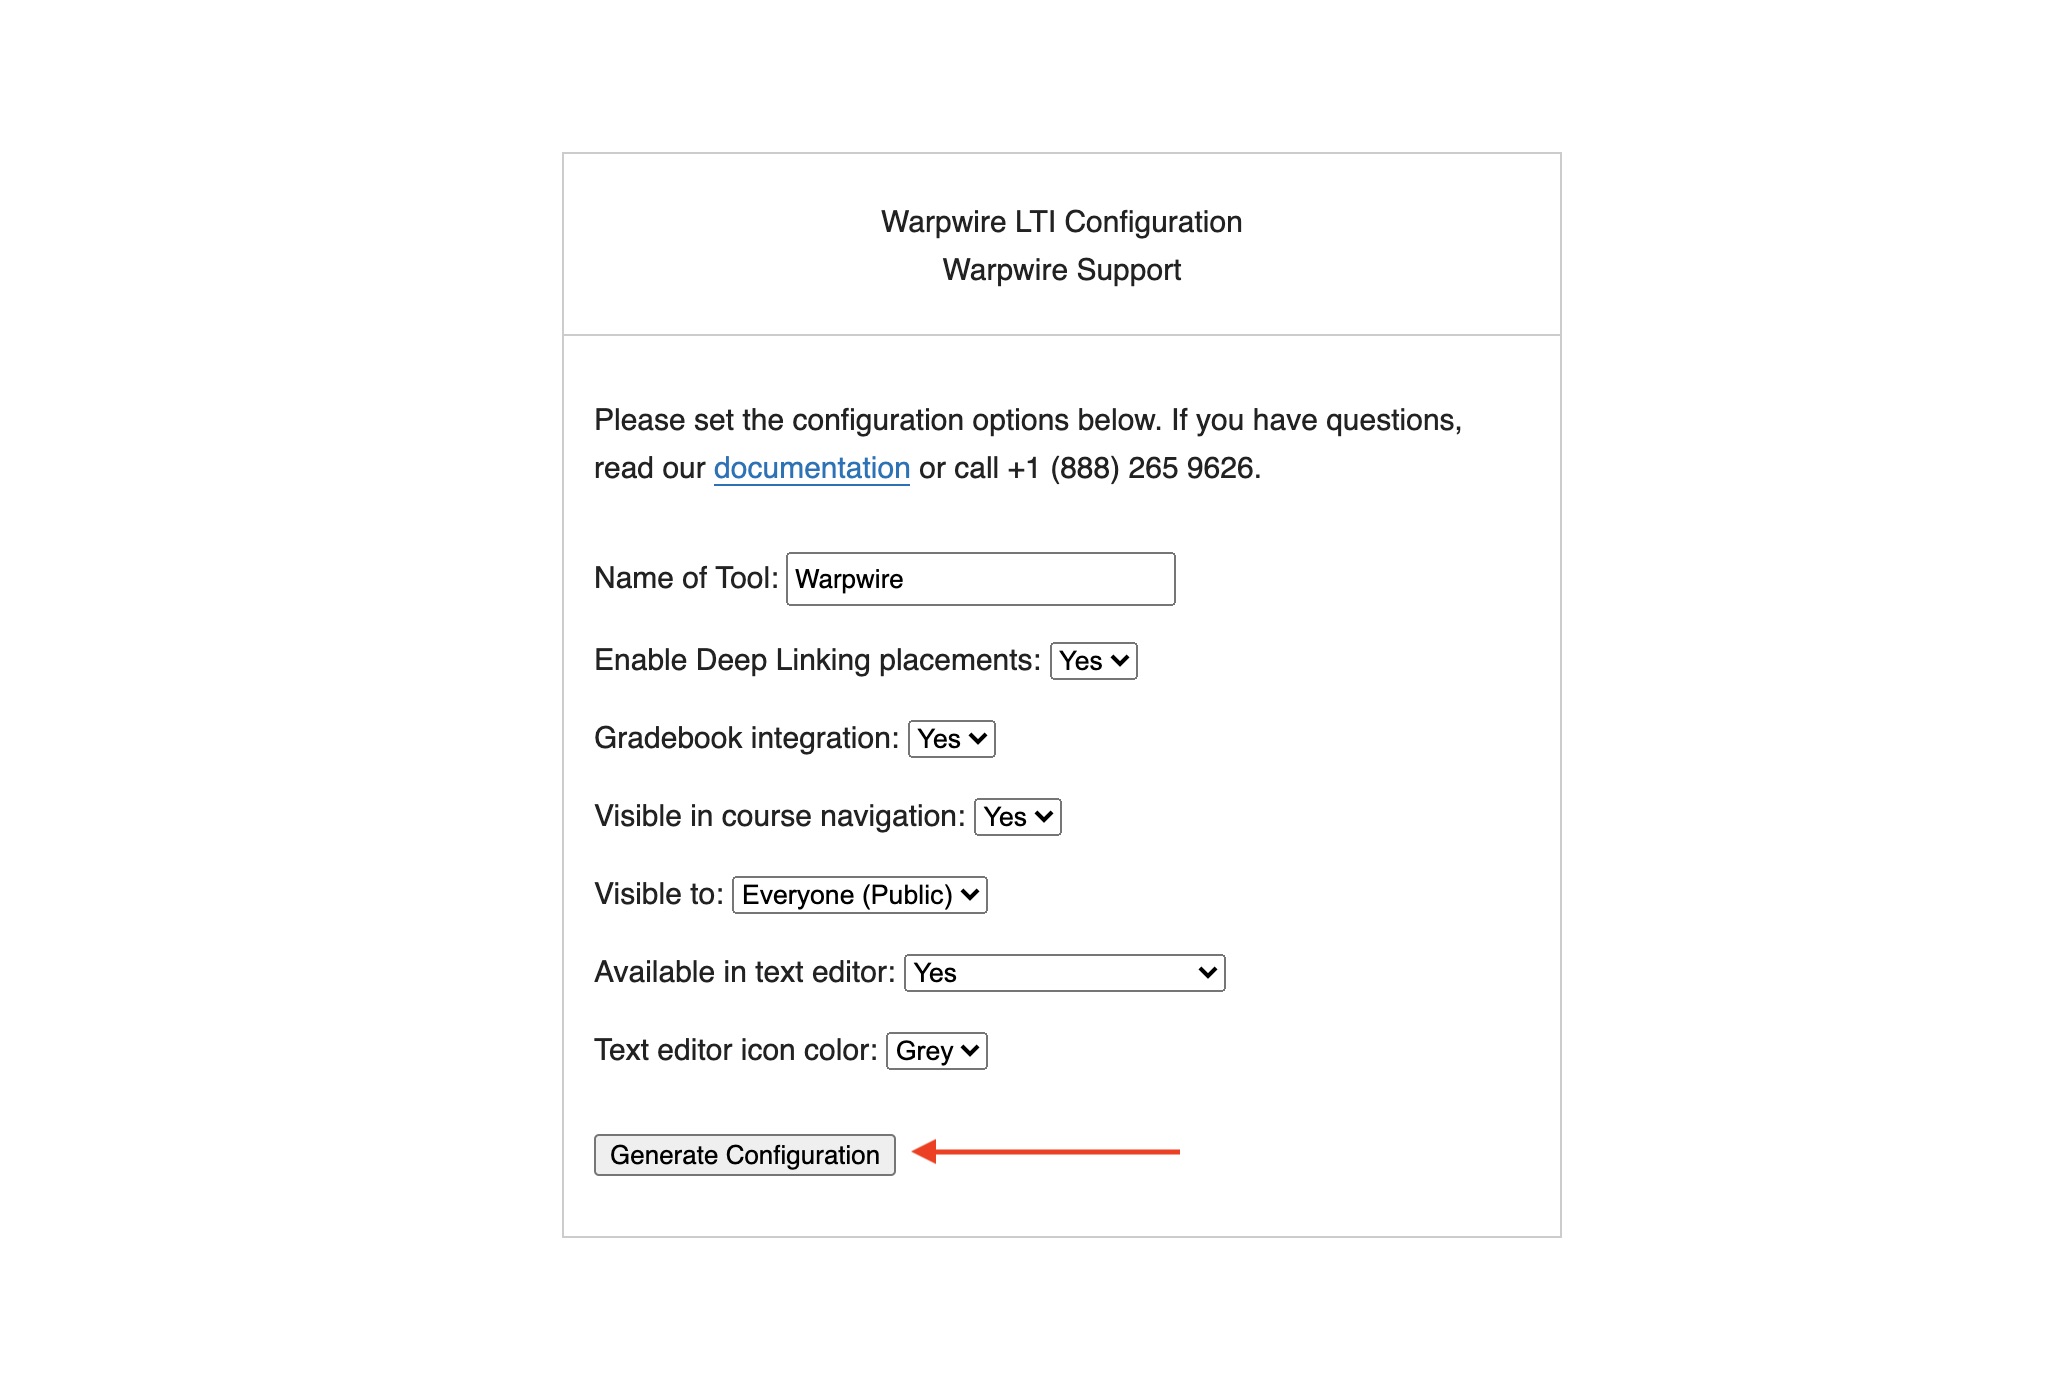
Next, click on the “Generate Configuration” button.
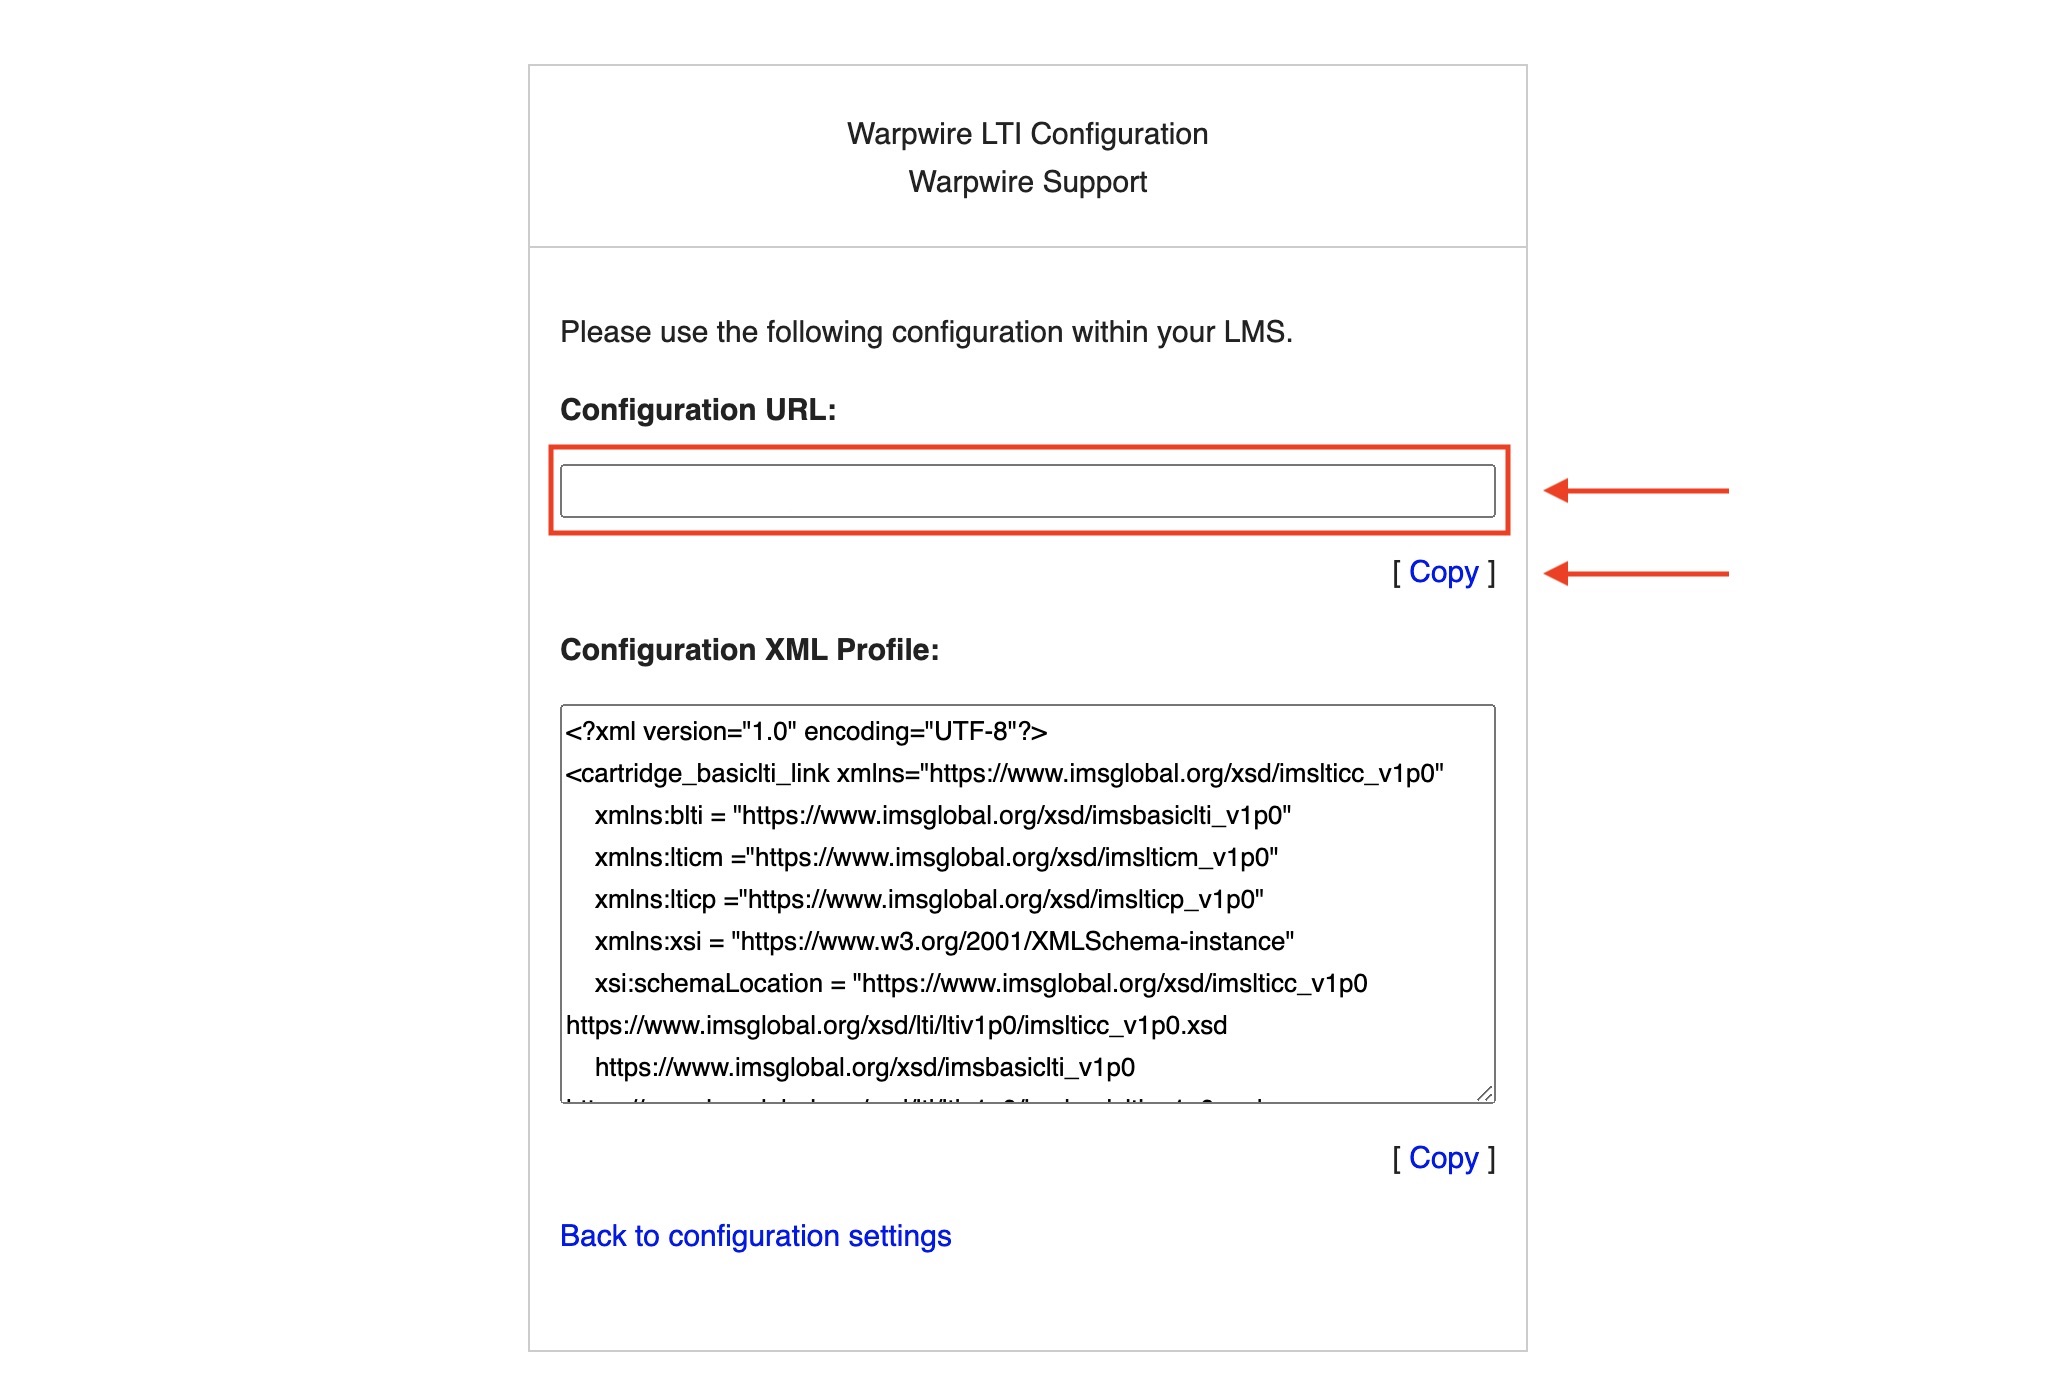
Now copy the “Configuration URL” by clicking on the “Copy” button under the Configuration URL. You can also select the link, right click, and copy. You will use this URL in the next step below.
Follow the below instructrions to set up Warpwire as a Global Tool in Populi.
Note: You can also follow this guide by Populi to install a Global Tool: https://support.populiweb.com/hc/en-us/articles/360045707994-Using-LTI-links.
Note: Setting up a Global LTI tool must be completed by a Populi account administrator.
Note: Populi sometimes modifies the URL of the Warpwire tool. If this happens, you will need to make a simple change. Once you have installed the Warpwire tool, click on the three dots menu beside the tool name and then select “Edit”
/api/ltix/. Sometimes the Populi system removes the final x. Simply add the x before the final / and press save, so the URL should look like: [https://%3cwebsite%3e/api/ltix/]https://<website>/api/ltix/Follow the steps in the “Using LTI tools in courses” in this Populi documentation: https://support.populiweb.com/hc/en-us/articles/360045707994-Using-LTI-links
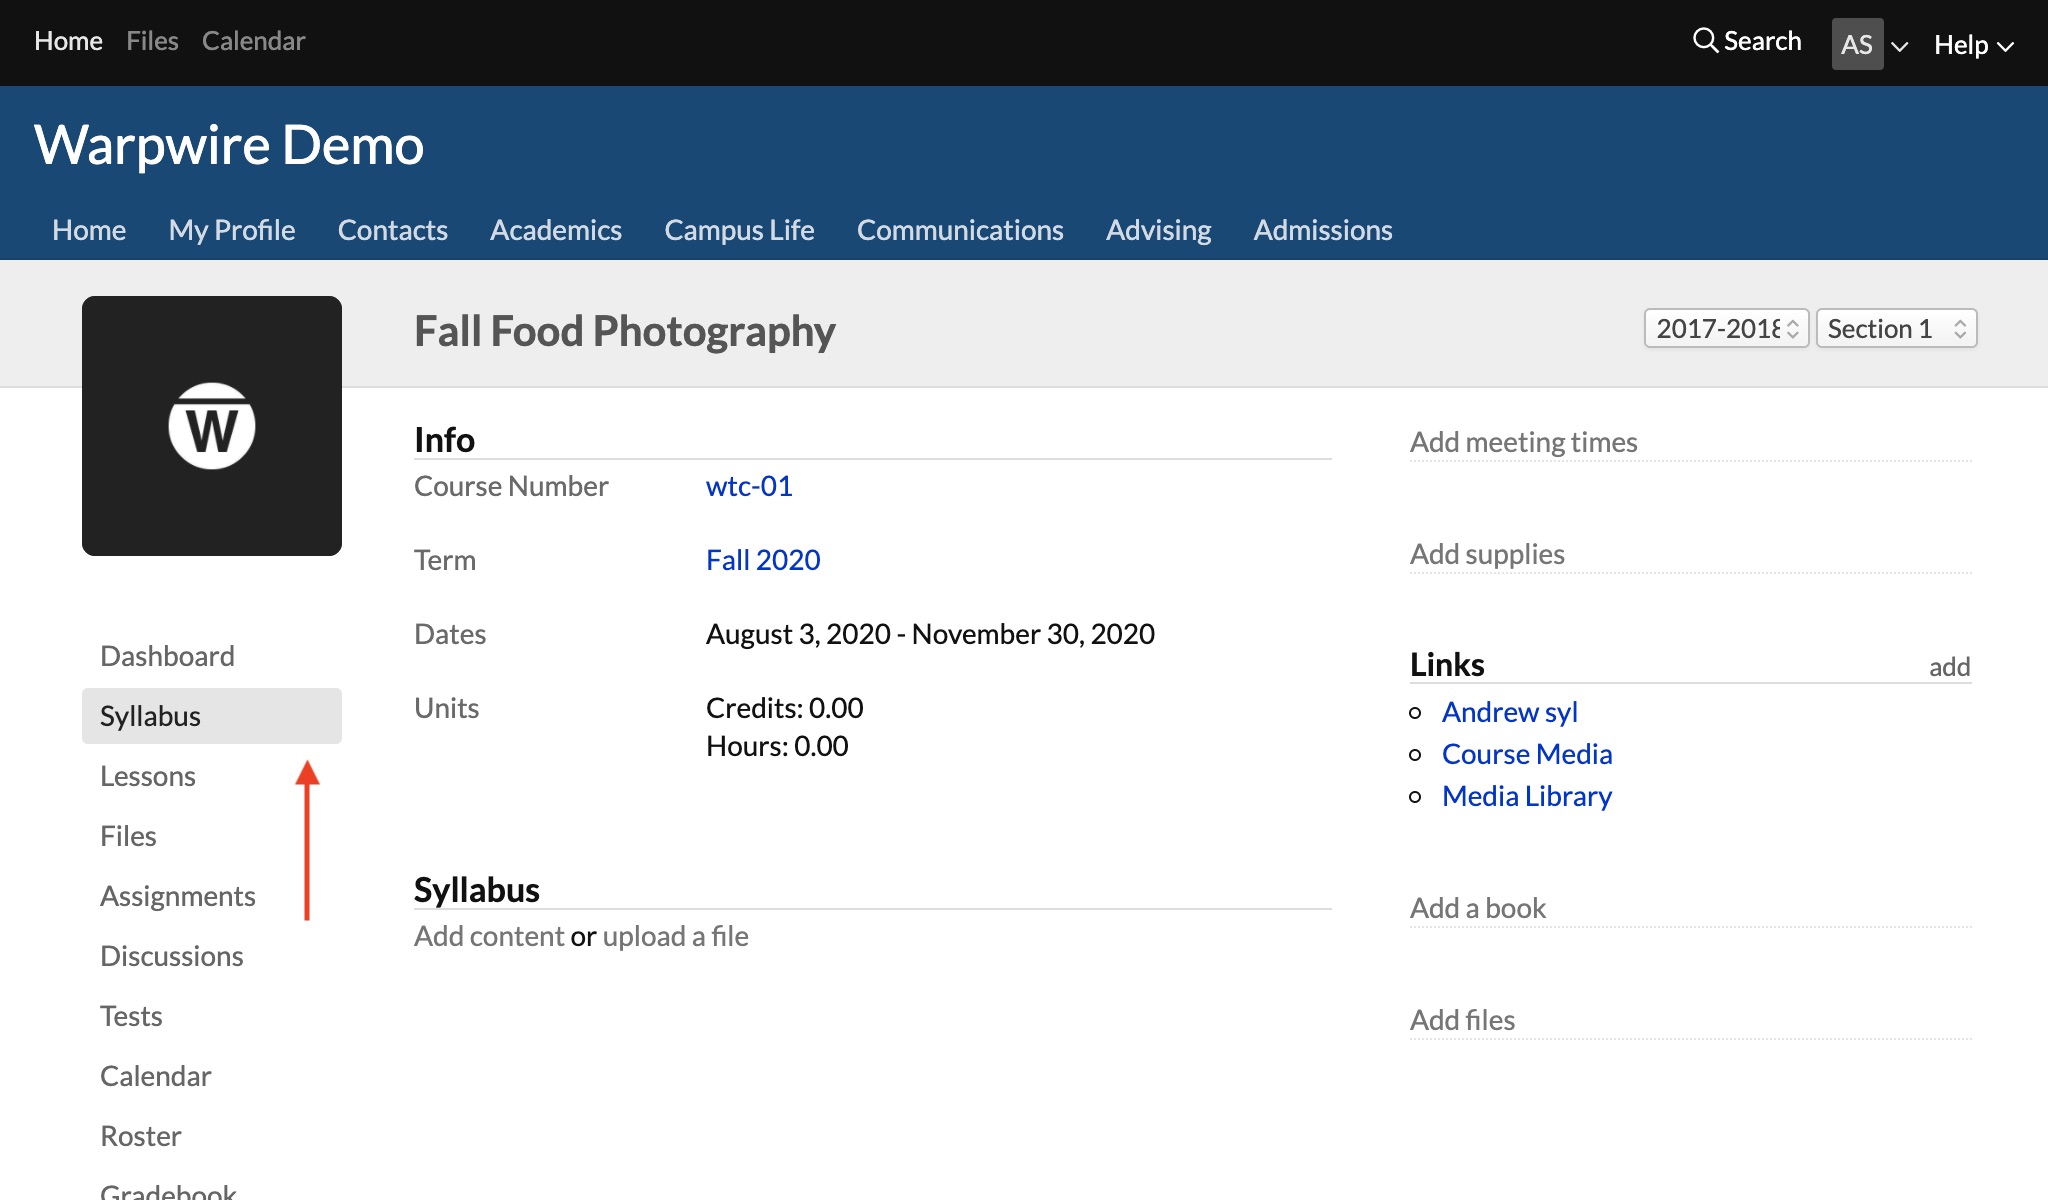
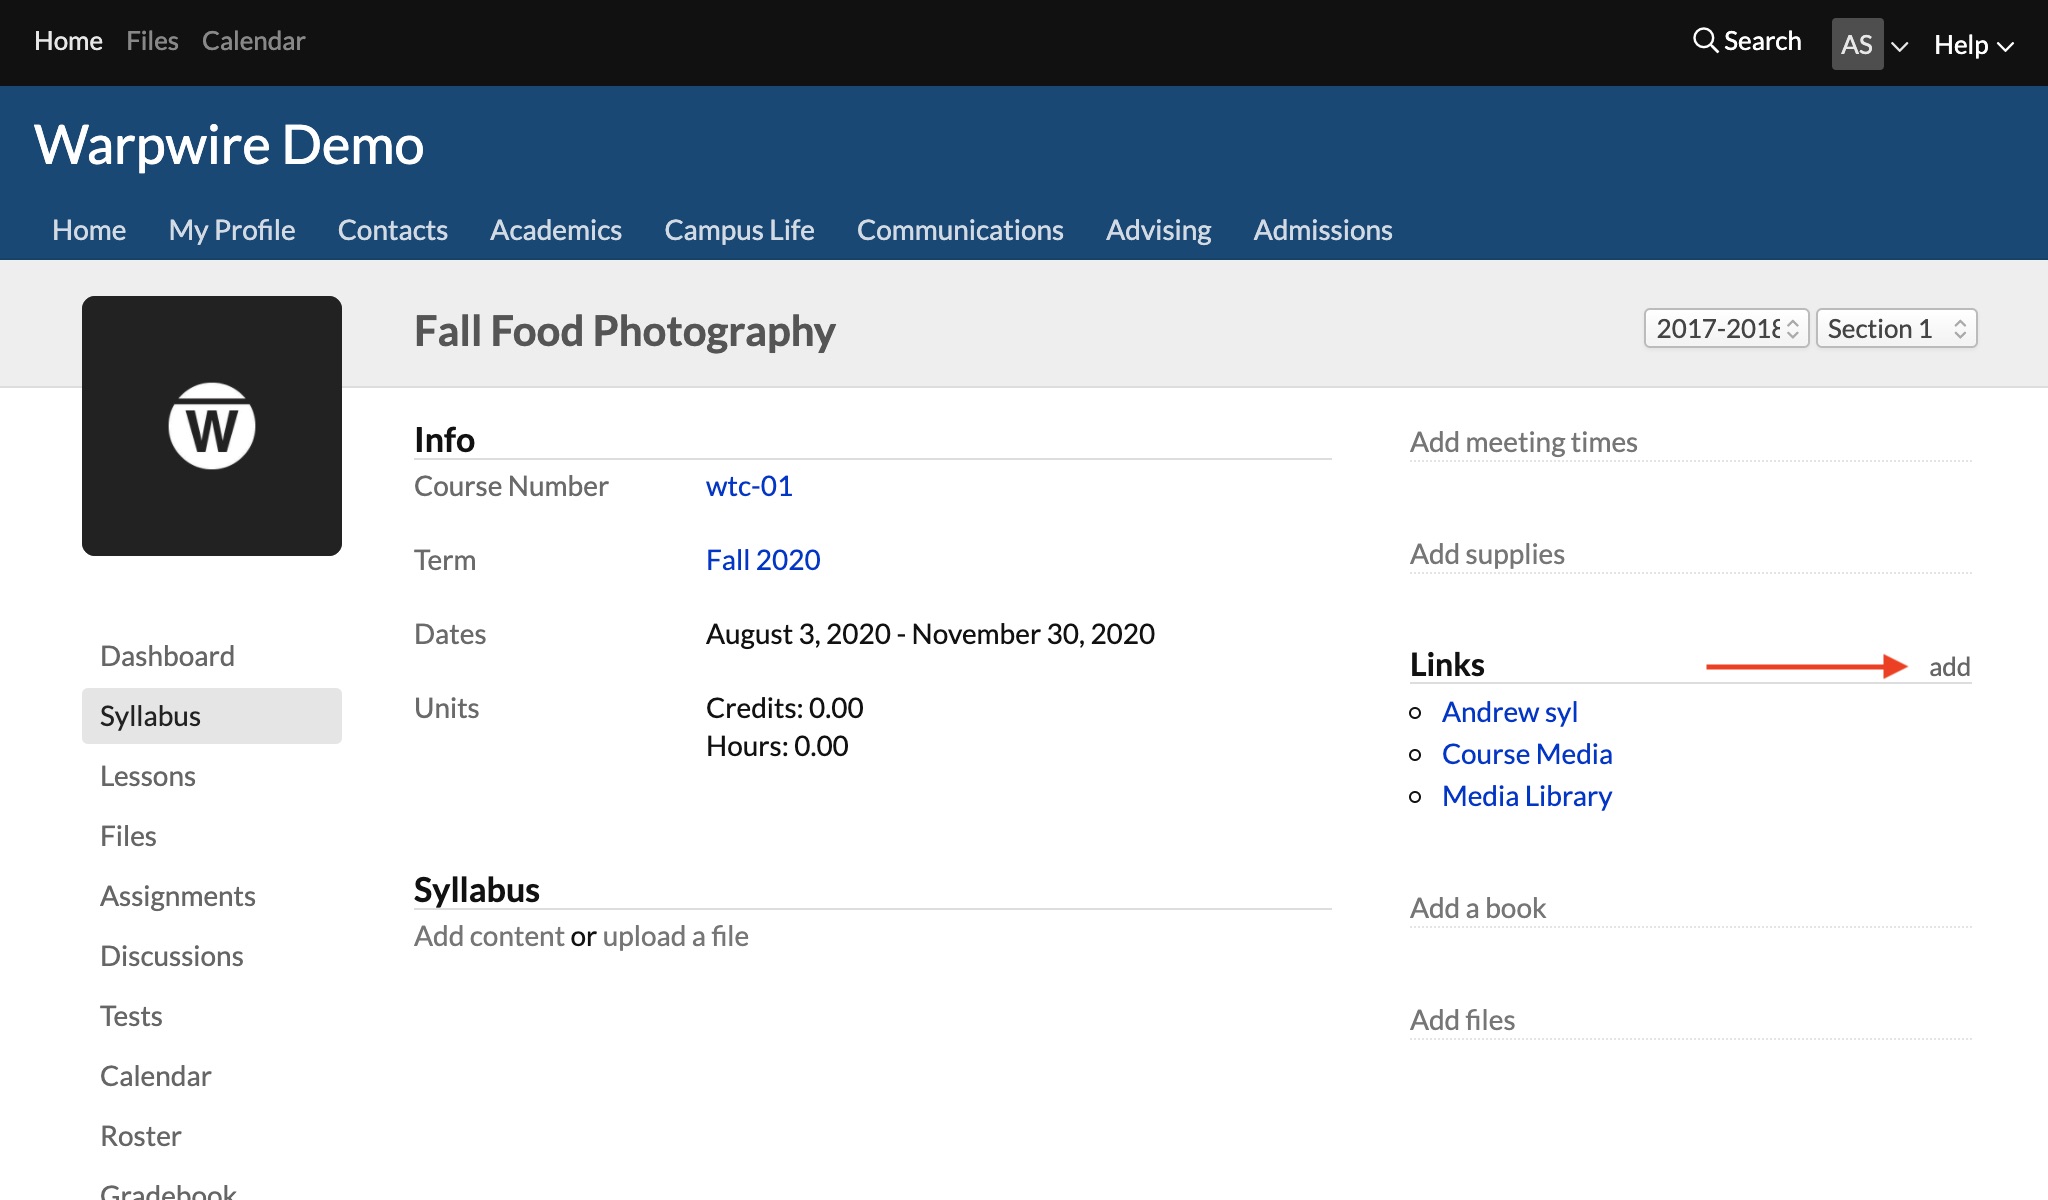
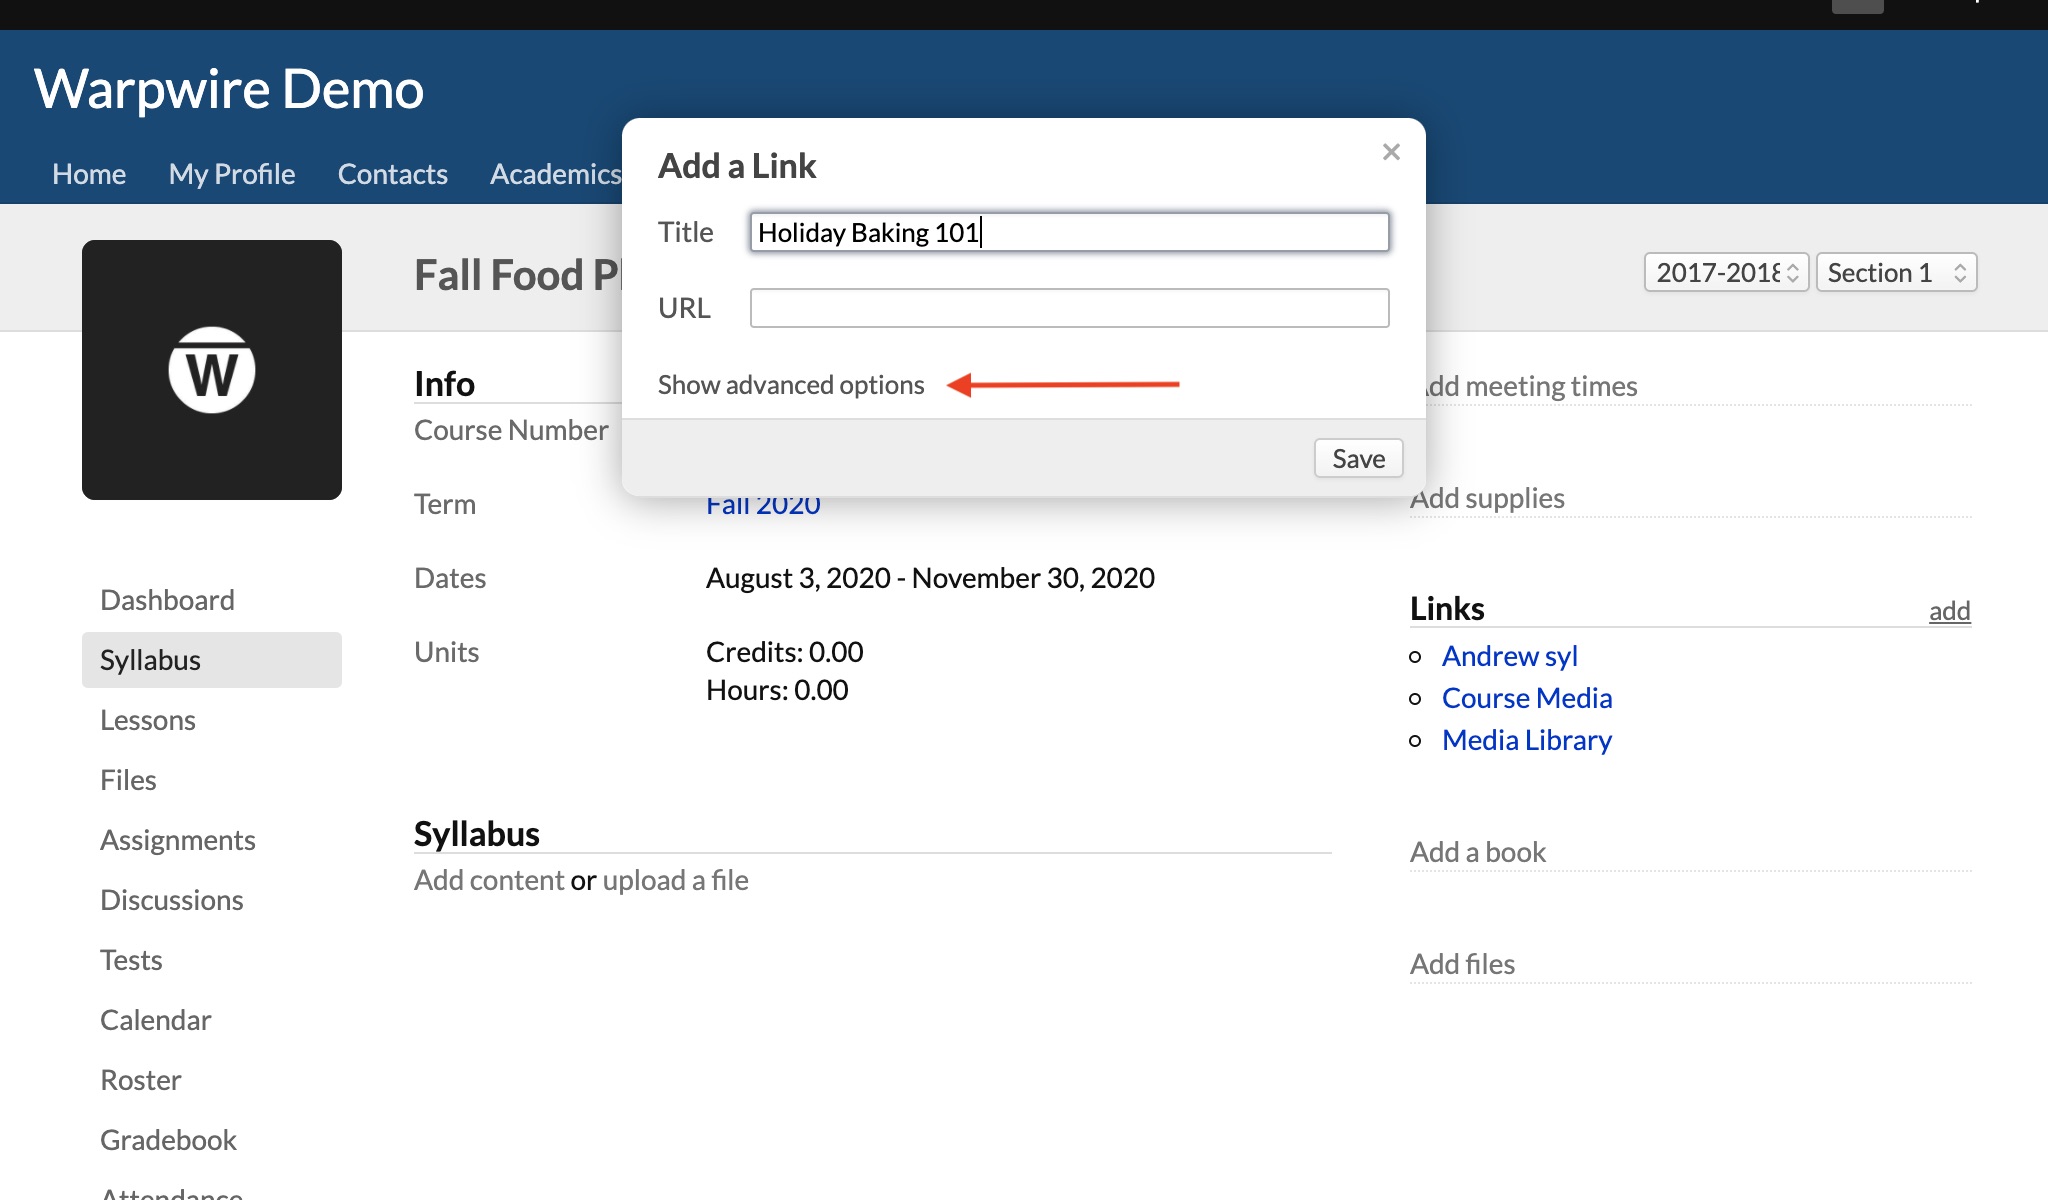
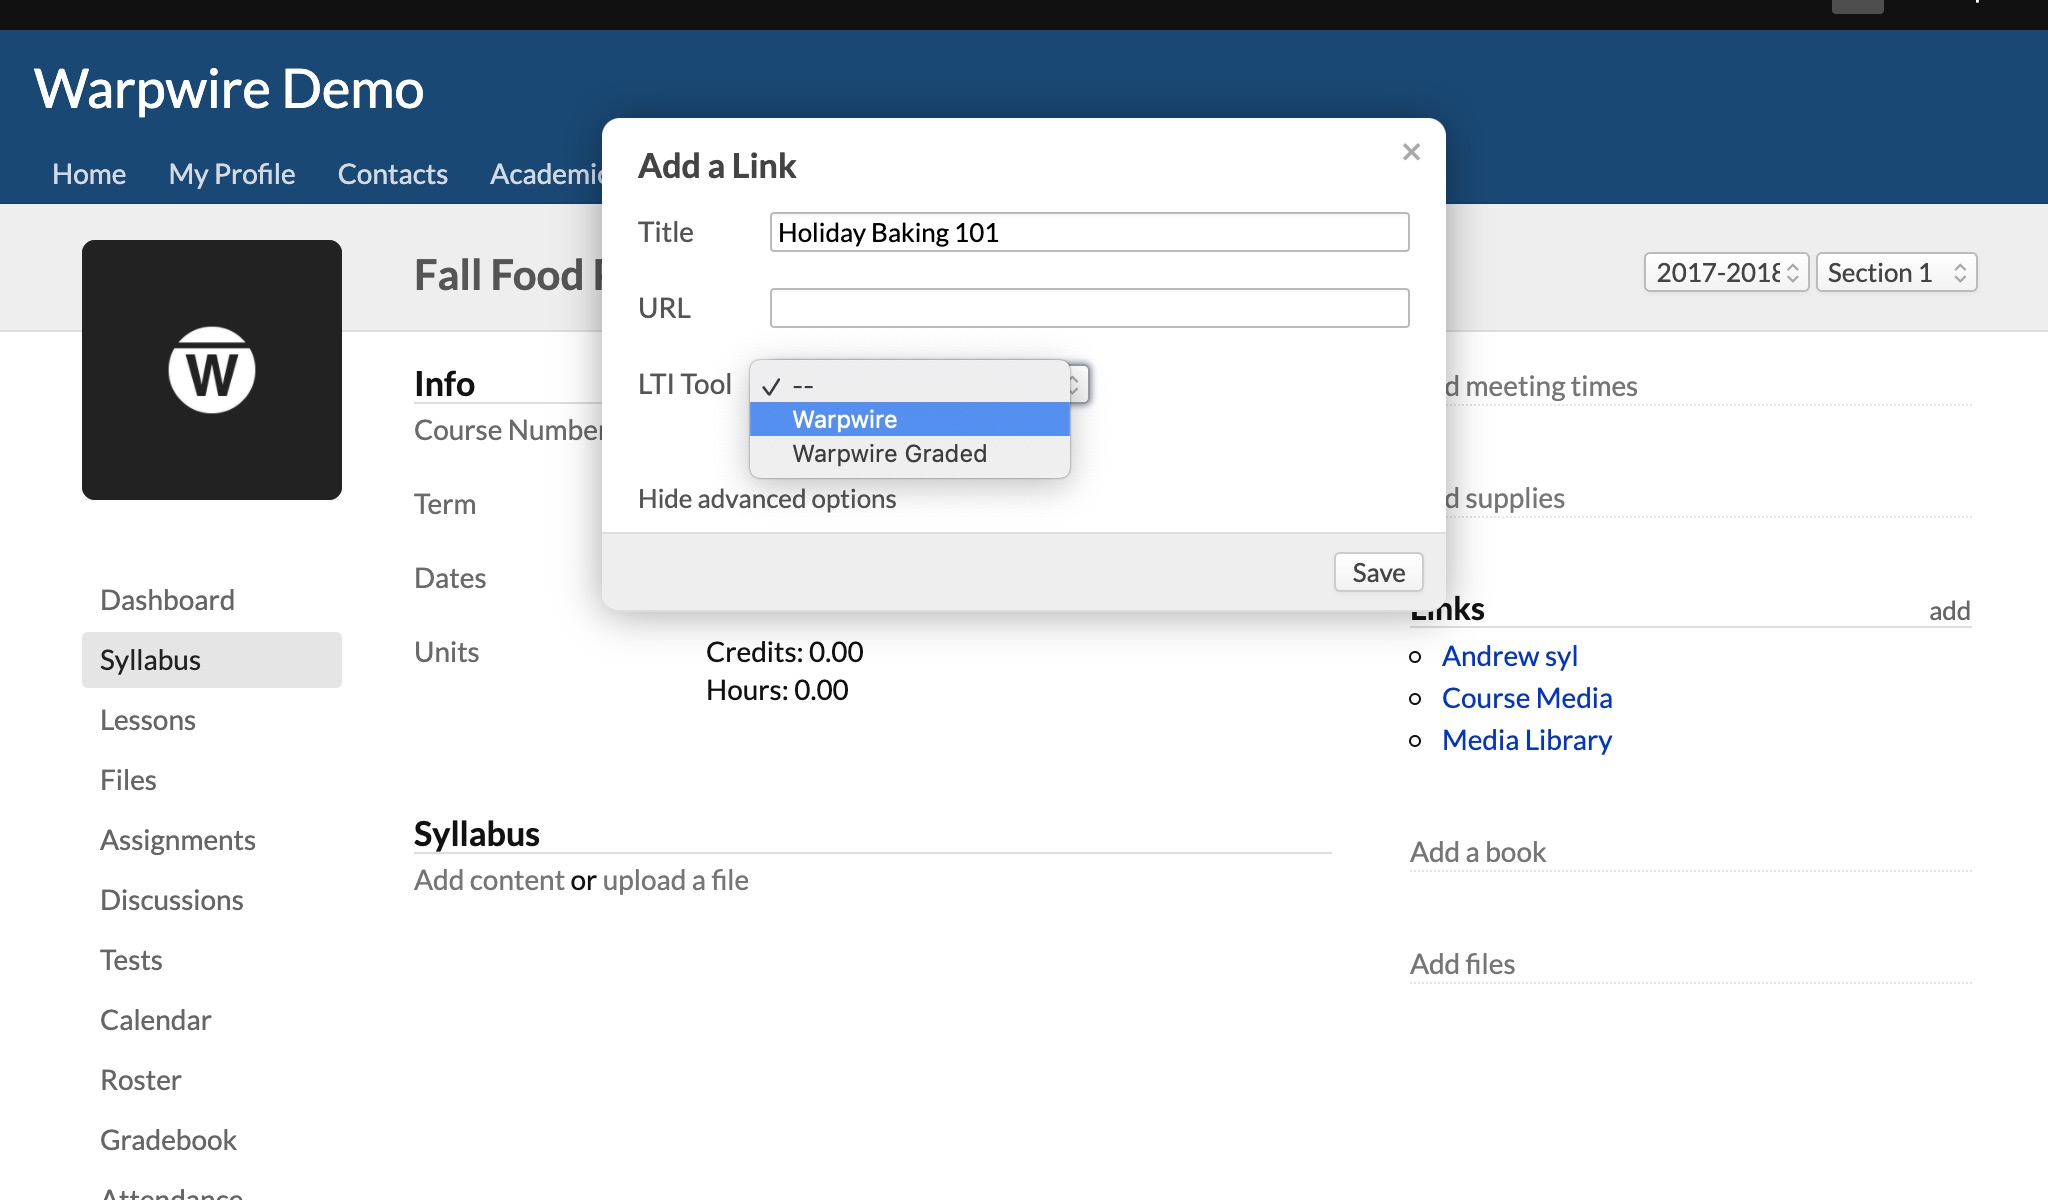
Once in the course, you can easily add the newly installed Warpwire tool throughout the course. On any page in Populi that allows you to add a link, you can also add the Warpwire Media Library tool. For example, to add access to the Warpwire Media Library from the course’s syllabus you can now add a link to it. Simply follow the steps below:
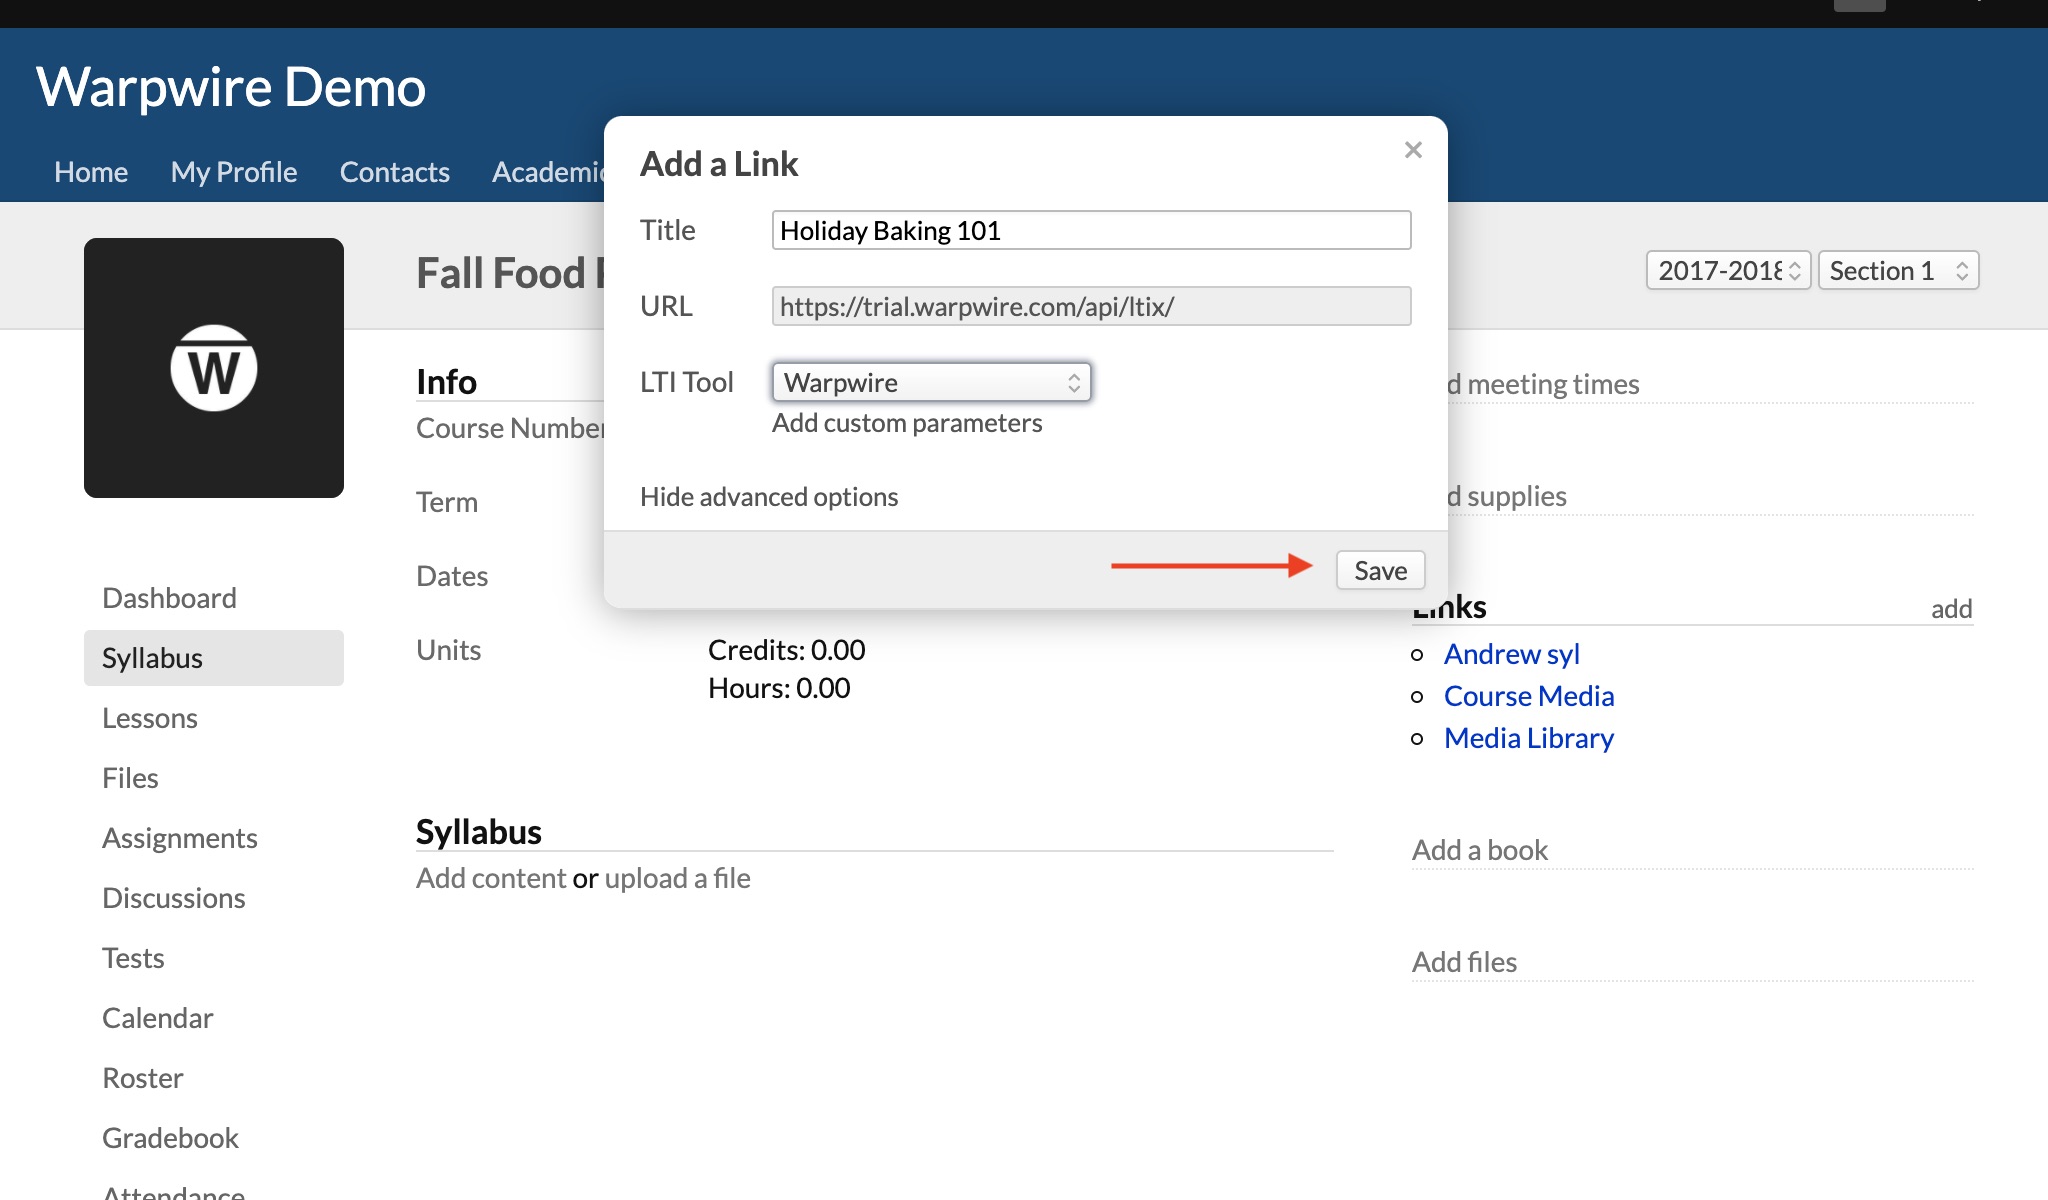
Now when a student clicks on the link, it will automatically create the student’s account and will automatically add the student to the course. It will also give them access to the Media Library.
Once you have setup the Warpwire Media Library in the courses and have clicked the link at least once, the course will now be registered for Warpwire. You will see the newly created course in "Media Library" within the Warpwire Admin tool.
Once you have registered the Populi course with Warpwire, you can now create the appropriate Zoom Rules to automatically publish the course recording into Warpwire. You can follow the steps outlined in our Set Up Zoom Rules support guide.