The Warpwire Plugin for Moodle allows your users to insert protected Warpwire assets into any content item for which the WYSIWYG editor is available. Once the plugin is installed, it will be available for any and all Moodle courses. For additional information and to download the plugin, please visit our GitHub Page.
- Download the Warpwire Plugin for Moodle 3 by clicking the 'Clone or download' button, select 'Download Zip' Note: You may also use Git if you prefer
- Extract the Zip file.
- Locate the root directory of your Moodle installation, and upload the filter, lib, local, and mod folders into the root directory.
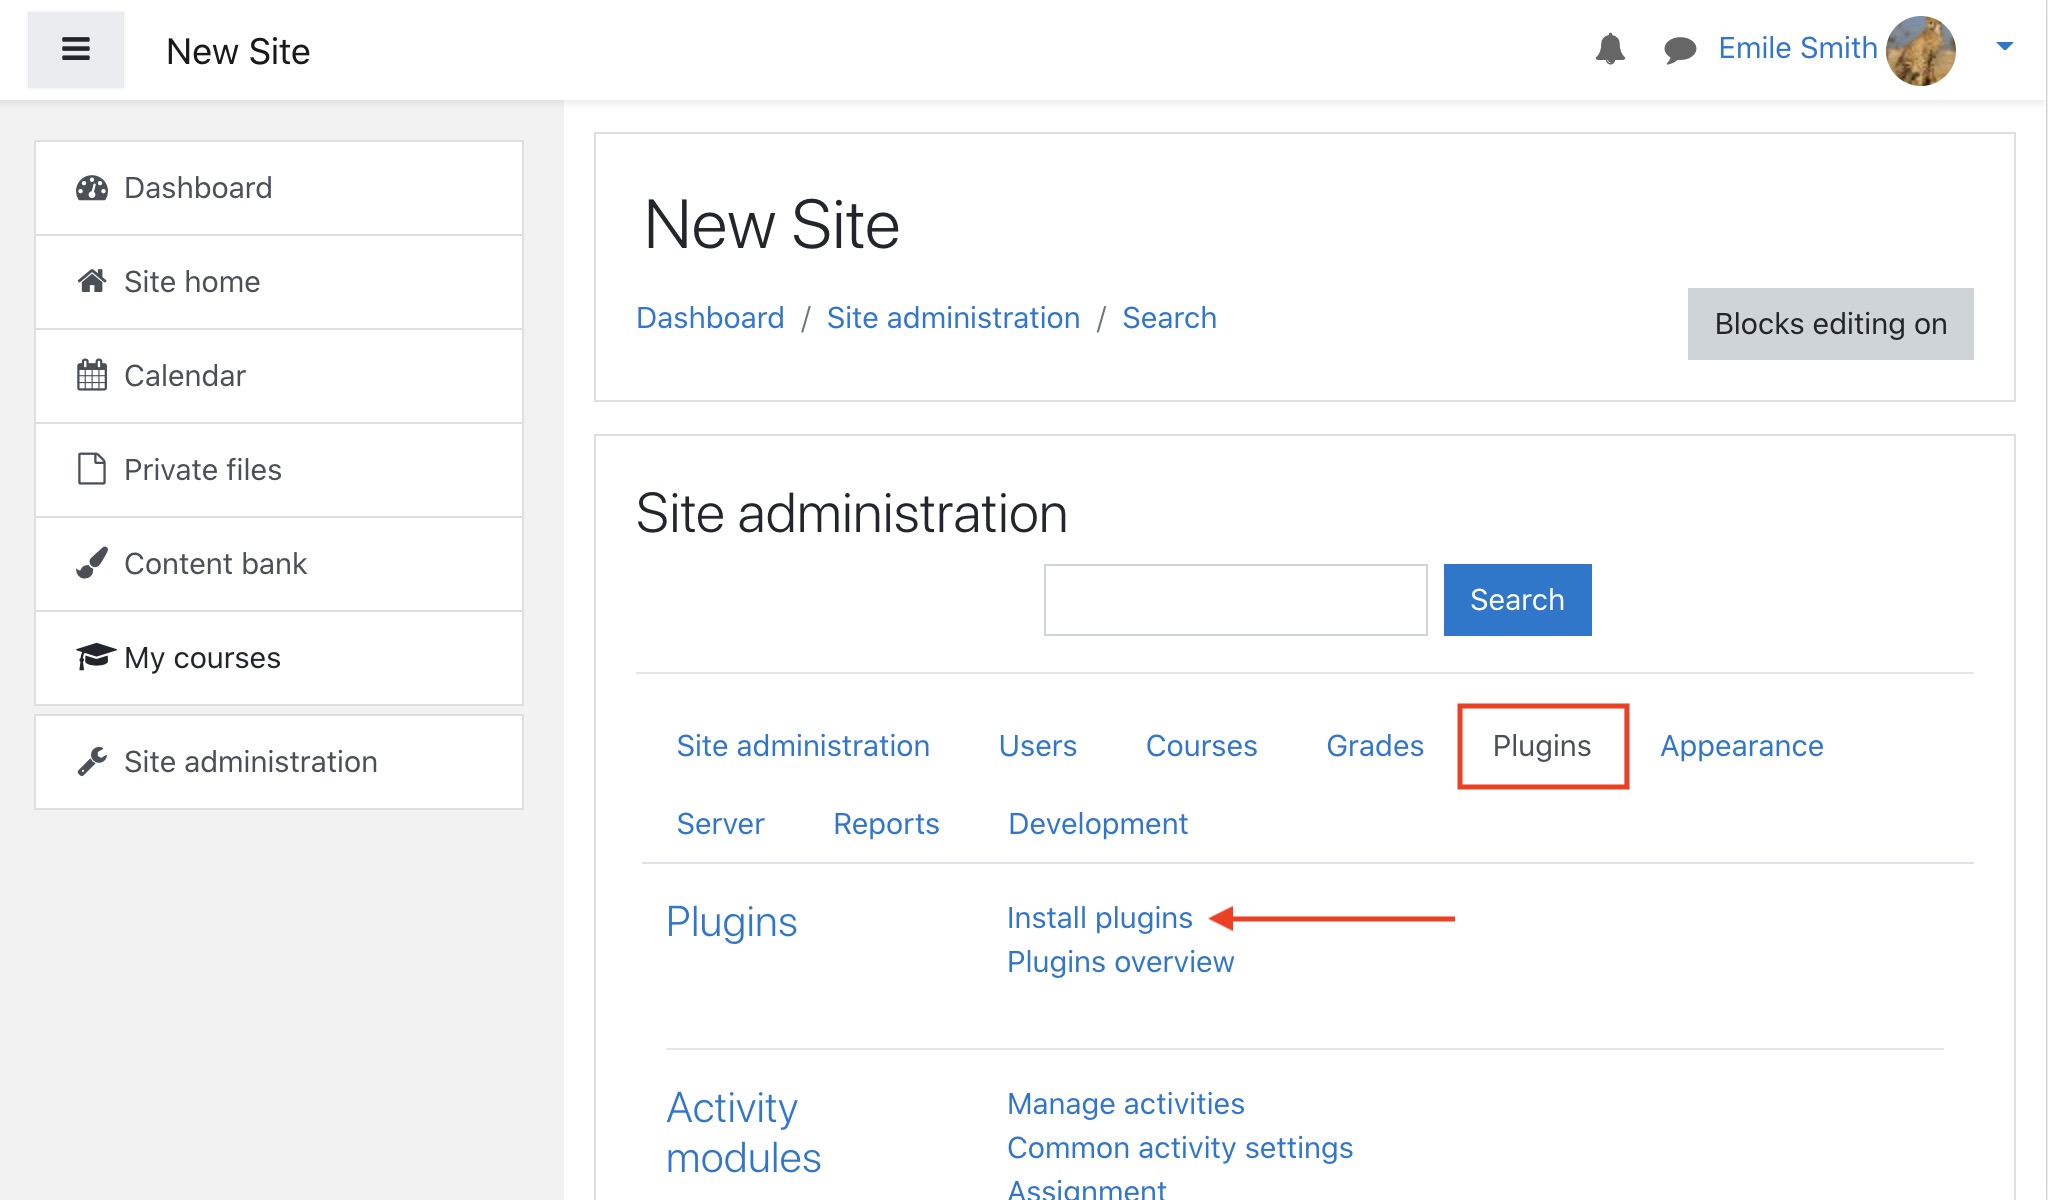
- Navigate to Site Administration, click the Plugins item, and then click the Install Plugins link.
- Drag or select the
local plugin Zip file into the upload section and click Install Plugin from the ZIP file. 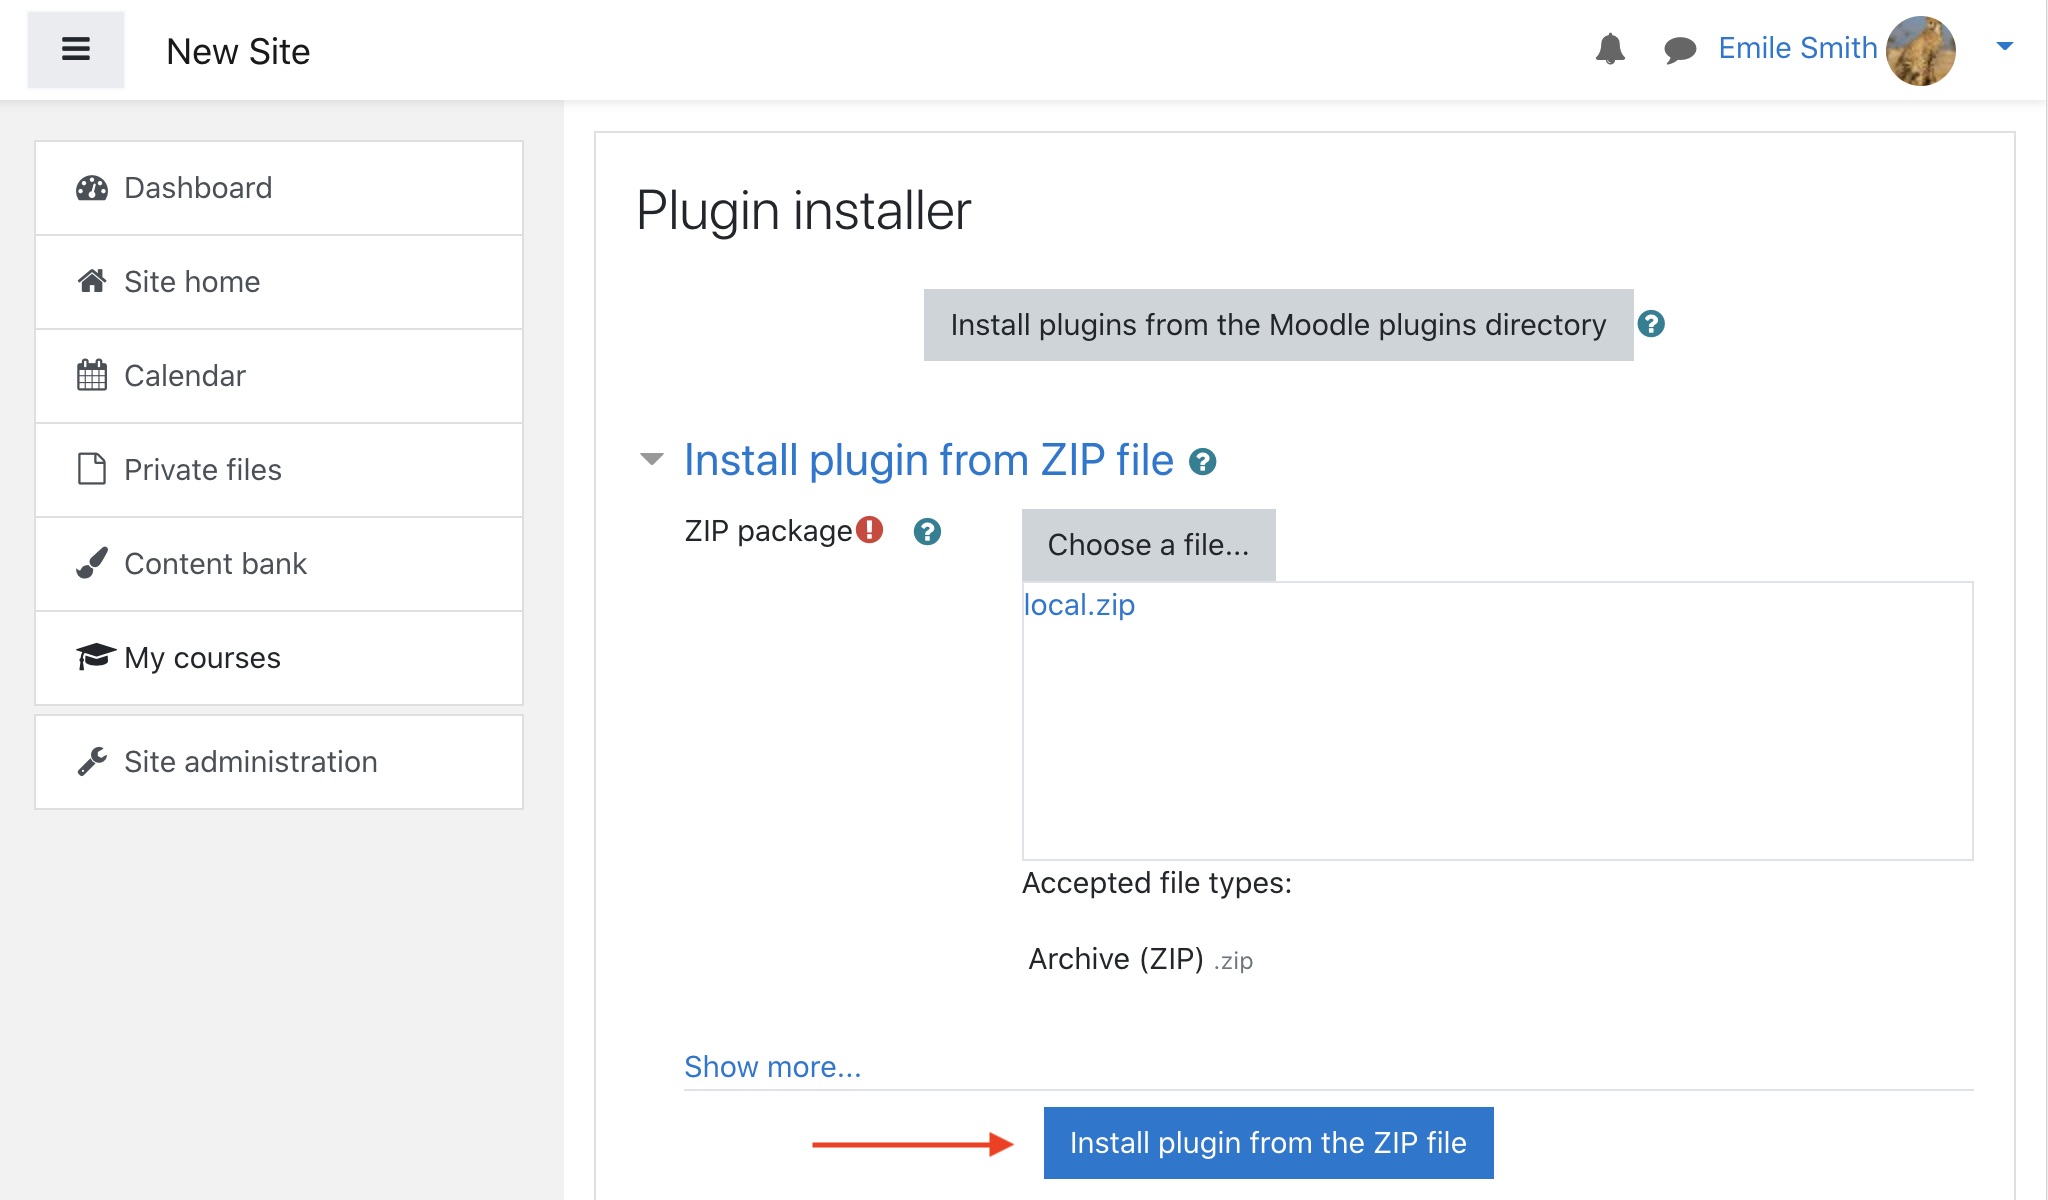
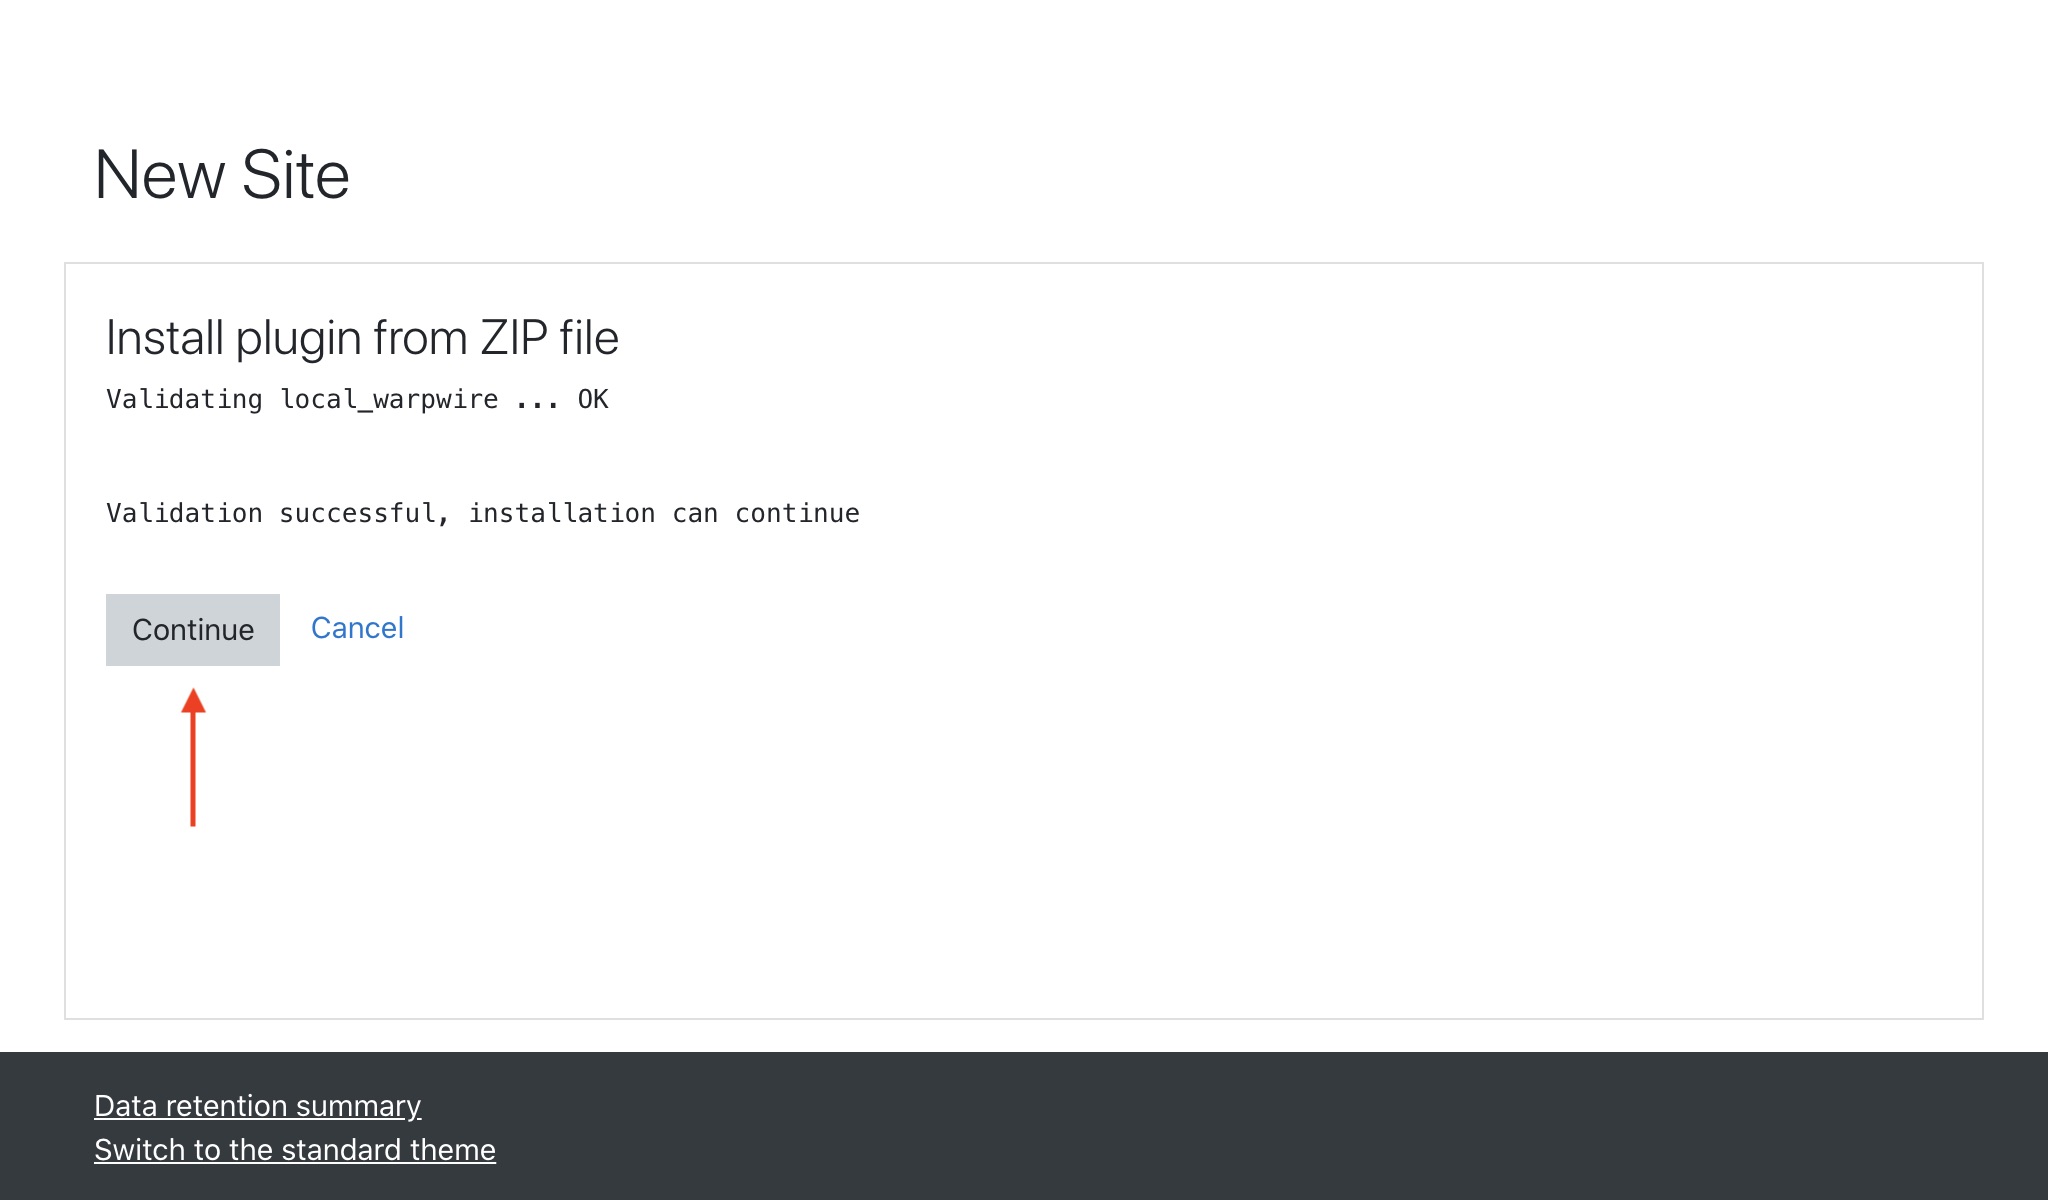
- On the next page, click Continue.
- Click Upgrade Moodle on the next page.
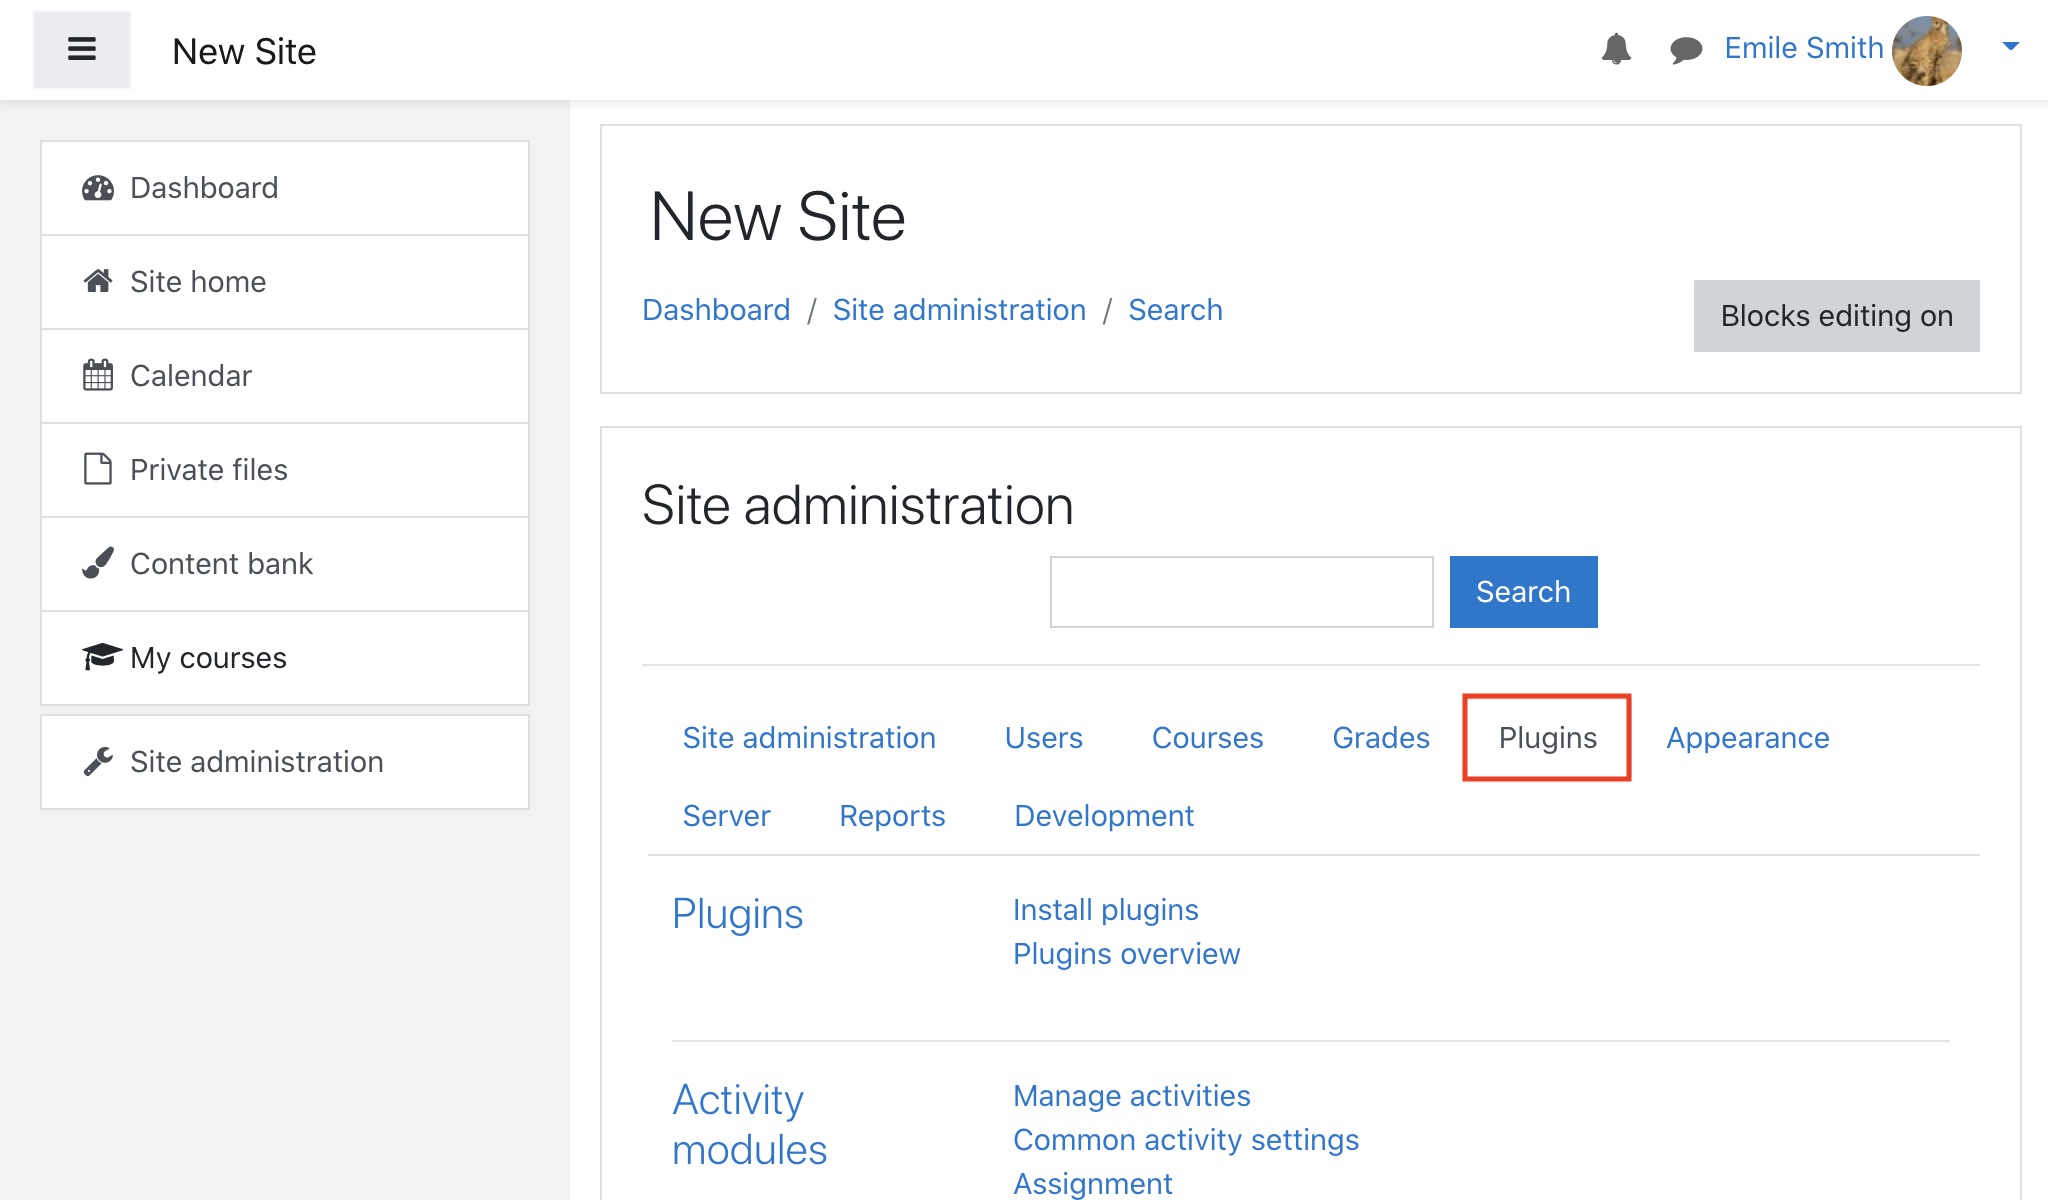
- Now, return to the Site Administration page and repeat steps 4-6 for the remaining plugin Zip files in this order:
filter, editor_atto, editor_mce, and block.
Note: You must upload the ZIP files one at a time and go through the entire process for each ZIP file. Be sure to upload each ZIP file in the correct order as listed in step 8.
- Navigate to 'Site Administration', click the 'Plugins' tab.
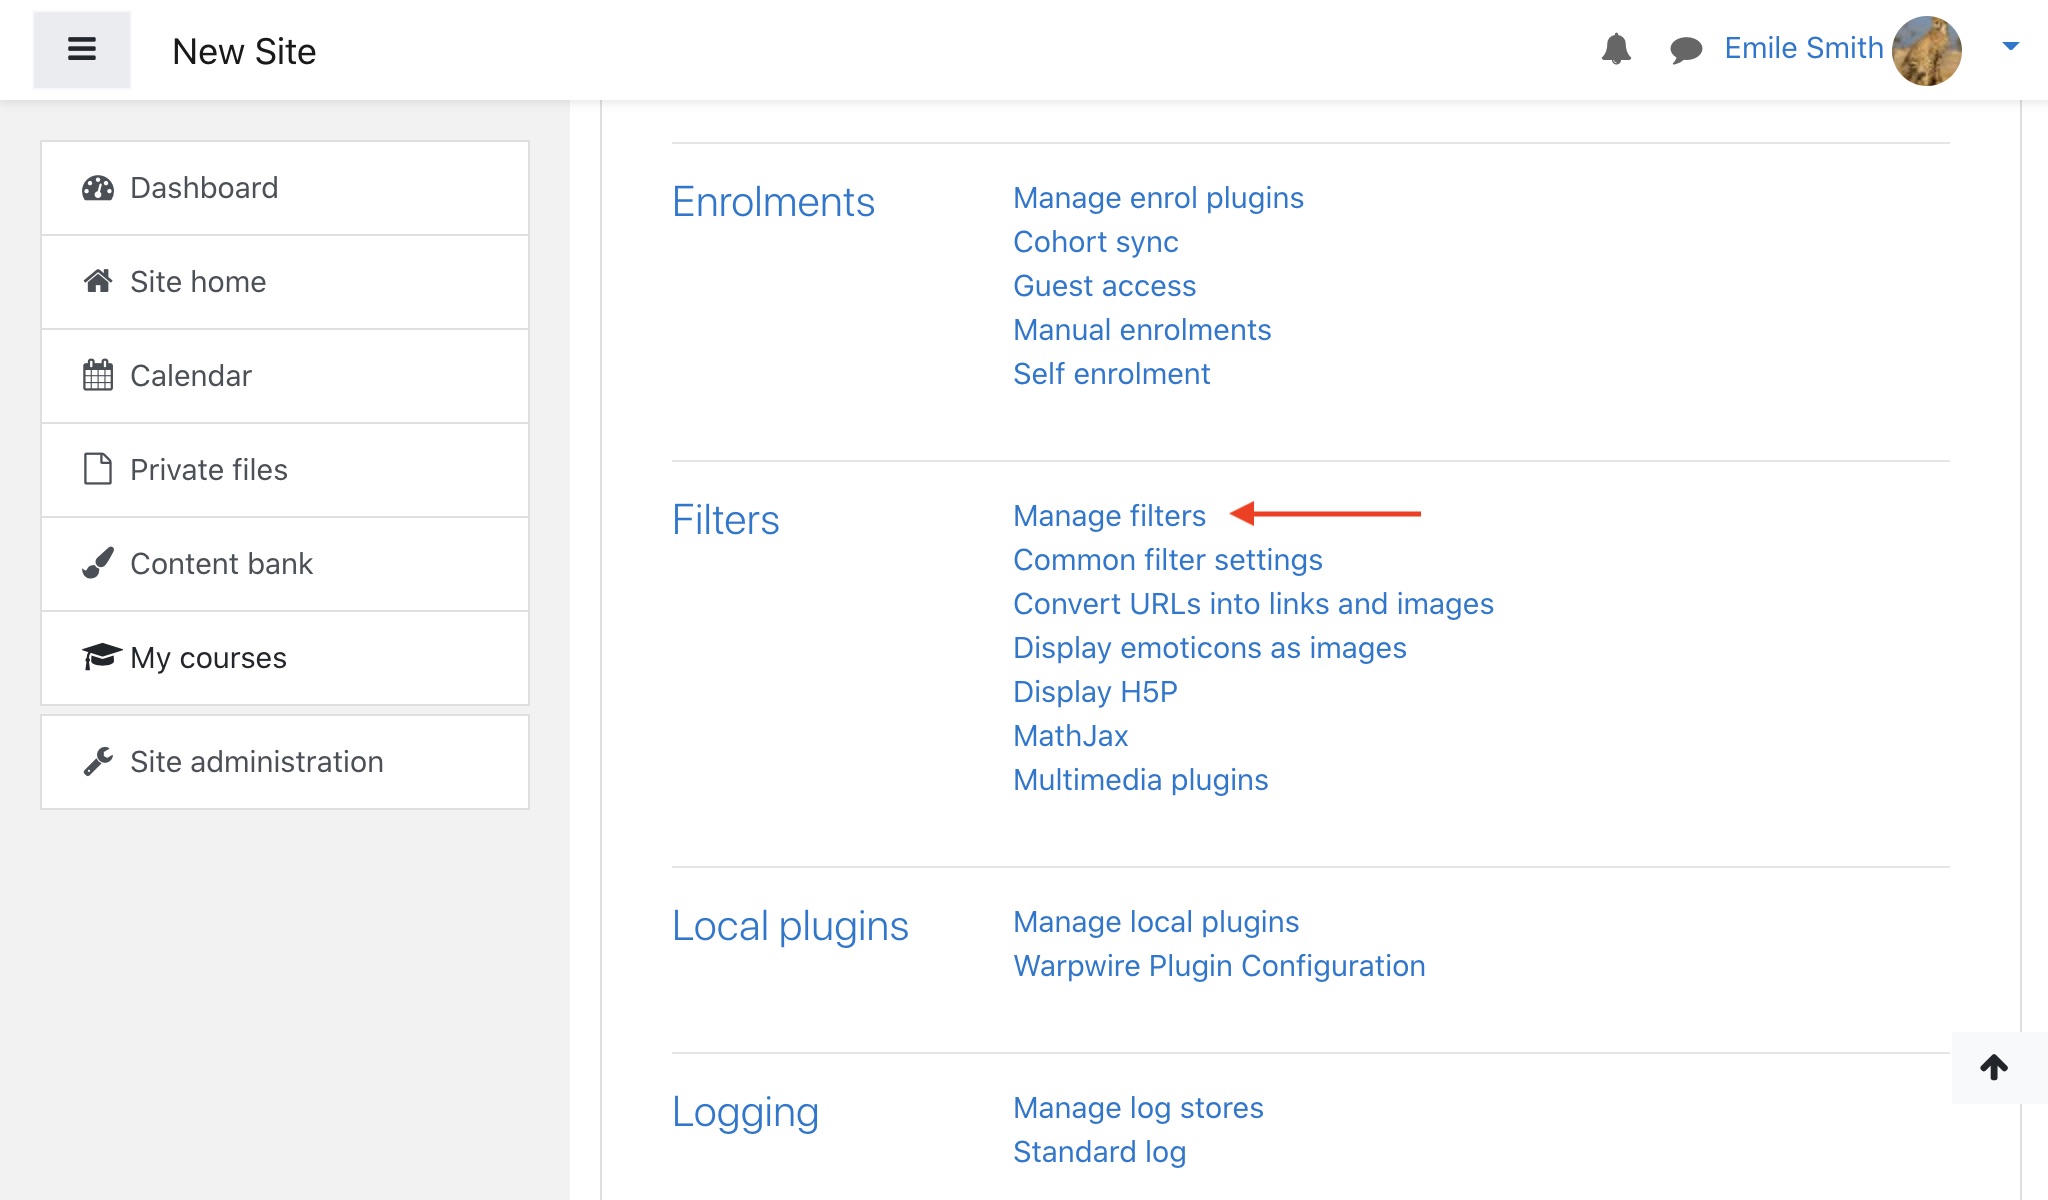
- Scroll down the page and navigate to the 'Filters' section and then click 'Manage filters'.
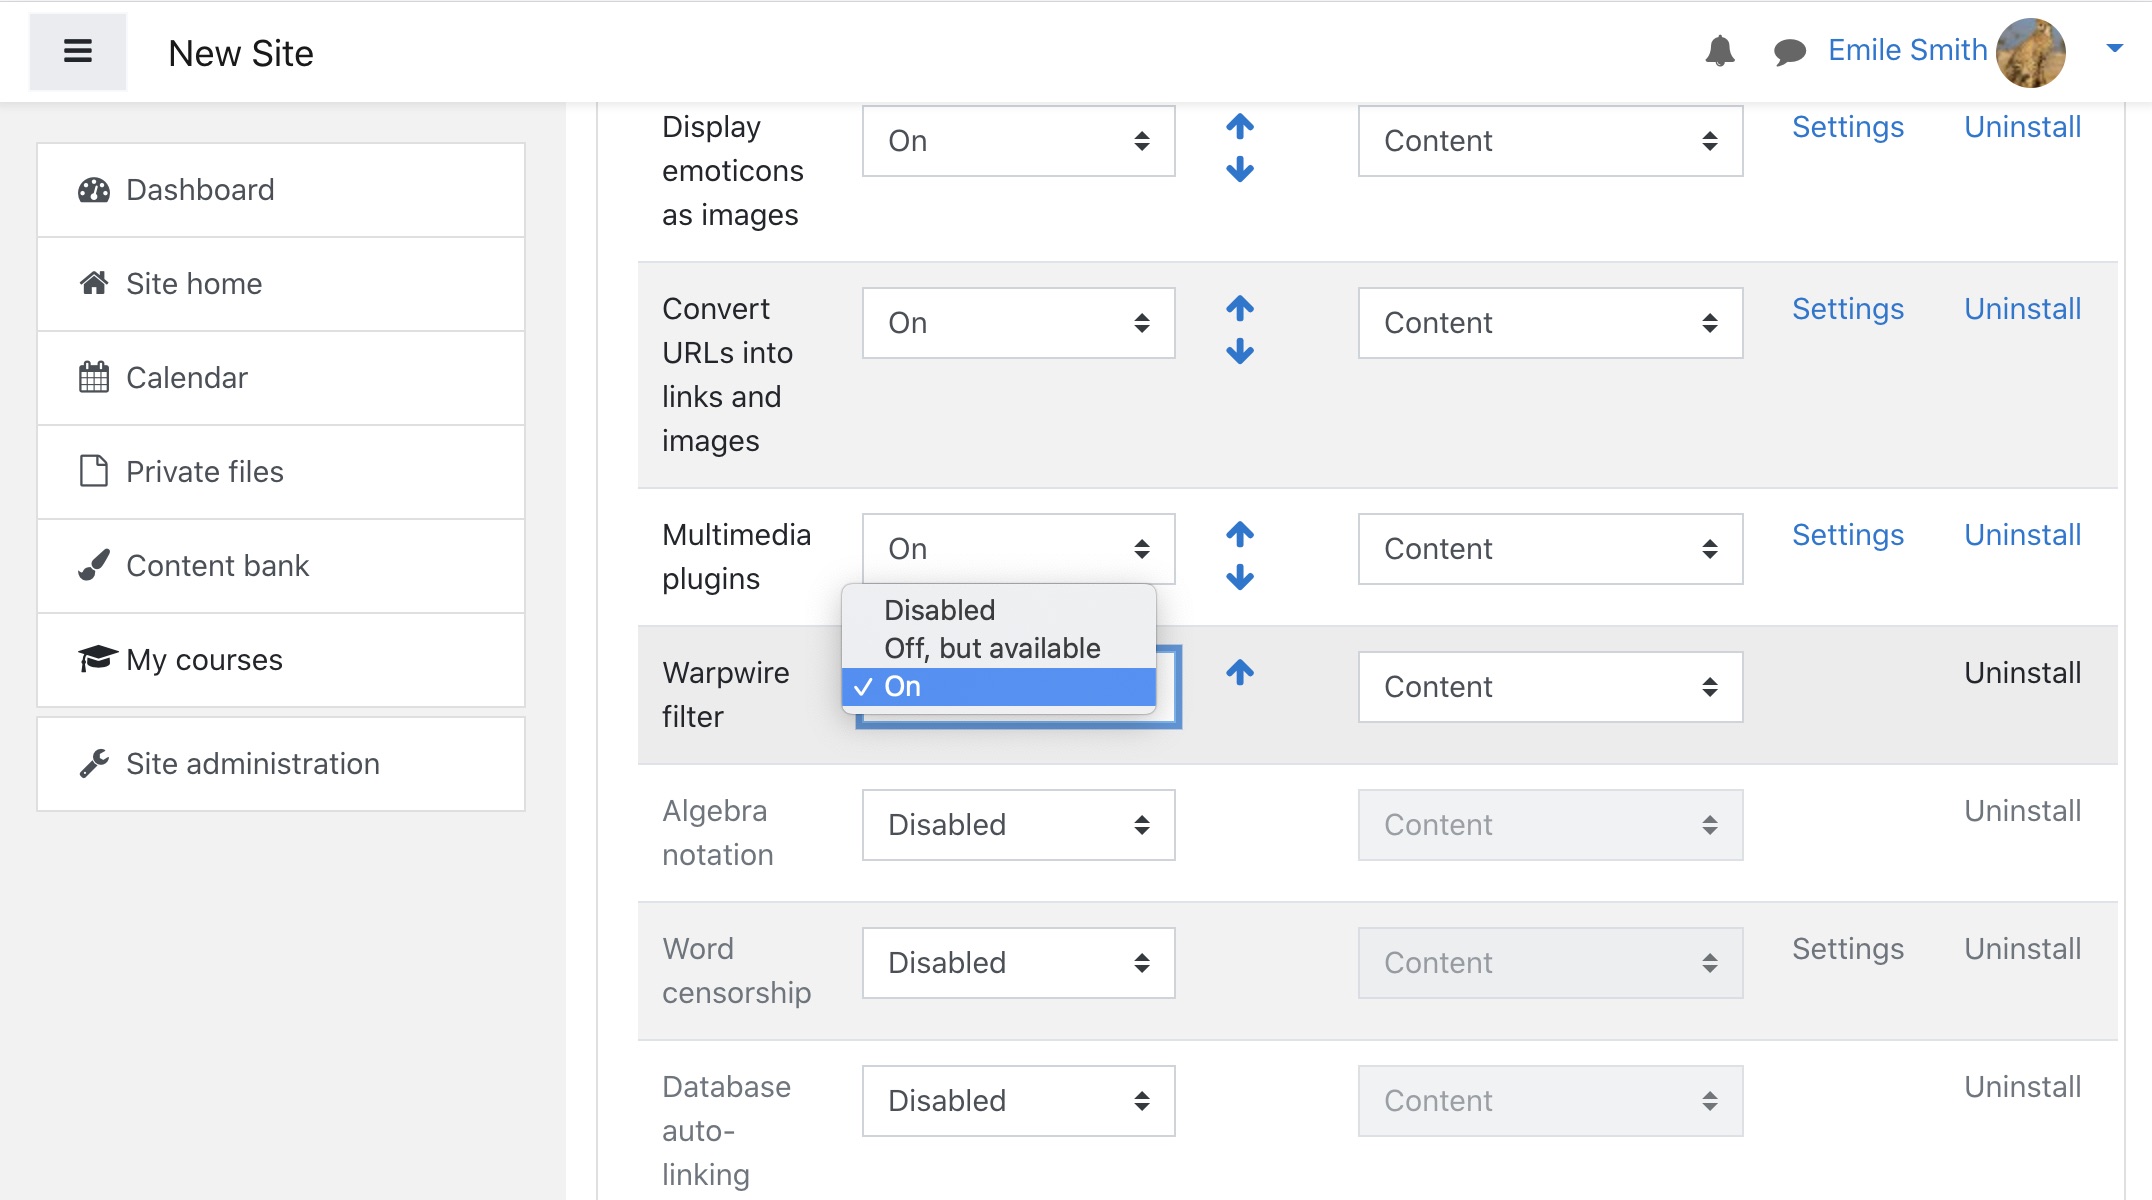
- Scroll down until you see 'Warpwire filter'. From the 'Active?' dropdown menu, select 'On'.
- Now, navigate back to 'Site Administration', click the 'Plugins' tab and scroll down to 'Local Plugins'. Then, click 'Warpwire Plugin Configuration'.
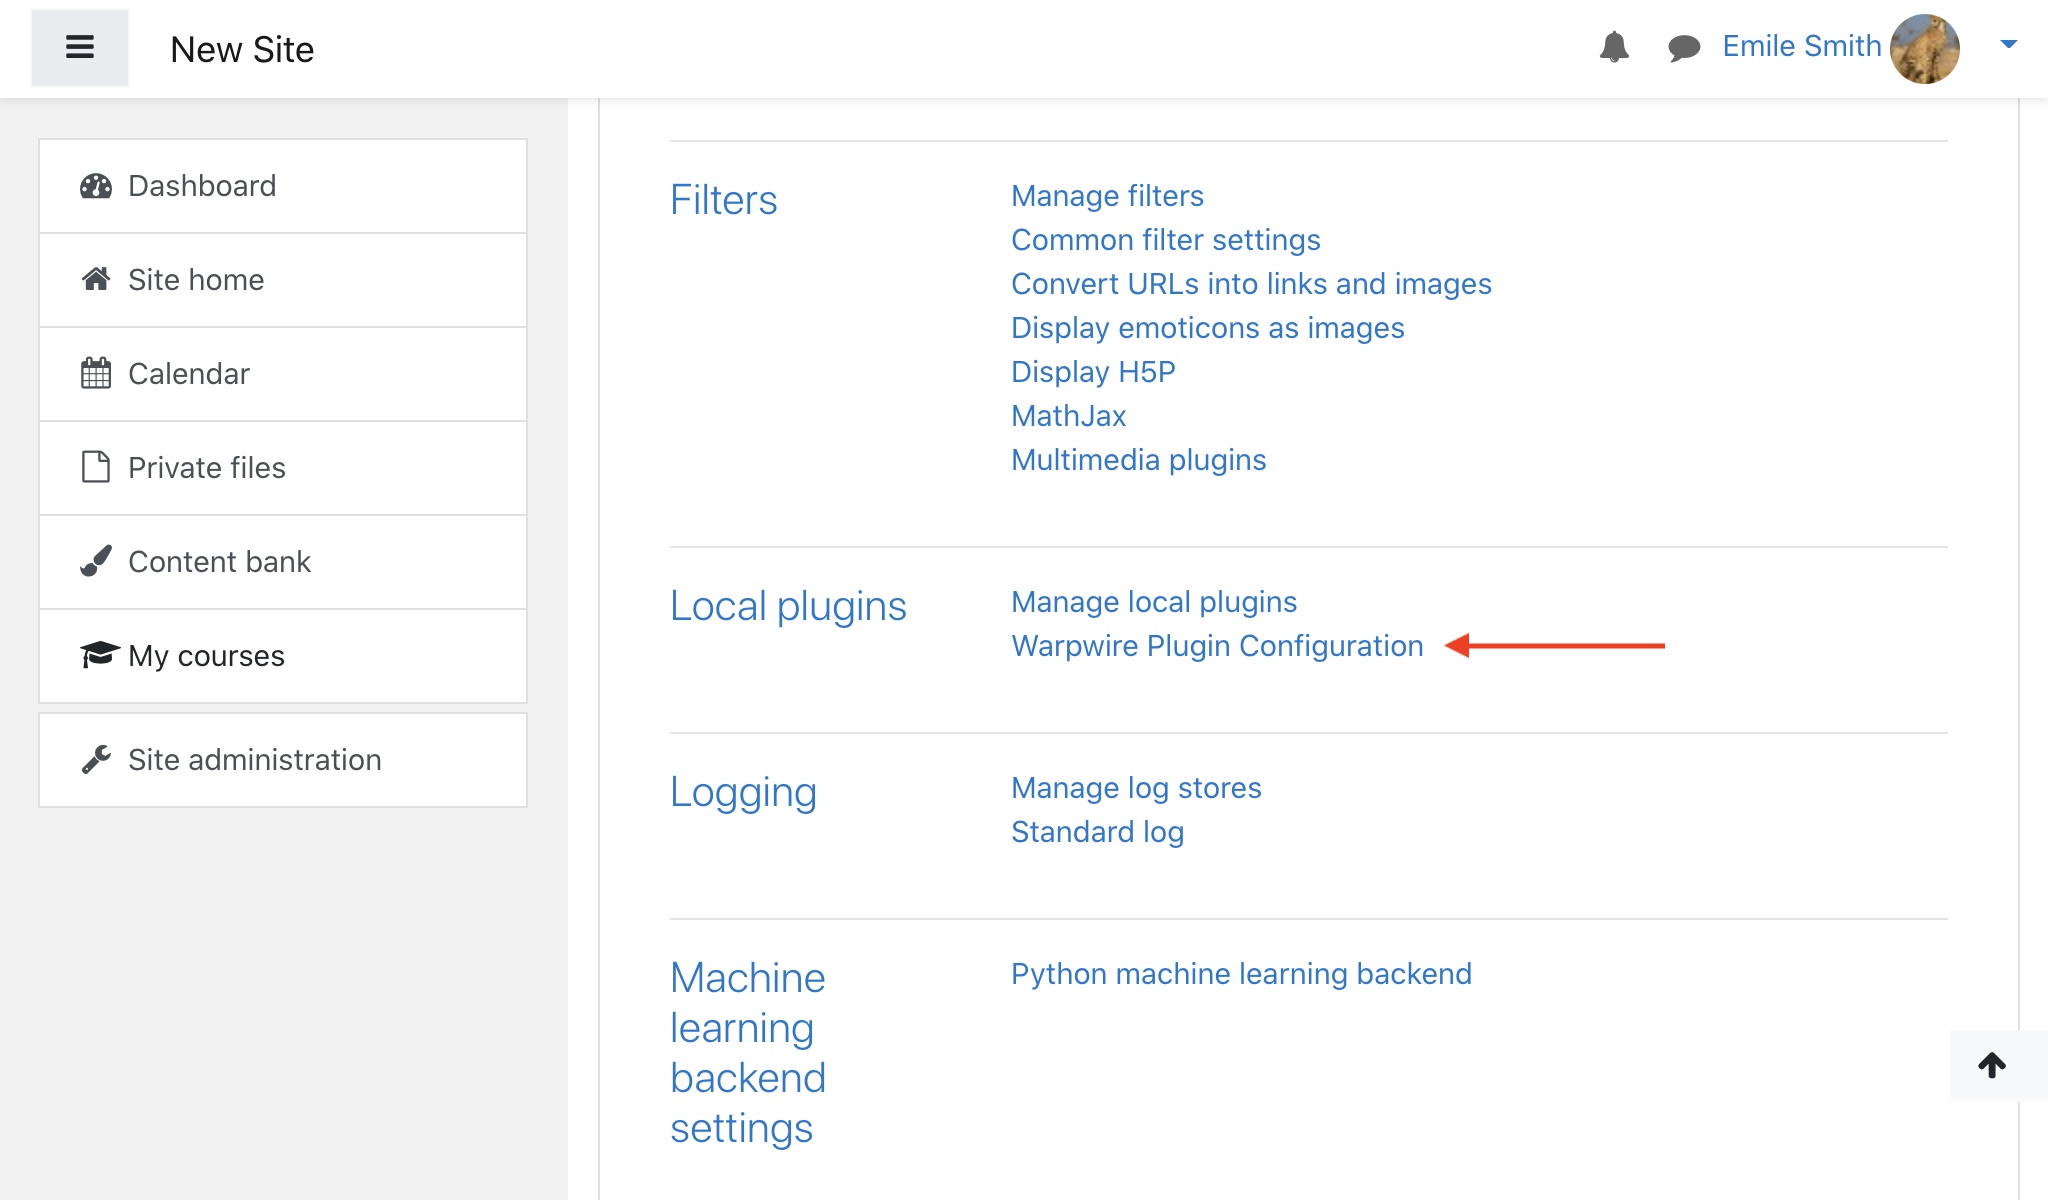
- Once you're in the 'Local plugins' section, click the 'Warpwire Plugin Configuration' link.
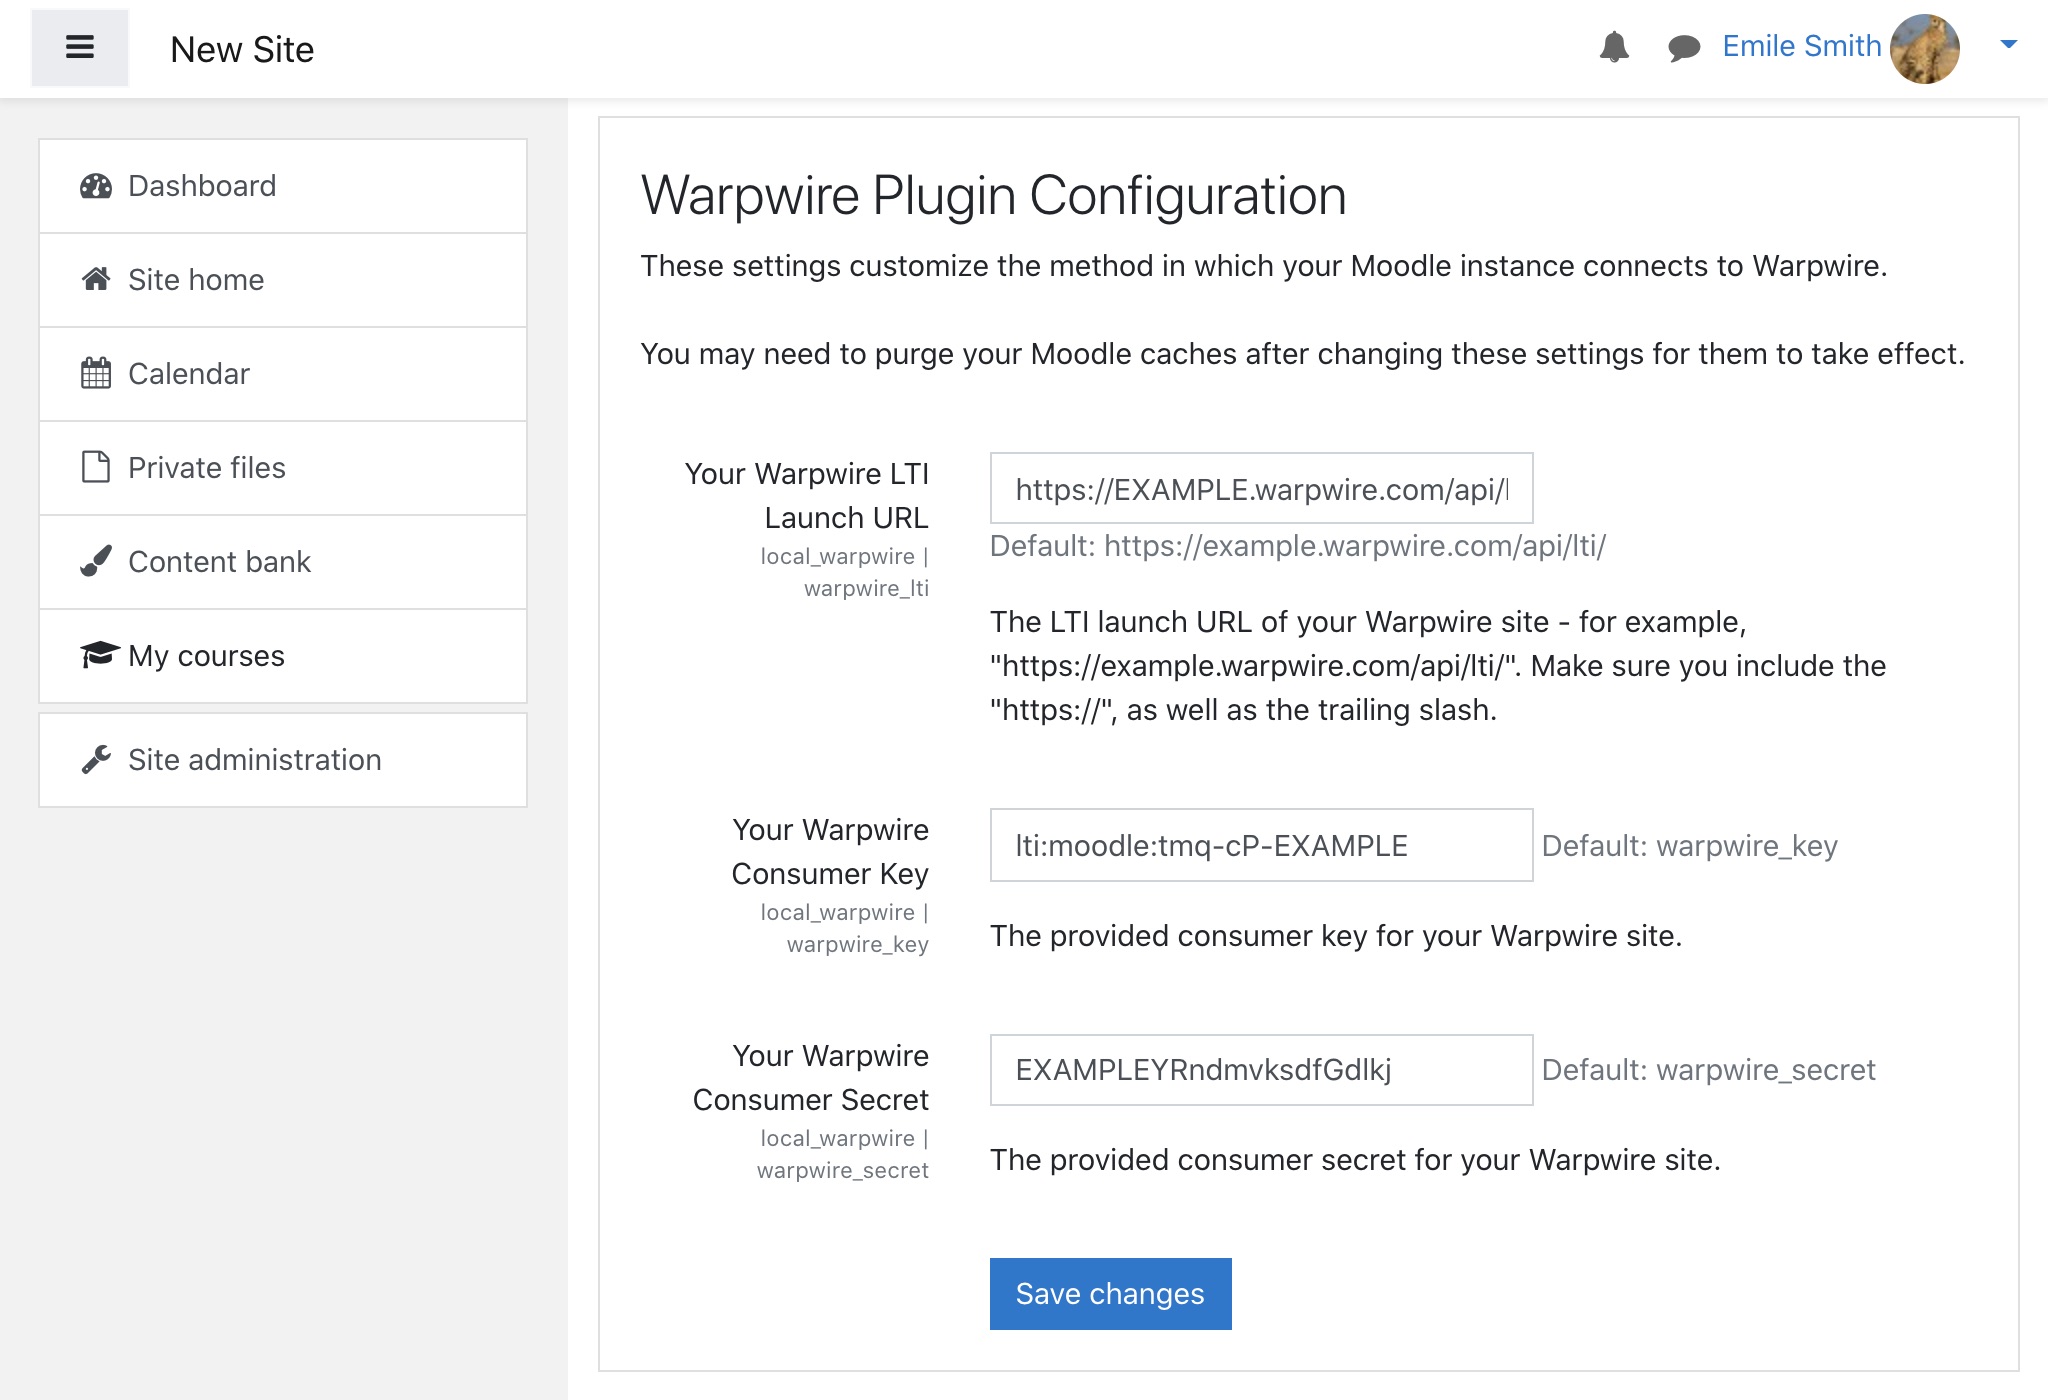
- Fill in the values for 'Your Warpwire LTI Launch URL', 'Your Warpwire Consumer Key', and 'Your Warpwire Consumer Secret'. Note: Please contact Warpwire at tech@warpwire.net to request a consumer key and secret for your Warpwire installation.
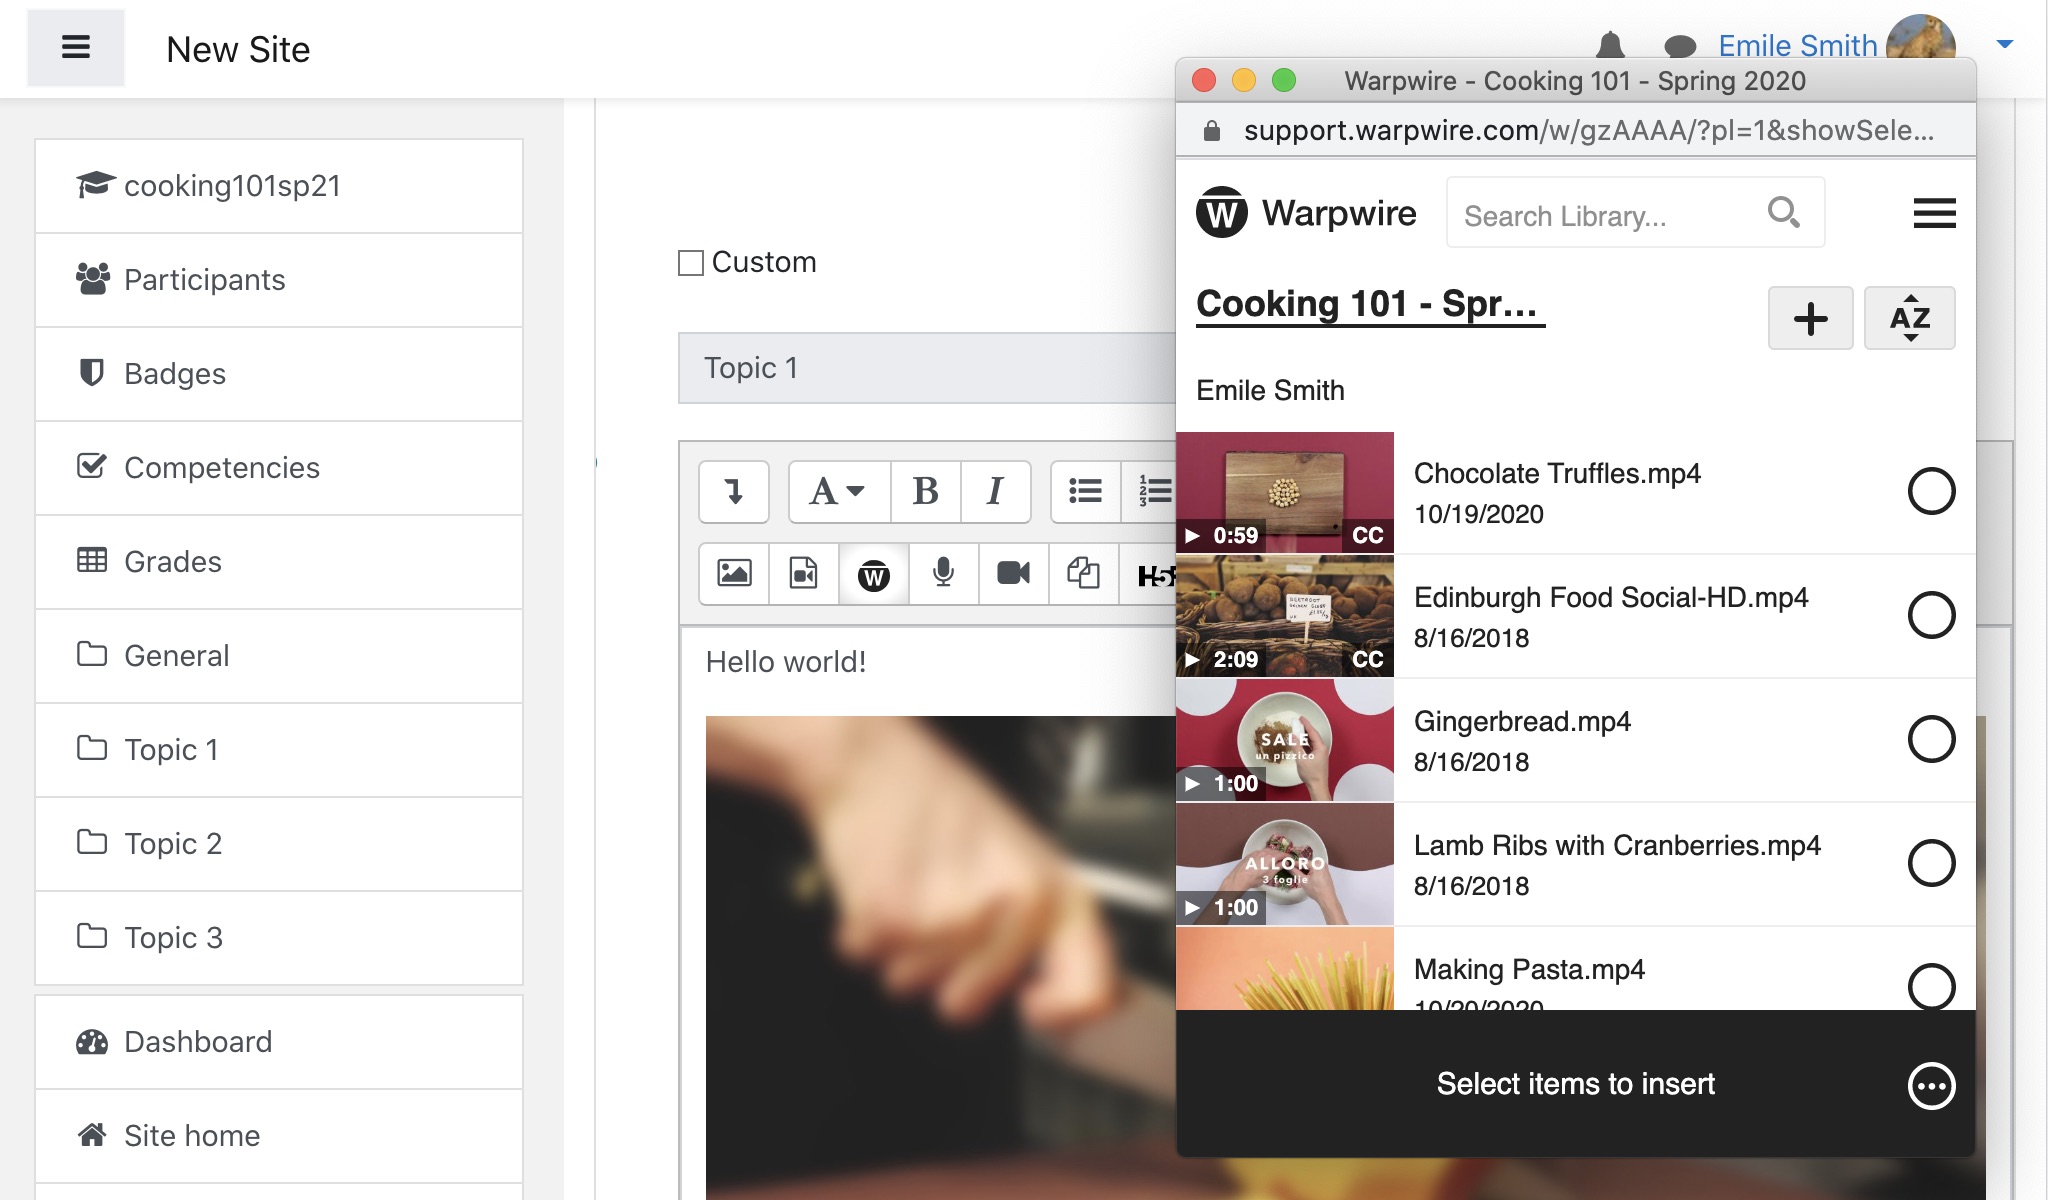
Warpwire content can now be inserted into content items for which the WYSIWYG editor is enabled. Simply click the Warpwire button in the editor, and you will be taken to your Warpwire application, from which content can be embedded into your Moodle instance.
See also: Warpwire's Moodle Login Script, Adding the Warpwire resource to your Moodle 3 Course and Turn on Warpwire for your course in Moodle.