Warpwire integrates with Drupal CMS so that you can record, upload, and insert content from any of your Media Libraries into Drupal posts, articles, and comments.
Before we begin, it's worth mentioning that your Drupal instance may look different than these screenshots. There may be styling, content types, and modules unique to your institution's version of Drupal, but the fundamental process is the same.
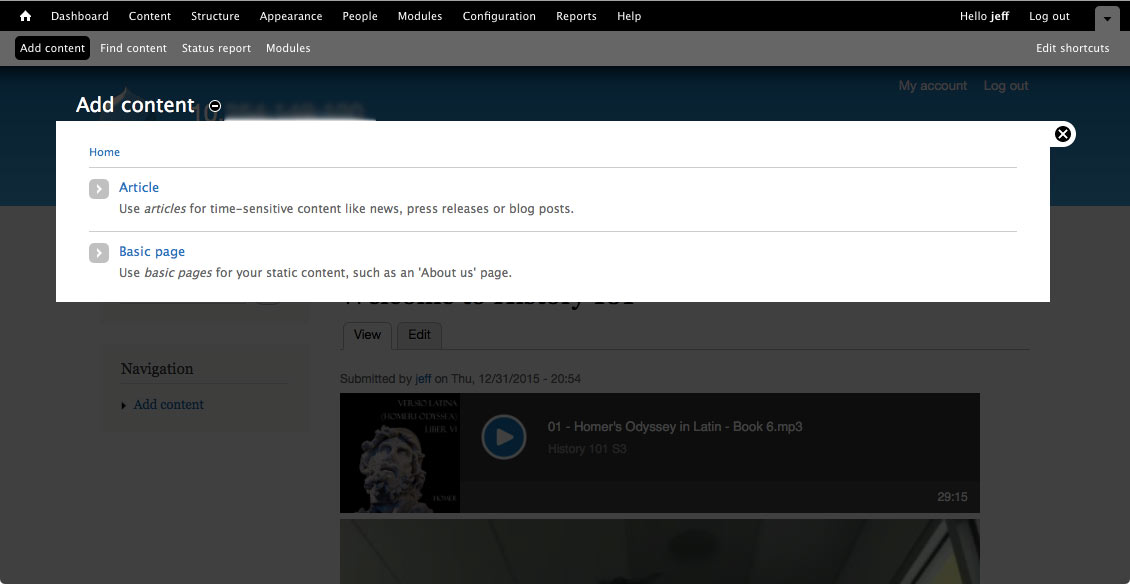
Once you're logged into Drupal, simply create a new piece of content (an article or page, in our example).
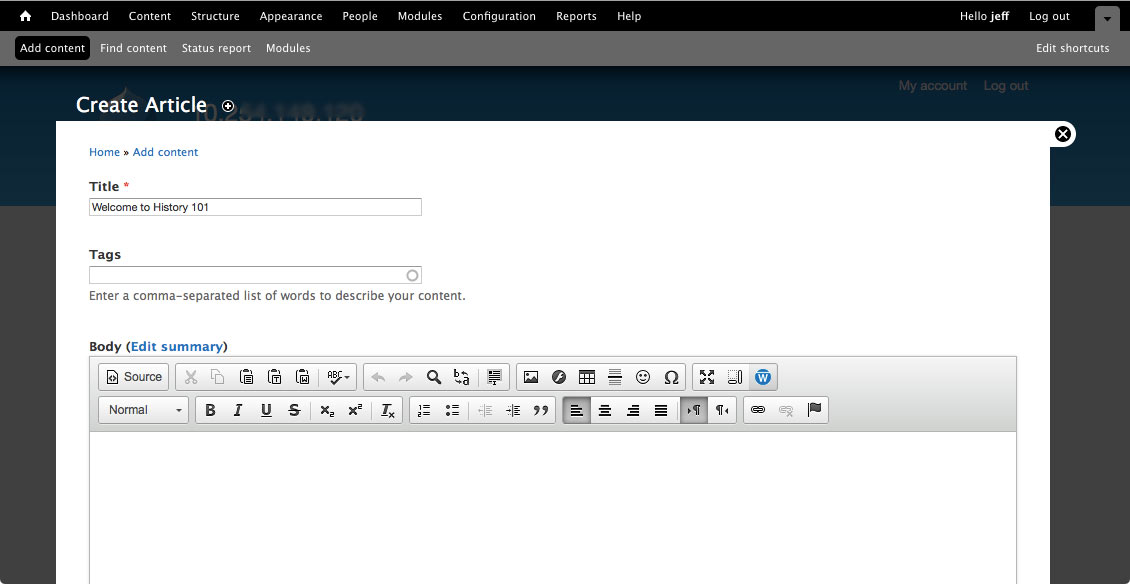
If the Warpwire plugin has been added to your Drupal instance, you'll see the blue Warpwire button in the rich text editor. Just click on the button to begin.
This will allow you to choose and insert content directly into the editor. Pasting the Embed or Script HTML code into a rich text editor may not work.
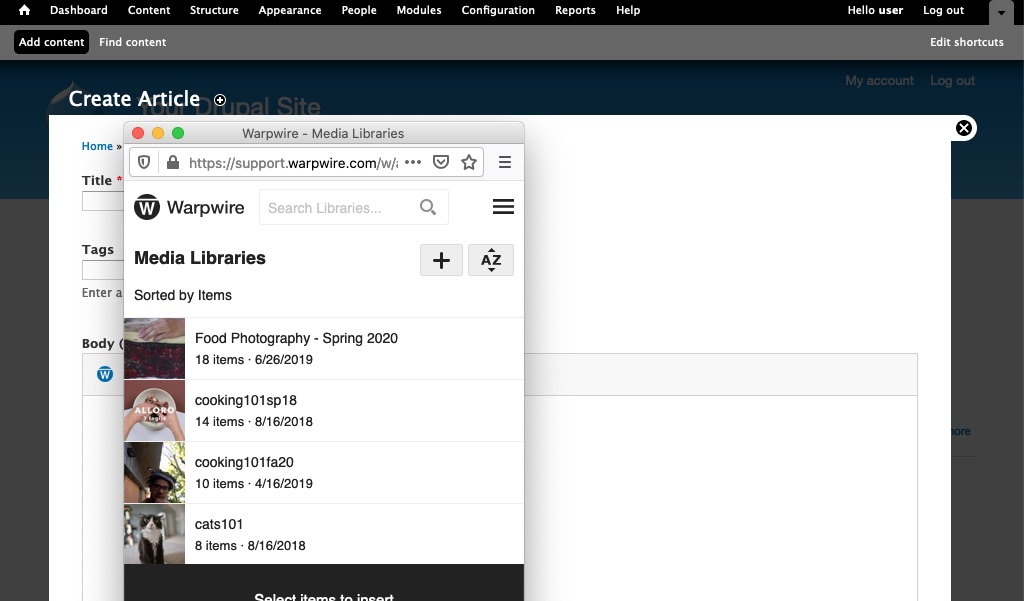
A small window will popup. You now have access to the full Warpwire application, without leaving Drupal.
The first step is to select the Media Library you'd like to work with. The drop down menu in the upper-right of the popup will list all of the Media Libraries that you have access to. Pick the one you'd like to insert files from, or upload files to.
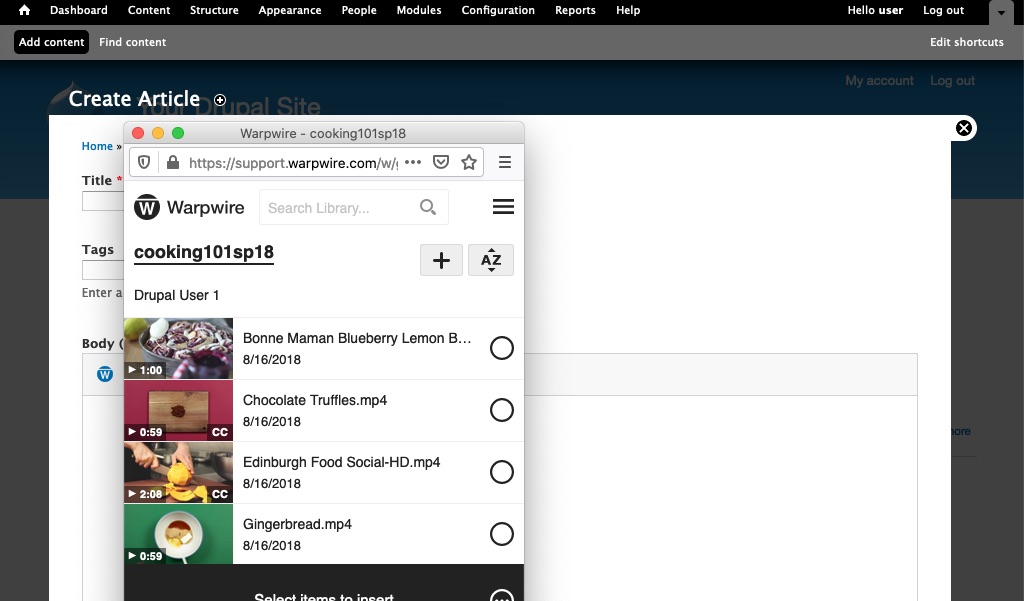
Once selected, you'll see the contents of that Media Library.
See also: Insert Media, Capture and Insert Media, Upload and Insert Media, and Insert Media Comments.