Deep Linking is a new LTI standard that improves the exchange of content between tools and applications. You can read the full specification on IMS Global's site.
What deep linking means for you is that copying courses while preserving embedded media is now easier than ever, and you can embed media from any of your Media Libraries without leaving Canvas.
Let's walk through the entire process, from installing the Warpwire Canvas plugin to copying a course, to sharing with new users, to show how deep linking can make course management simpler and more robust.
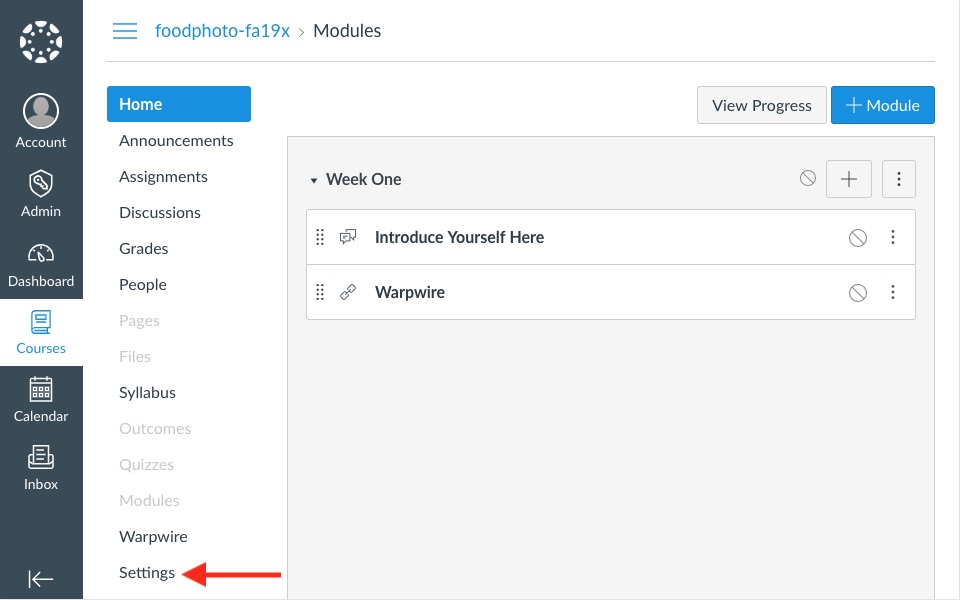
From within your Canvas course, click "Settings" in the left-side navigation.
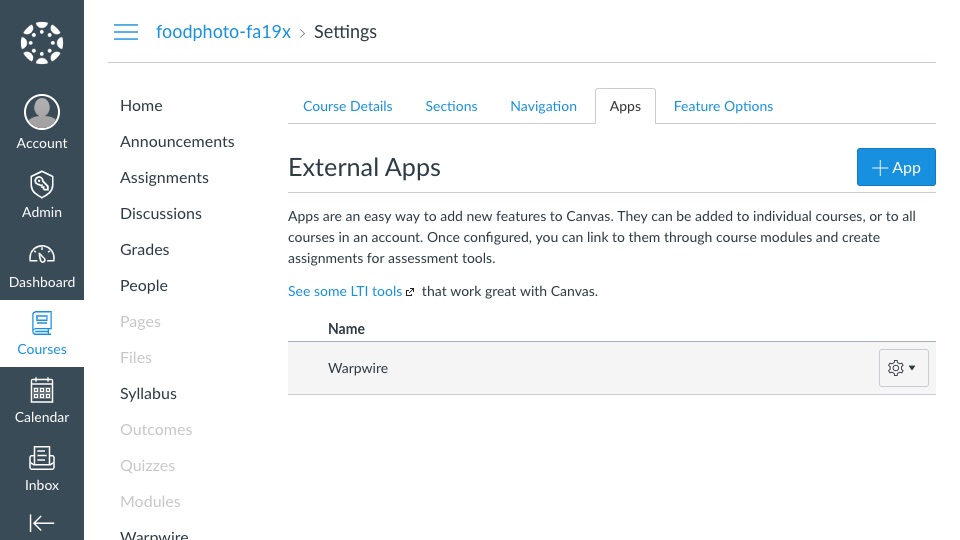
Now, click the "Apps" link in the horizontal navigation at the top of the page, and click the blue "Add App" button on the right.
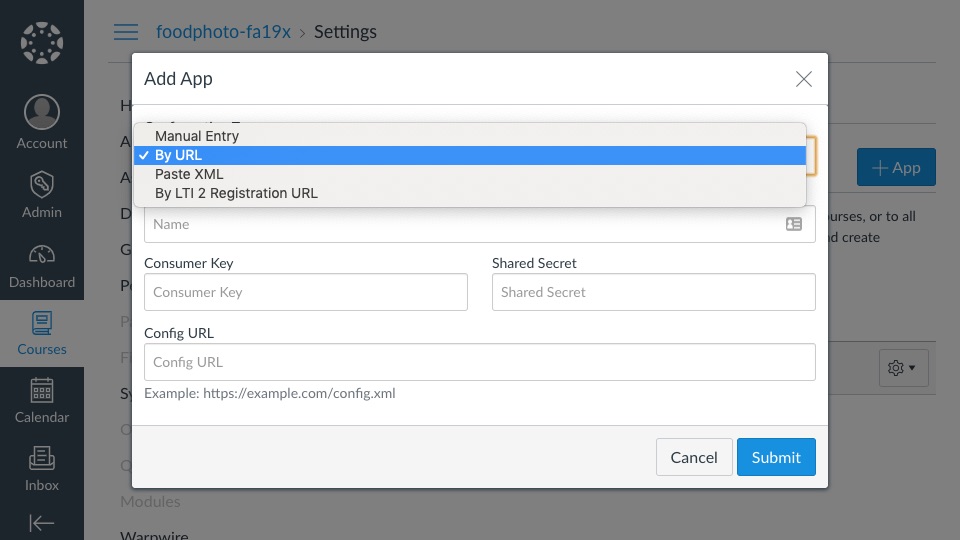
Select "By URL" from the dropdown menu.
You'll name the tool ("Warpwire"), and insert the specific Key and Secret we provide to your institution. The screenshot below shows the deafult URL to configure your plugin - note that yours will be different (and longer!) based on the configuration options you choose.
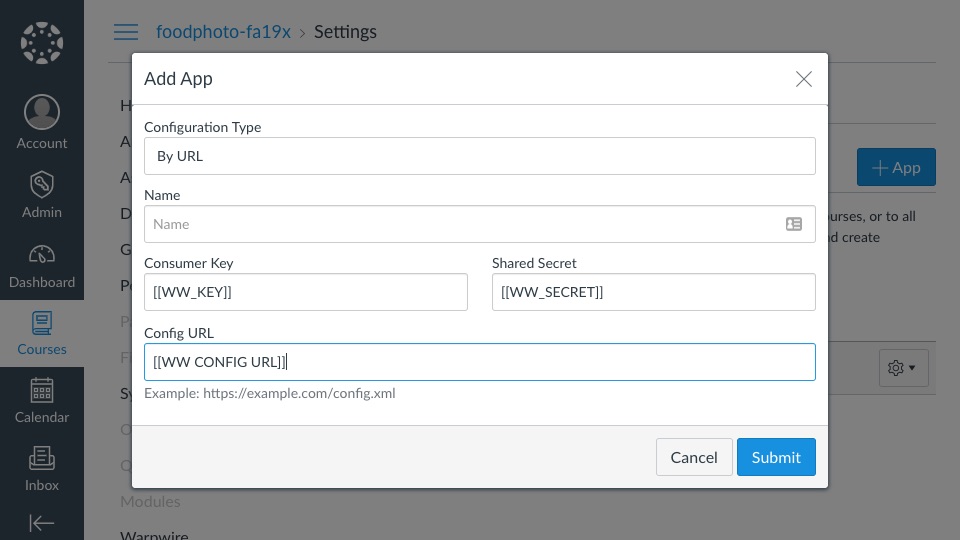
For the Config URL field, navigate to https://[YOUR_WARPWIRE_SITE]/p/configureLTI/ and select the desired configuration options. Make sure to select "yes" for "Enable Deep Linking placements" and "Use new LTI endpoints" if you want to make use of the new LTI Deep Linking feature.
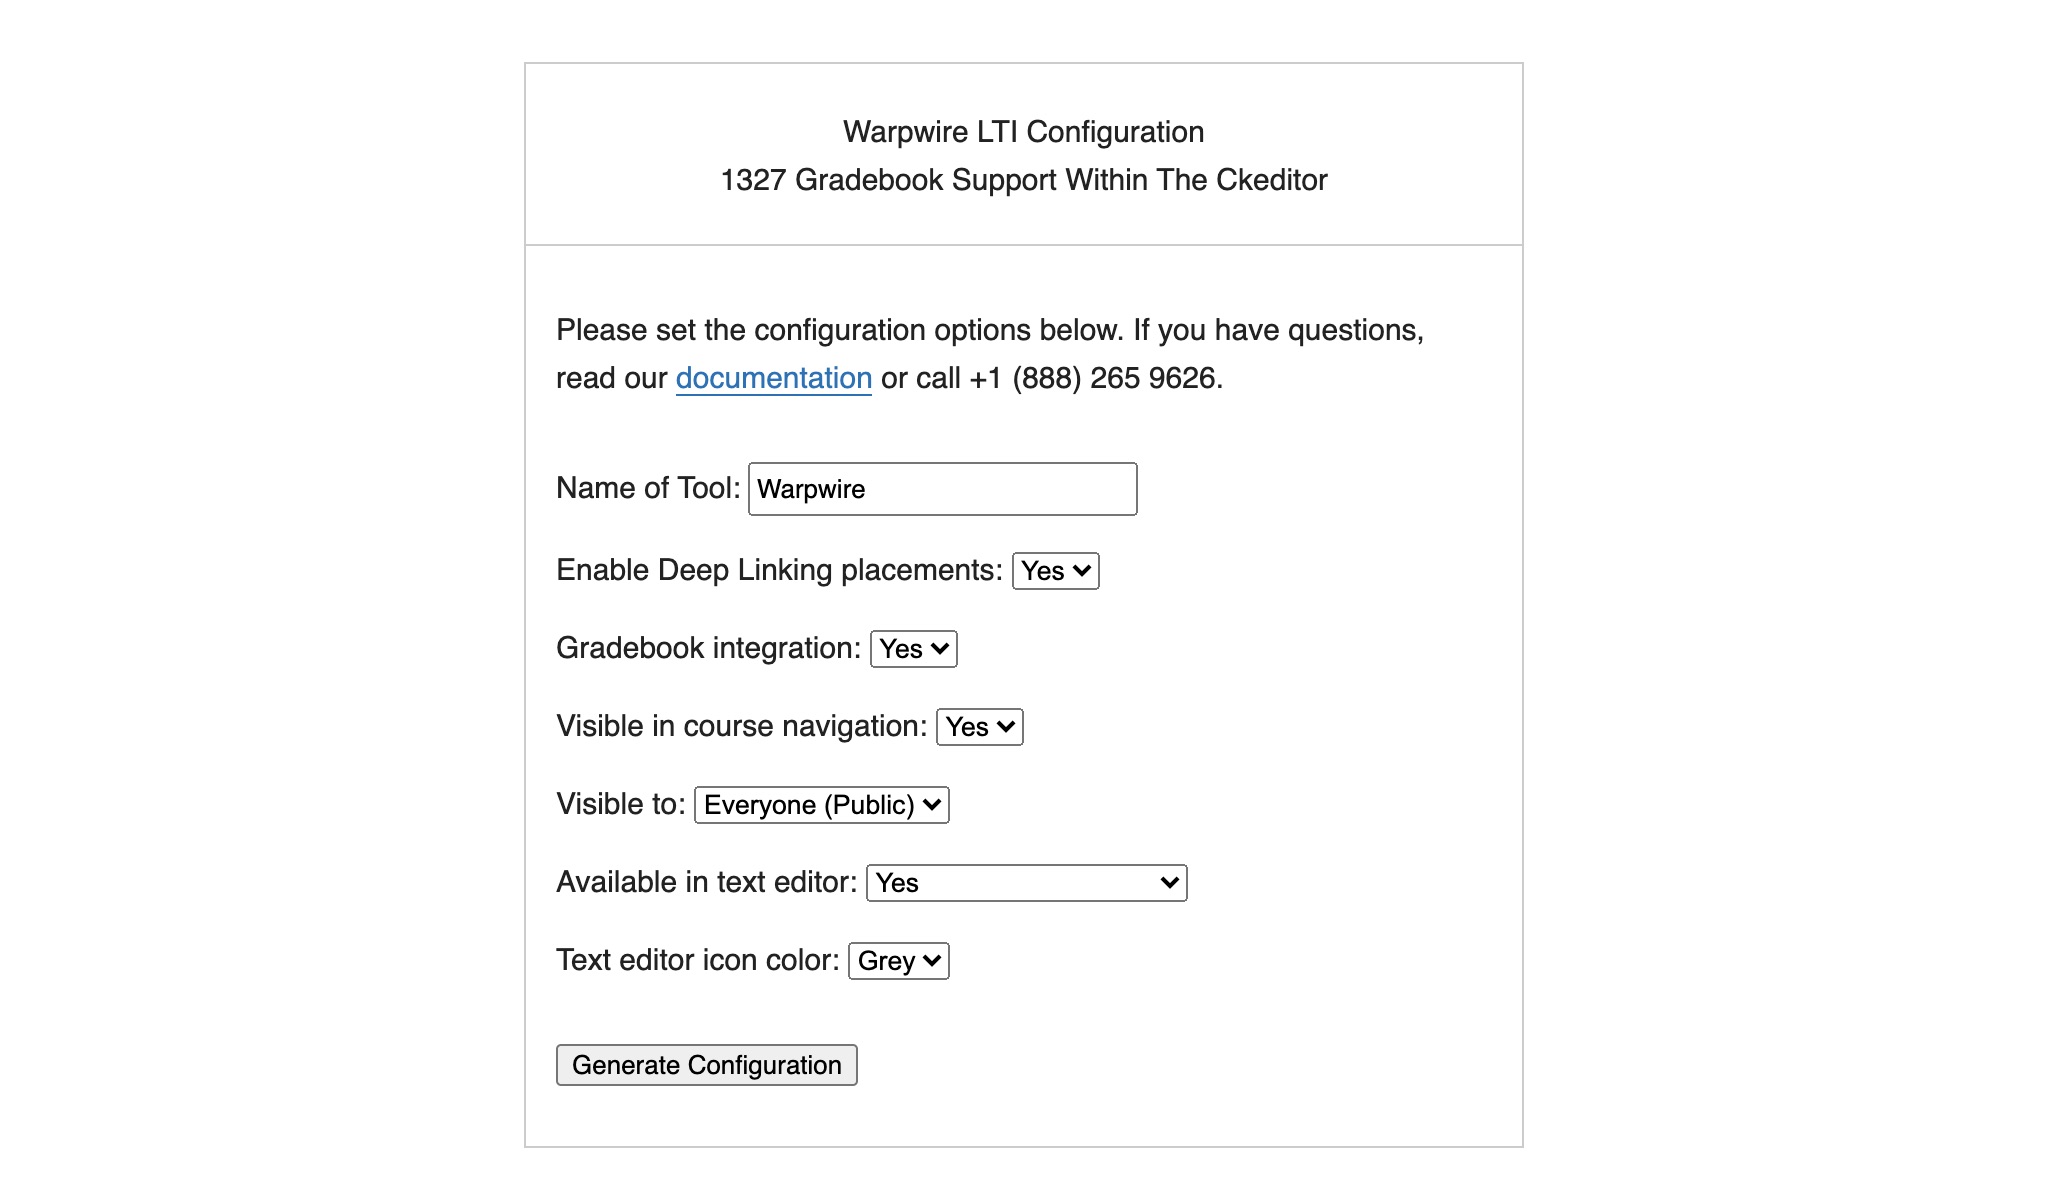
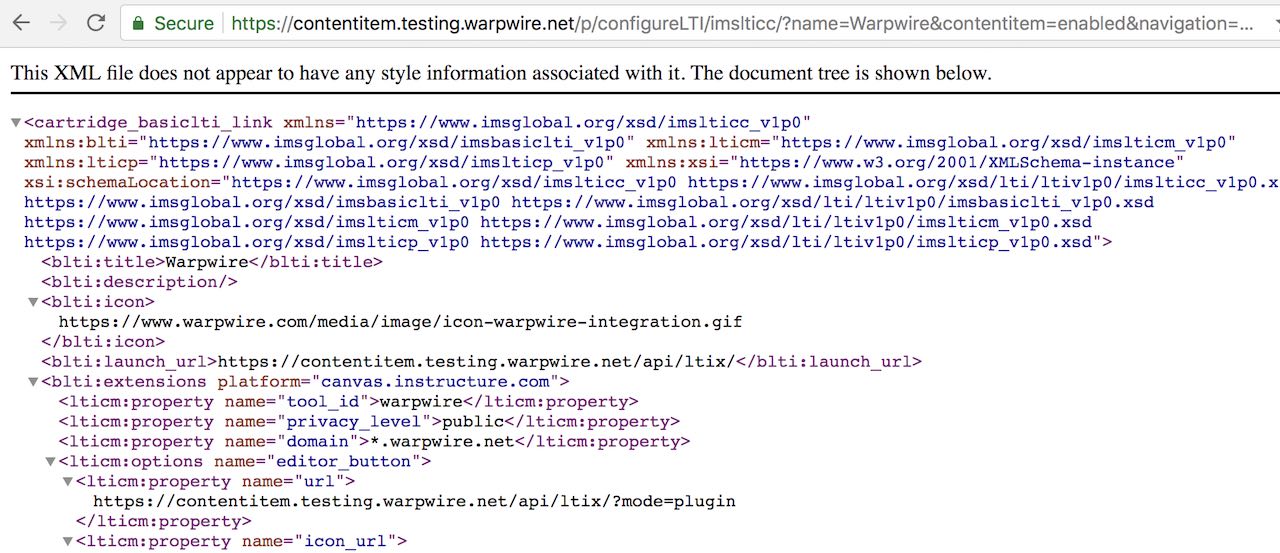
Click "Generate Configuration" when you're ready. The result will be a page of XML. Copy the URL for this page, and navigate back to Canvas, pasting the URL into the Config URL field. Save your changes.
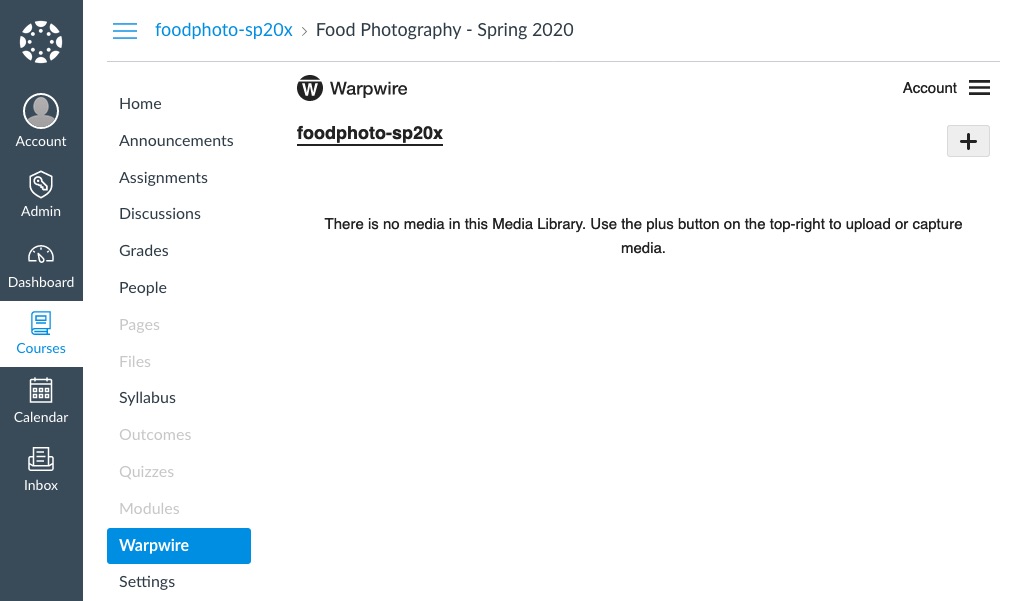
After a page refresh, you should see "Warpwire" in the left-side navigation.
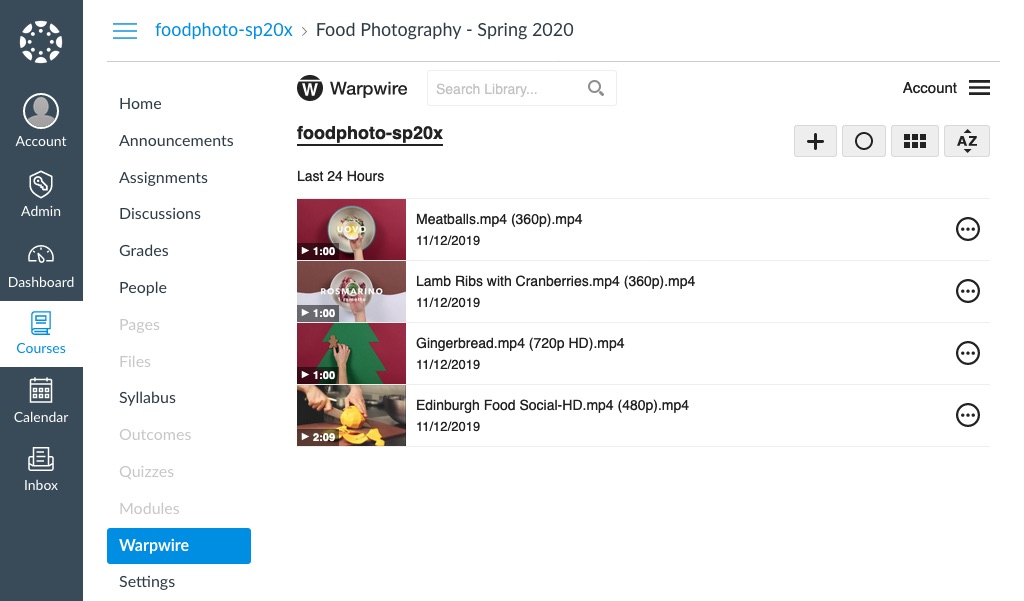
Now that the Warpwire tool is installed, click the "Warpwire" link in the left-side navigation to go to the Media Library for your course. It will be empty.
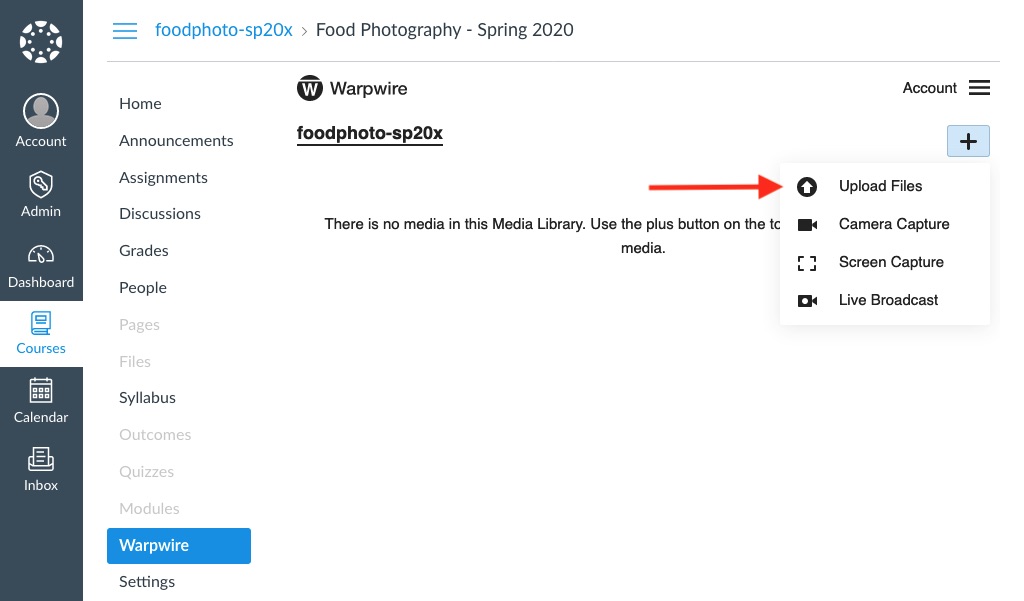
Click the plus icon in the upper right of the Warpwire frame, and select "Upload Files" from the dropdown menu to upload files from your device. There are additional options if you wish to record your screen or a webcam.
Now select files and upload them to the course Media Library.
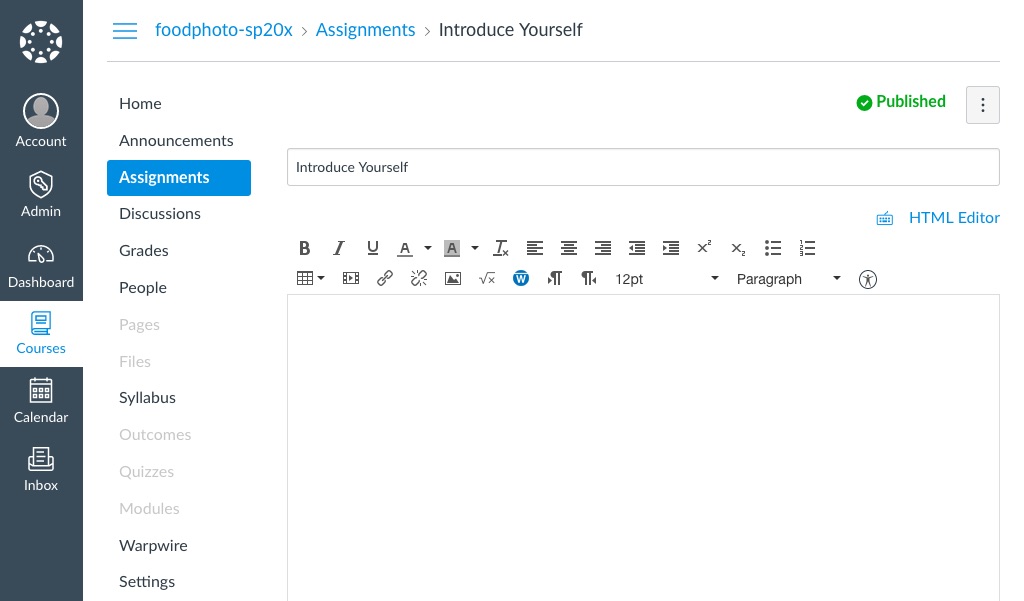
Let's go to the discussion section of the course and embed some of the files we just uploaded.
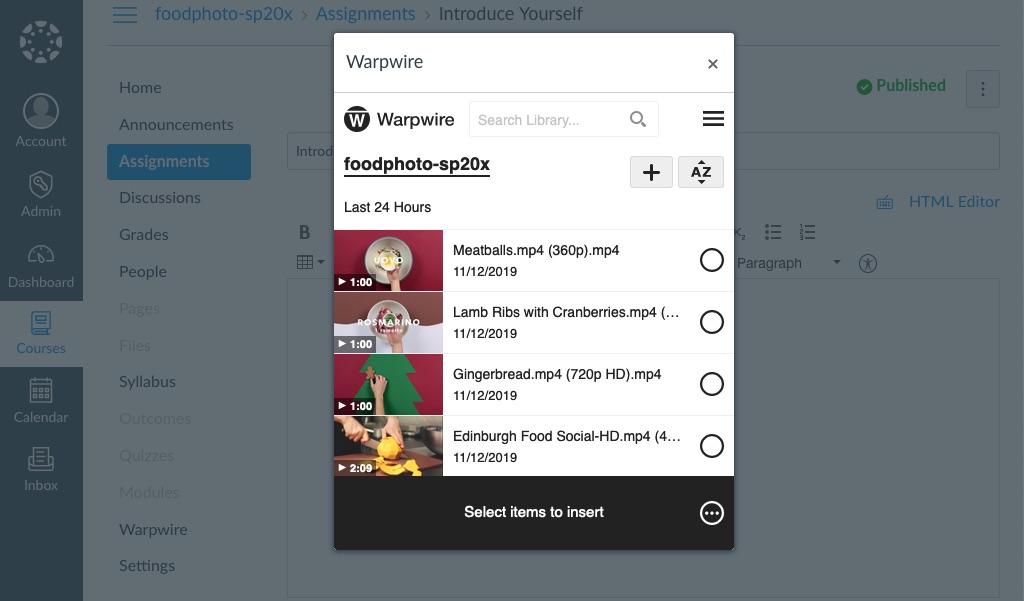
When you click on the Warpwire button from within the text editor a popup will appear, showing your Media Library.
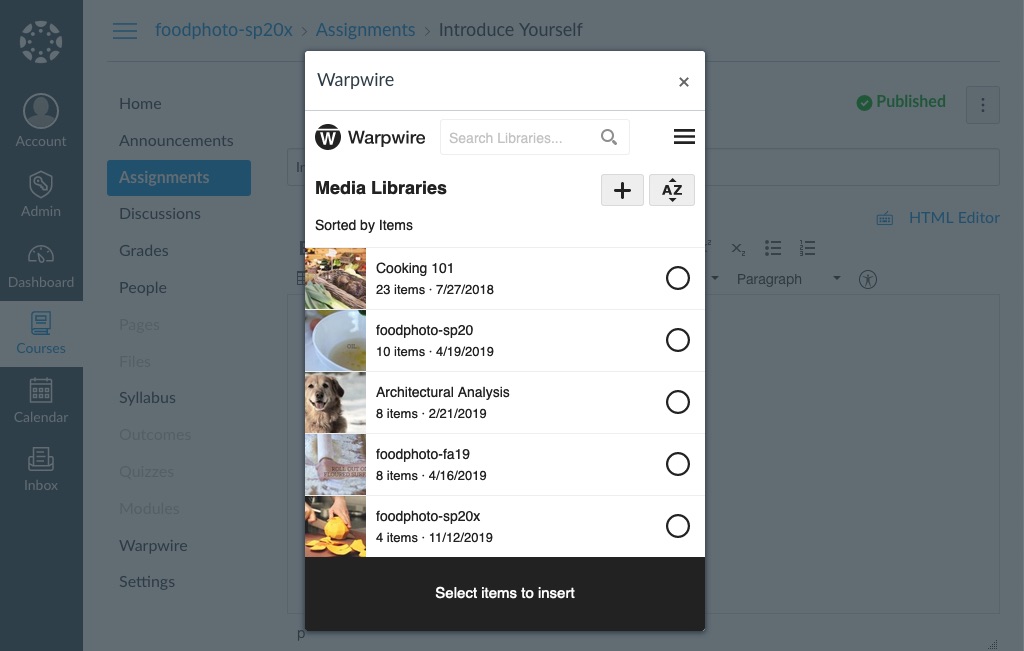
One of the benefits of Deep Linking is the ability to insert content from any of your Media Libraries, not just the Library for the course you are in.
If you click the name of the Library in the upper left of the popup window, you'll see a drop down menu listing all of the Media Libraries you have access to. You can navigate to any of them to select content to embed.
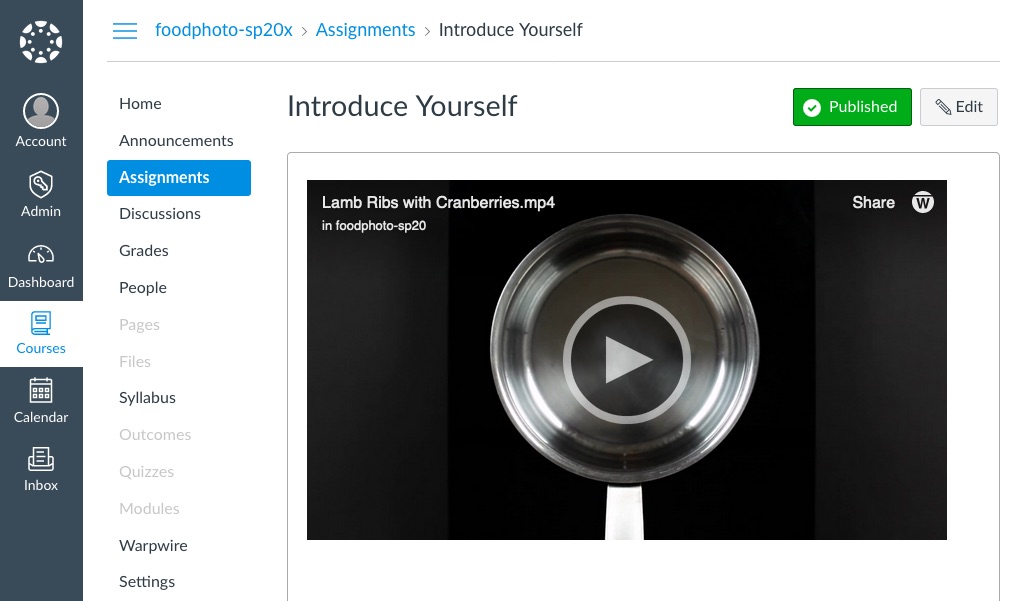
Here's the video embeded in a published discussion post:
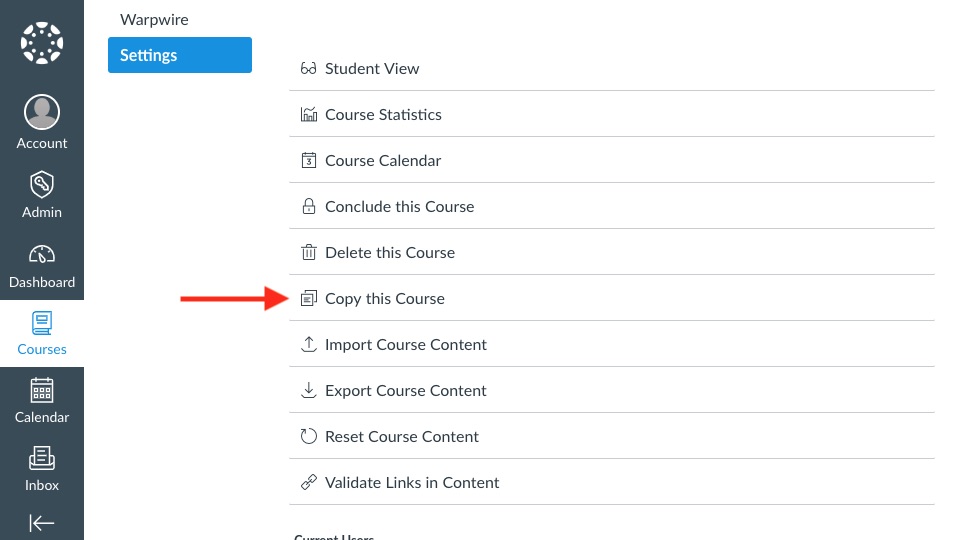
Deep Linking allows you to copy a course without having to manually share old Media Libraries with the new set of students. Let's take a closer look.
First, click the "Settings" link in the left-side navigation. Then, click the "Copy This Course" link on the right side of the page.
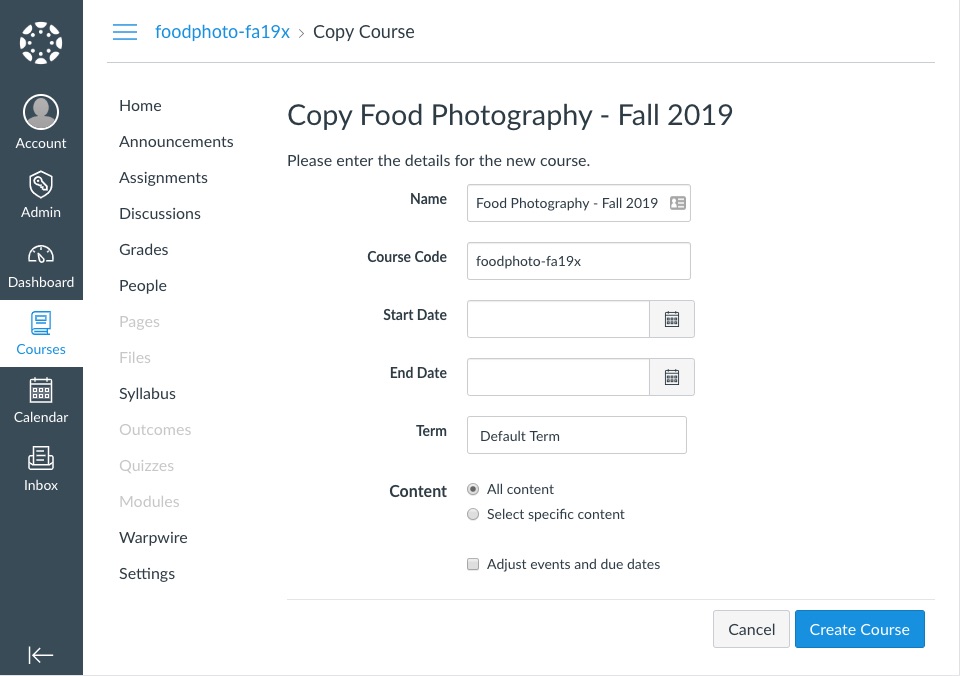
Now give your new course a name and click "Create Course."
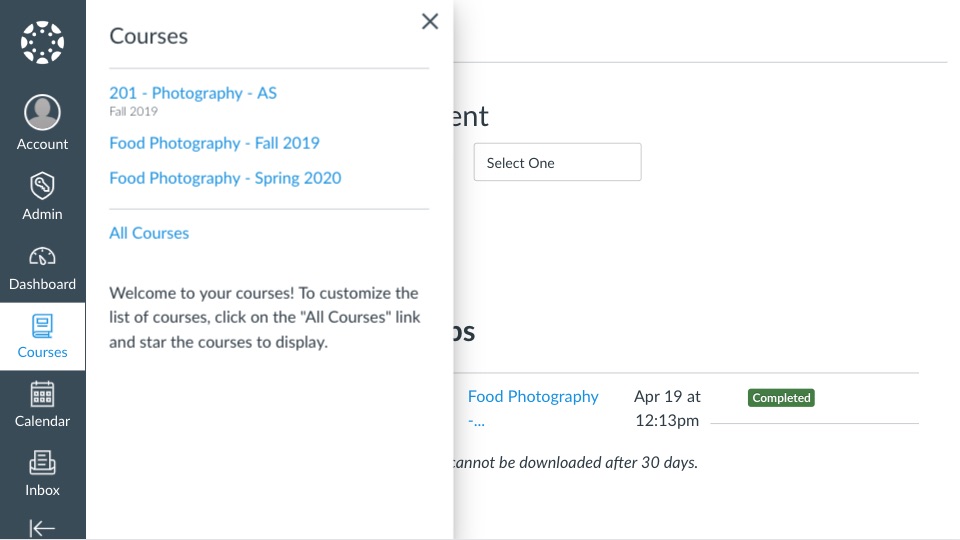
Once the new course is copied, navigate to it.
If you click on the Warpwire link in the left-side navigation, you'll see a new, empty, Media Library. That's because this is is a new course (even though the Canvas content has been copied).
Let's upload a video to the new Spring 2020 copy of the course:

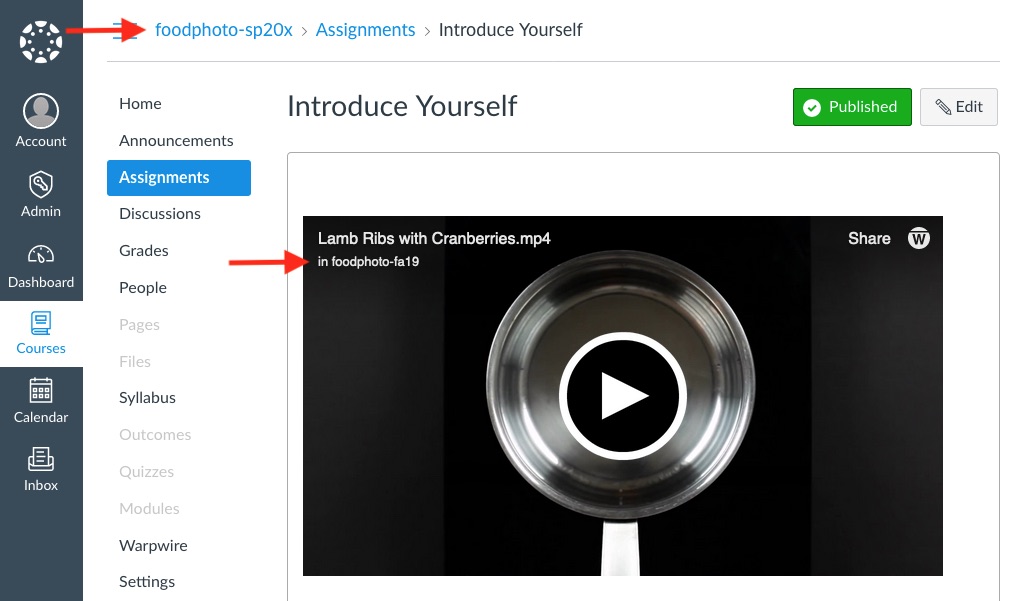
Now let's go back to the discussion post from the original Fall 2019 version of the course. The video, which is part of the old Fall 2019 Library, is visible to the members of the new Spring 2020 course, thanks to Deep Linking. Even though the Fall 2019 course has different students, they are automatically granted access to the old Fall 2019 assets.
Additional content can be embedded from the current Food Photography Spring 2020 Library or any other Library that you have access to!
These are the two main benefits of Deep Linking: when you copy a course old videos are automatically accessible to new students (without work on your part) and you can embed content from ANY of your Media Libraries, not just from the Library of the active course.
See also: Configuring the Canvas LTI Plugin, Turn on Warpwire for your course and Upload and Insert Media.