The steps to add the Warpwire plugin to a Canvas instance are as follows.
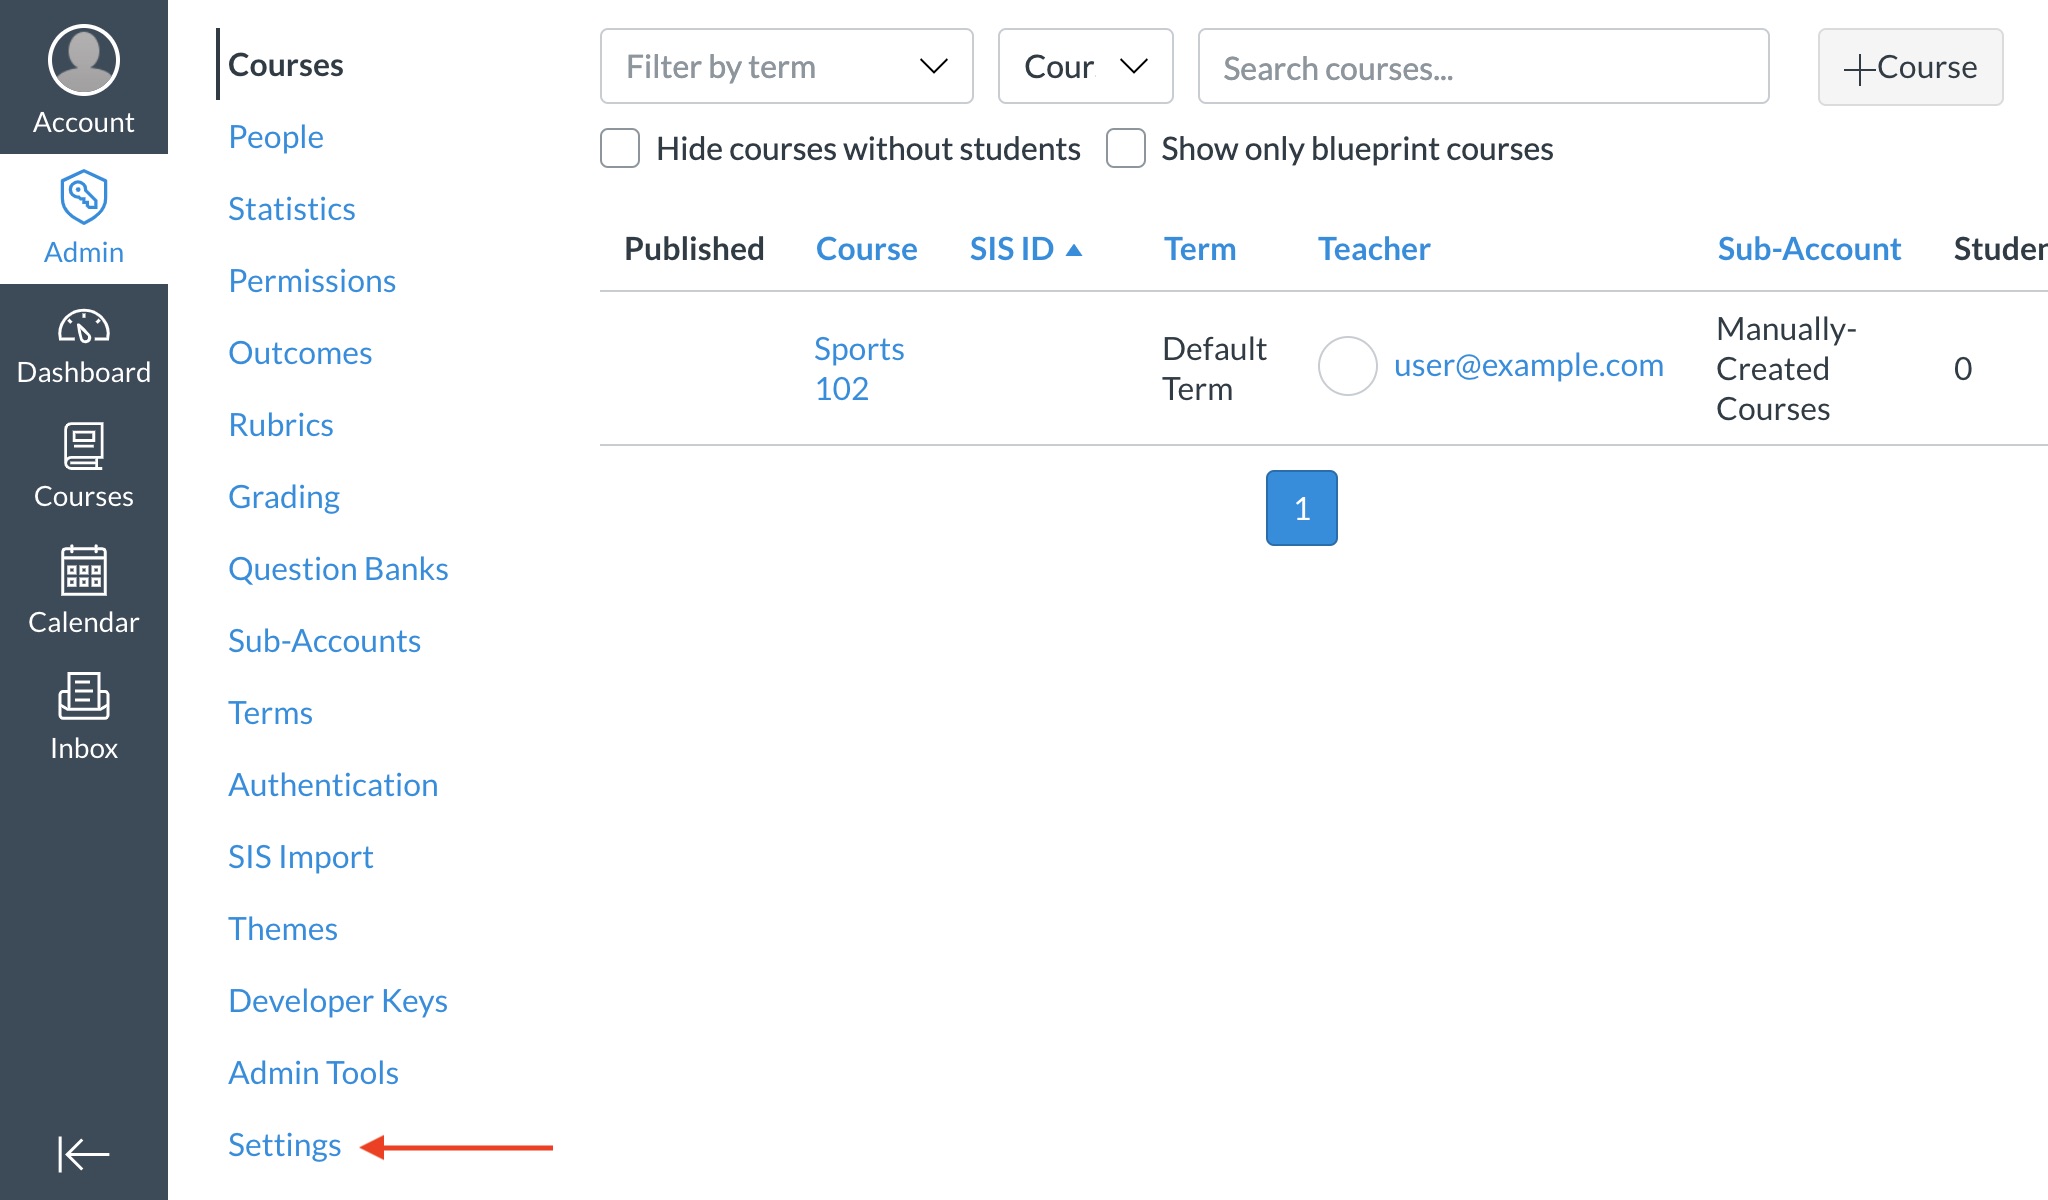
You can either add Warpwire to one of your courses individually, or globally, such that all courses under a Managed Account will have access to Warpwire. To add Warpwire globally, click the 'Courses' tab, and then select the Managed Account for which you want to add Warpwire. To add Warpwire to just one course, click the 'Courses' tab, and then select the course for which you wish to add Warpwire (the following steps will be identical, regardless of which option you choose).
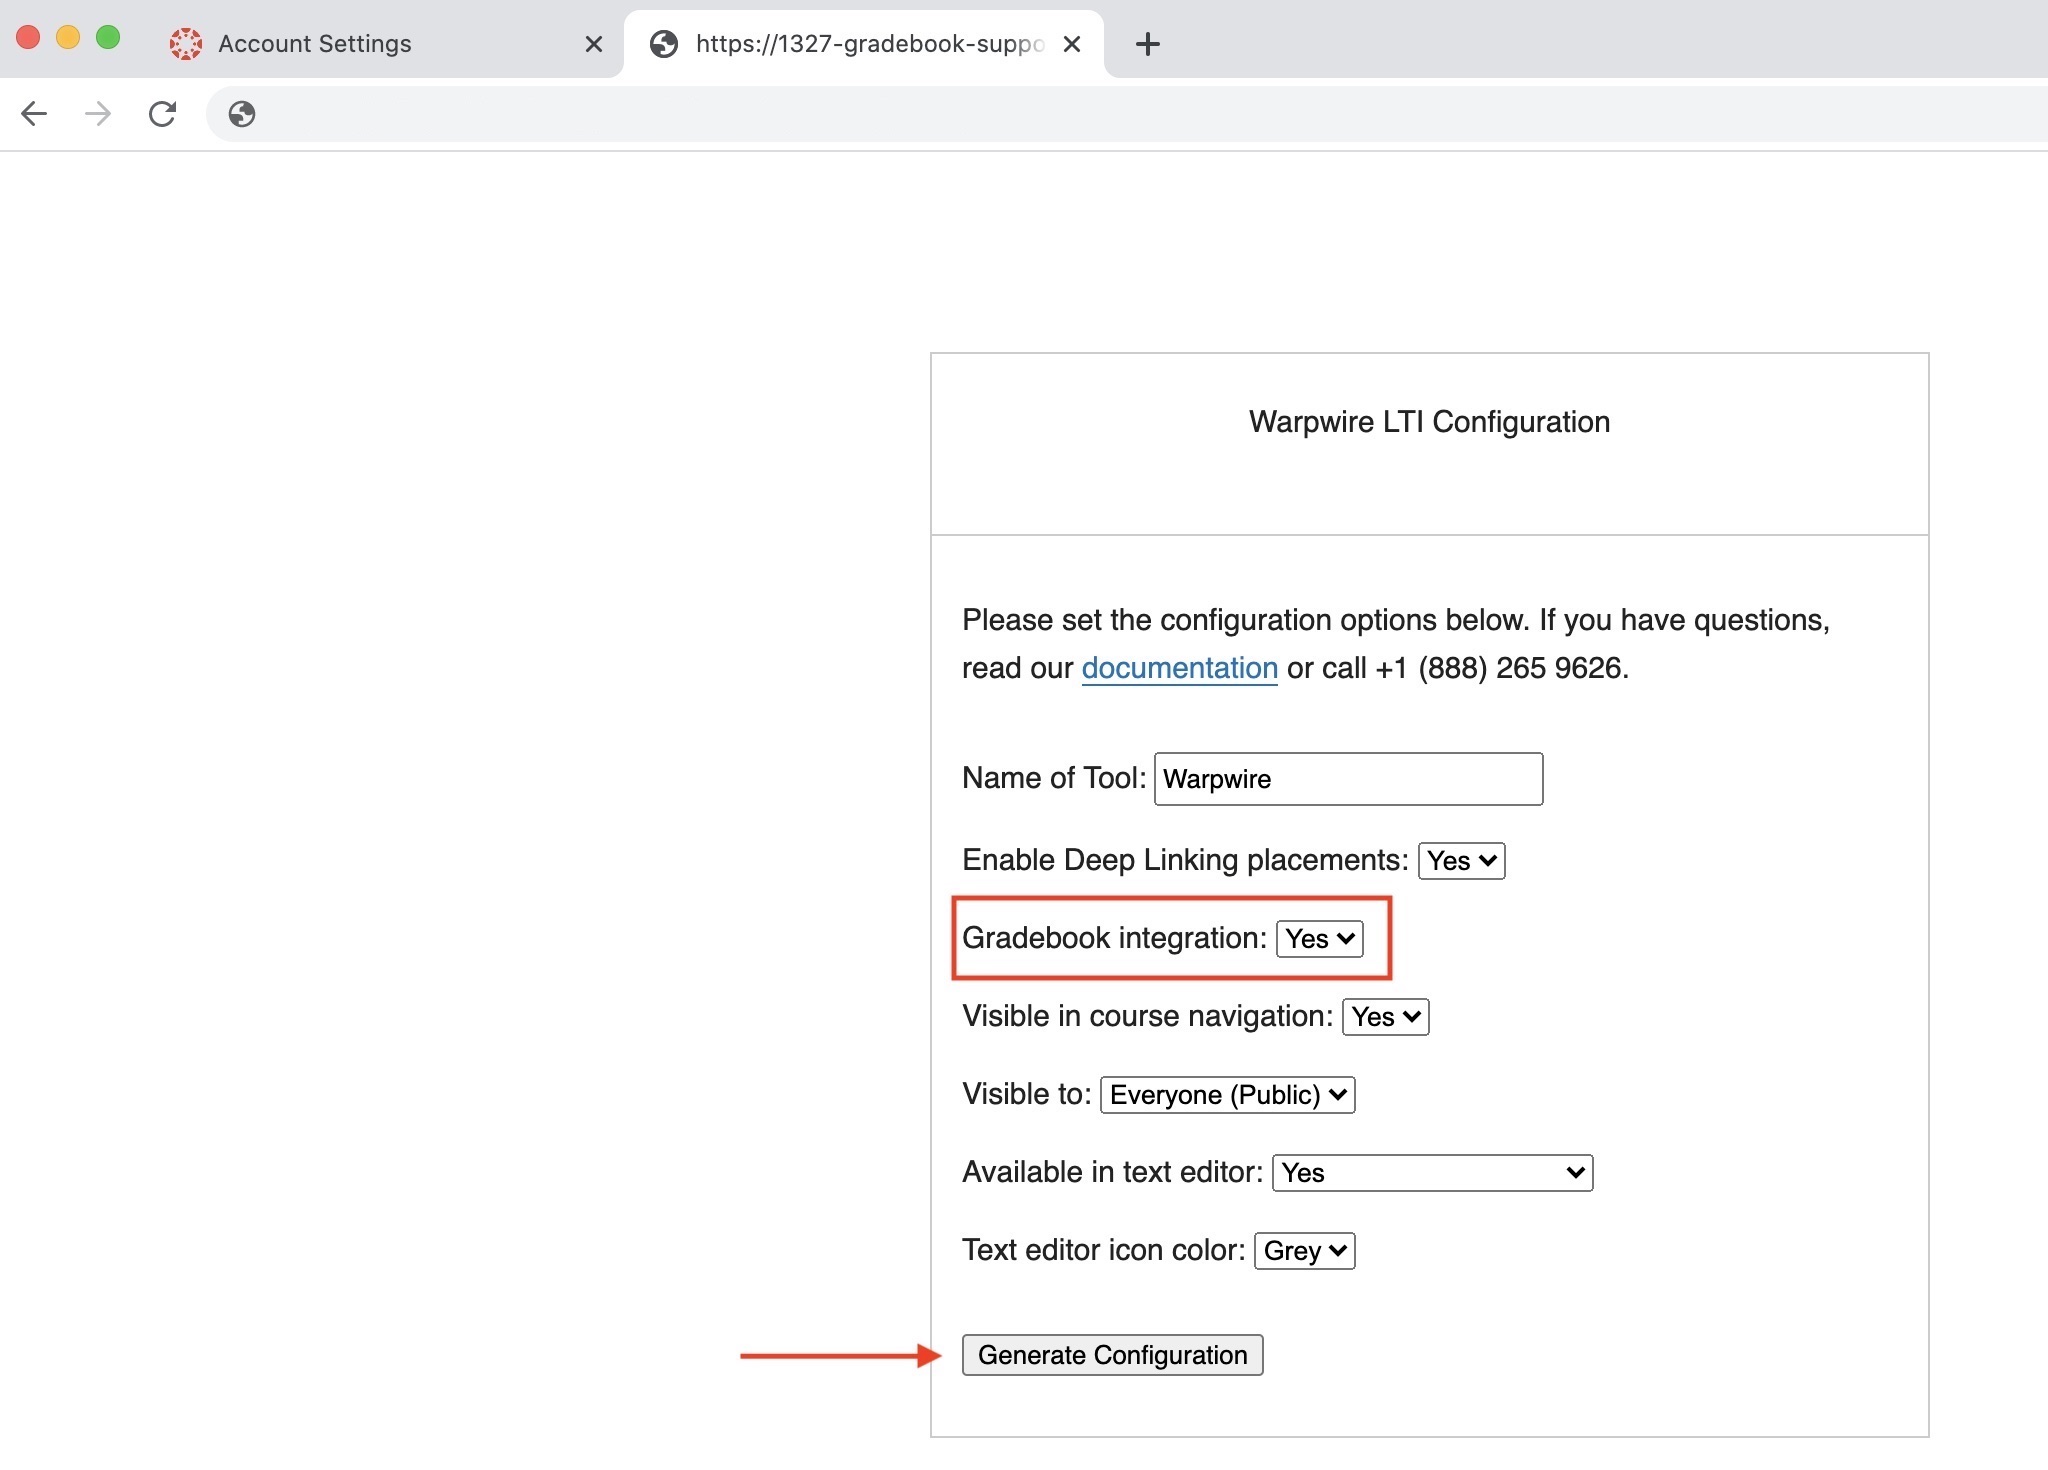
https://[YOUR-WARPWIRE-URL]/p/configureLTI/ and choose your settings. For example, if your Warpwire site is located at: https://warpwire.example.com", your [YOUR-WARPWIRE-URL] would be "warpwire.example.com". Note: If you would like to enable the gradebook function, be sure to select "Yes" from the drop-down menu.
Then click "Generate Configuration".
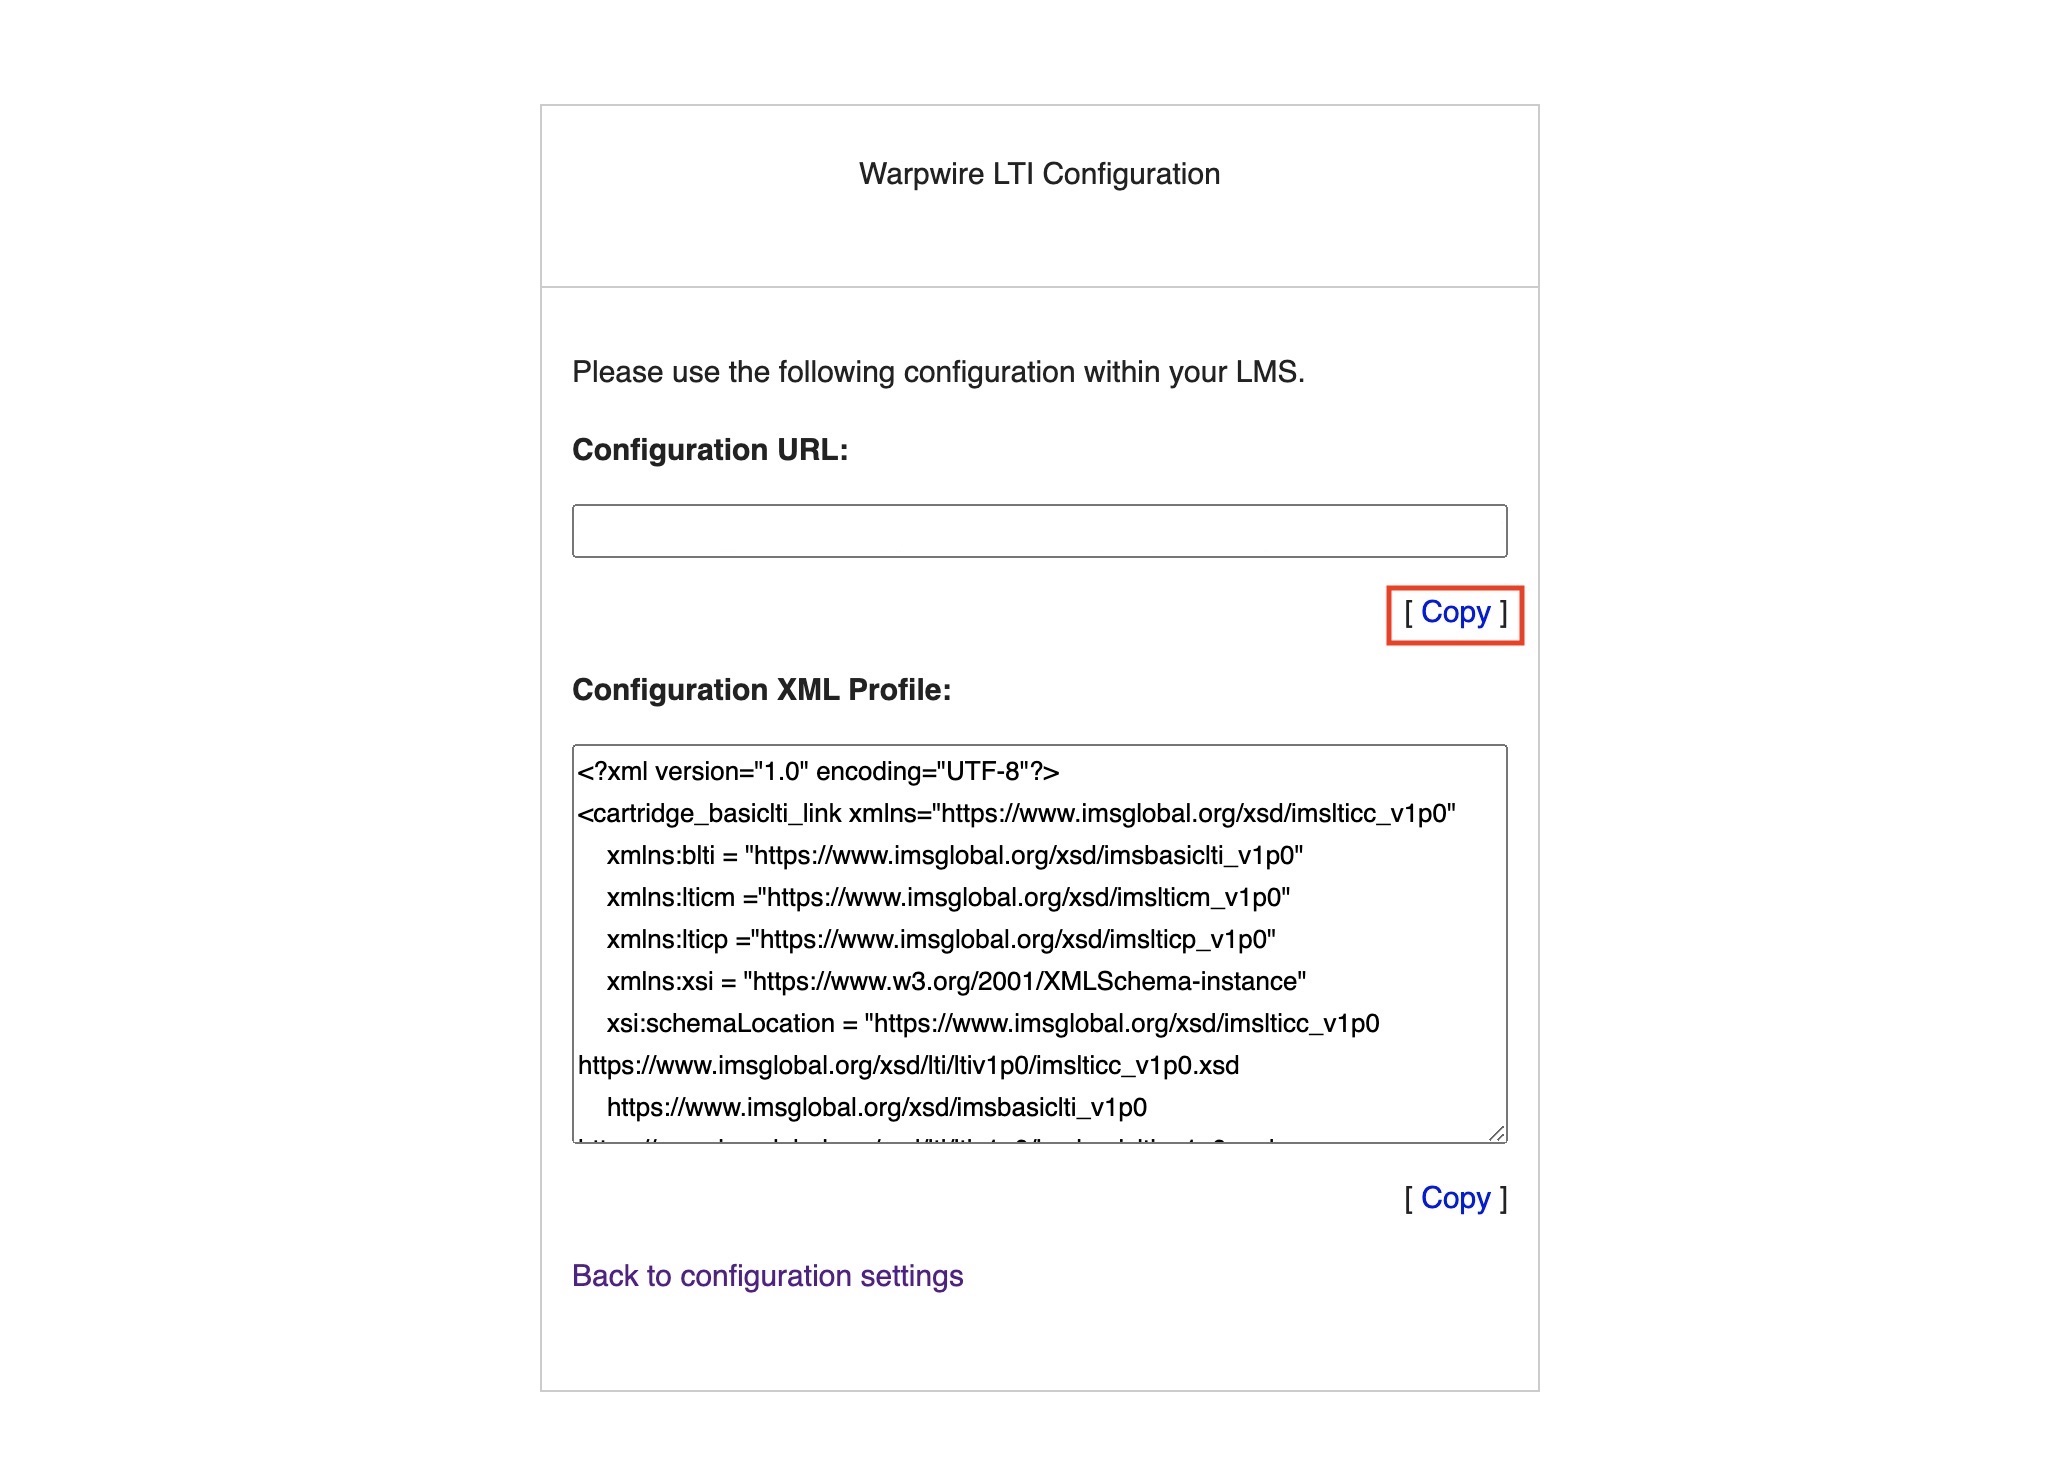
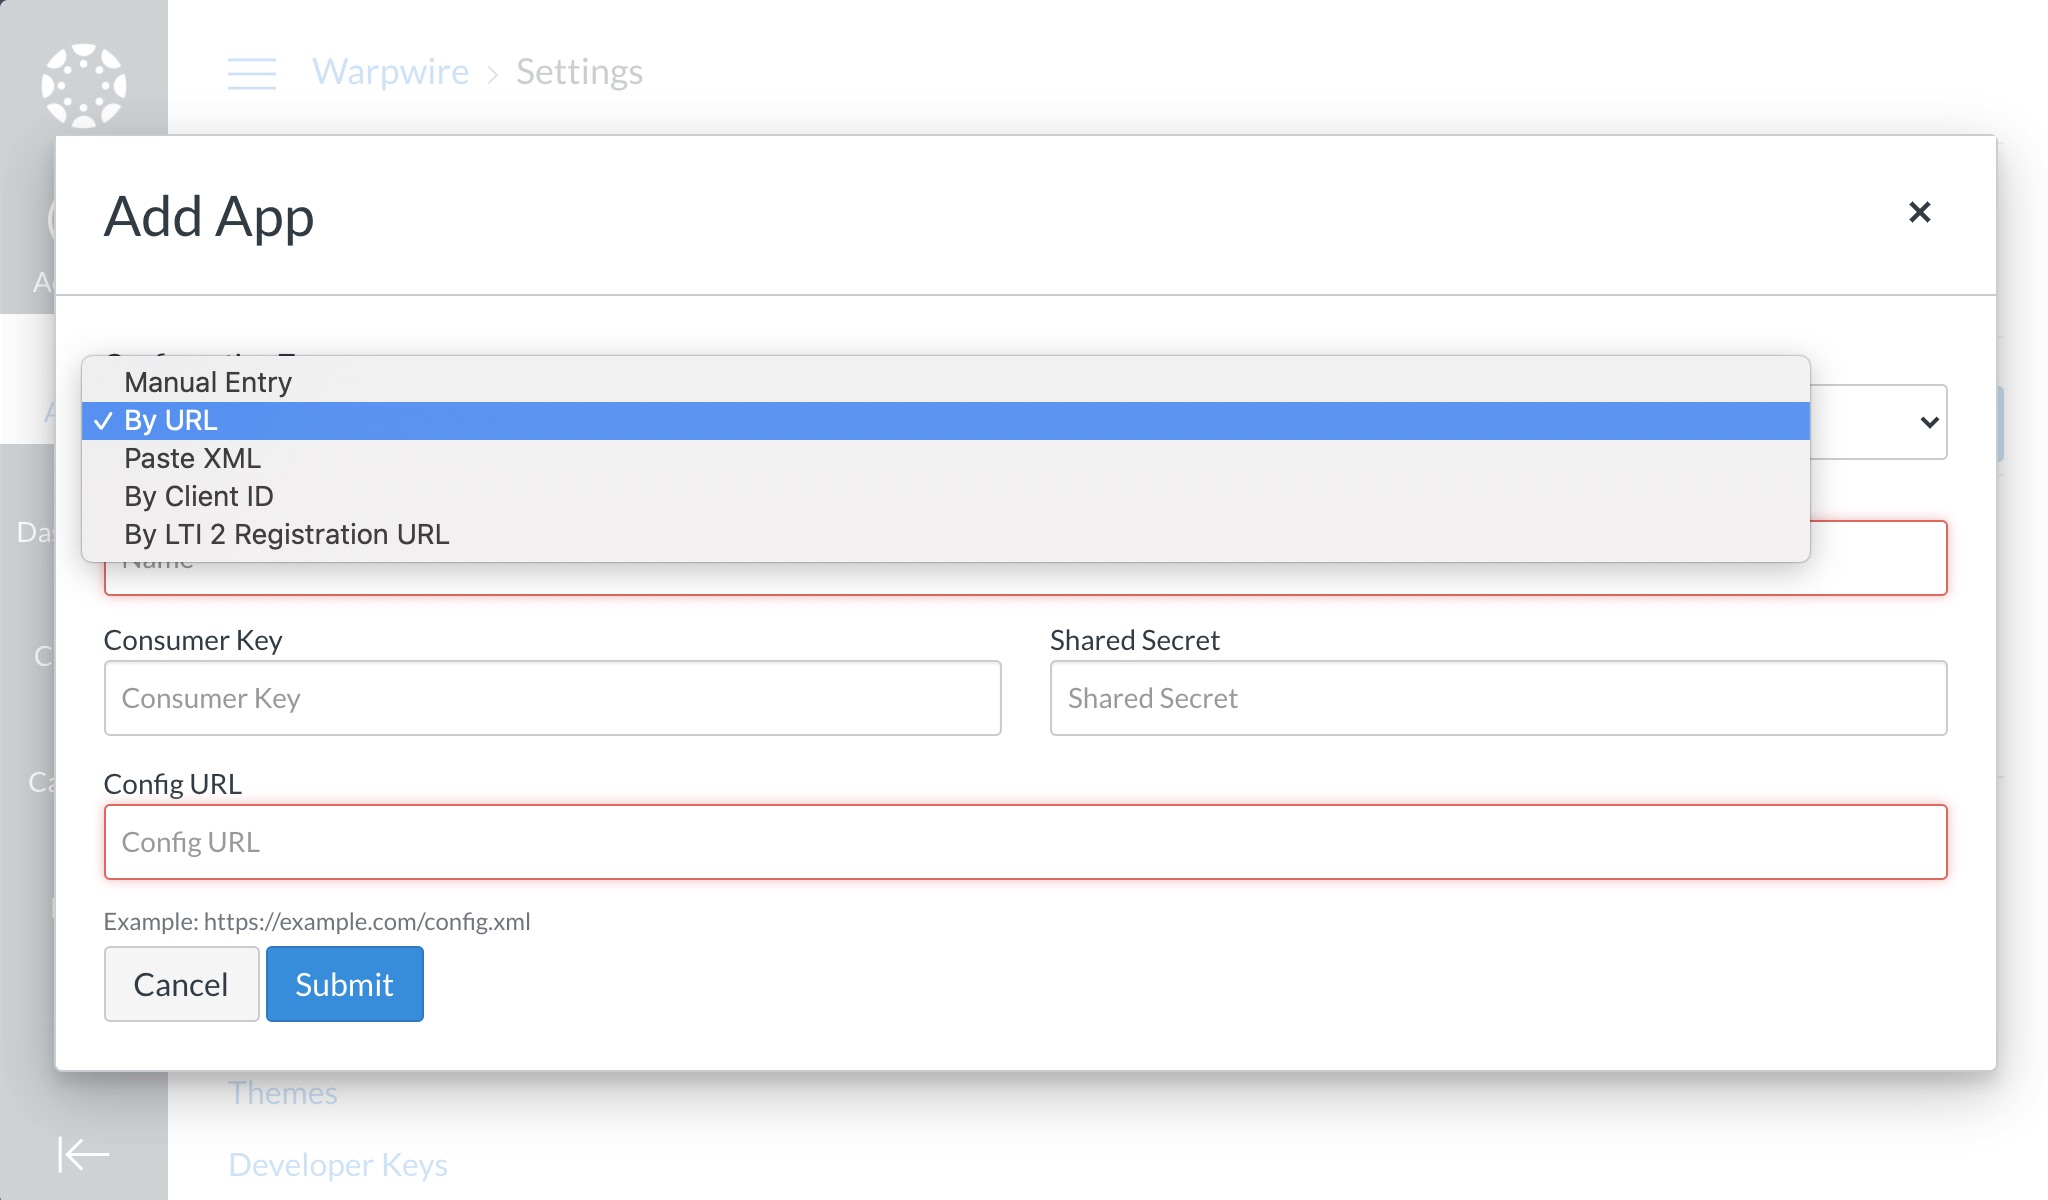
[[WW_CONSUMER_KEY]] and Shared Secret as [[WW_SHARED_SECRET]]. 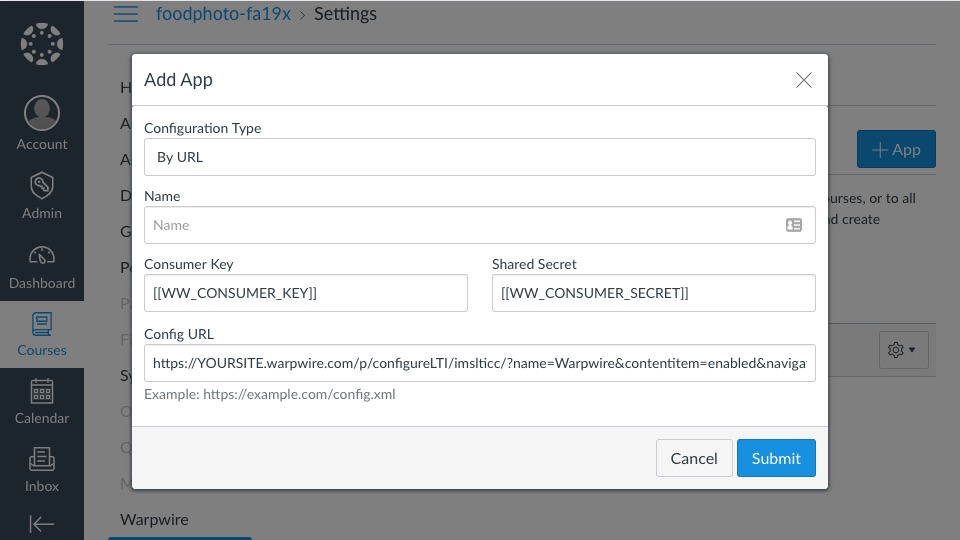
https://[YOUR-WARPWIRE-URL]/p/configureLTI/imslticc/?name=Warpwire&contentitem=enabled&navigation=enabled&visibility=public&editor=yes&editor_color=blue&endpoint=new See also: Turn on Warpwire for your course in Canvas.