If you would like to use Warpwire from within the rich text editor, it's best to add the Warpwire tool as a Blackboard Mashup. Follow the directions below to configure Warpwire accordingly.
- First, you will need to have Ocelot installed. Please consult Ocelot's documentation directly for additional detail on the installation process.
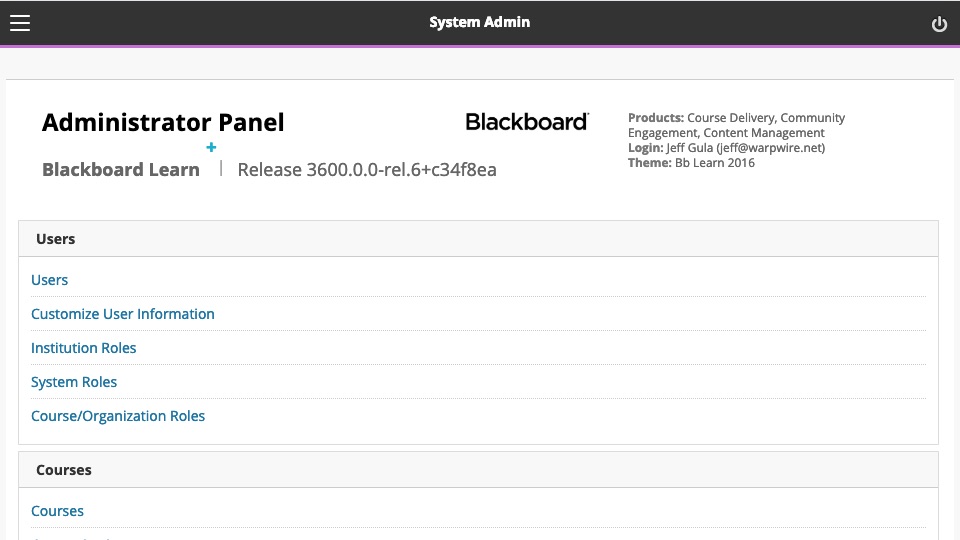
- Next, go to "System Admin" within Blackboard.
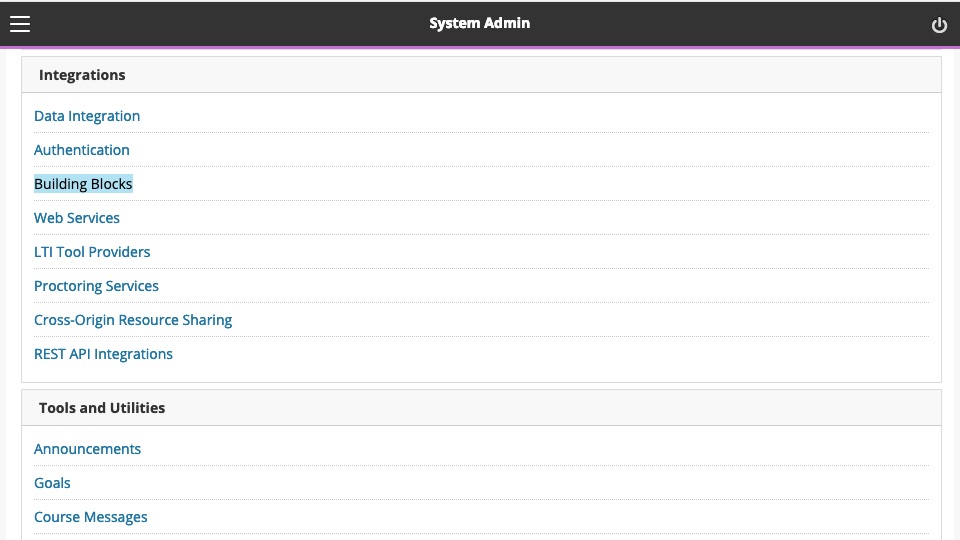
- Now click the "Building Blocks" link beneath the 'Integrations' subheader.
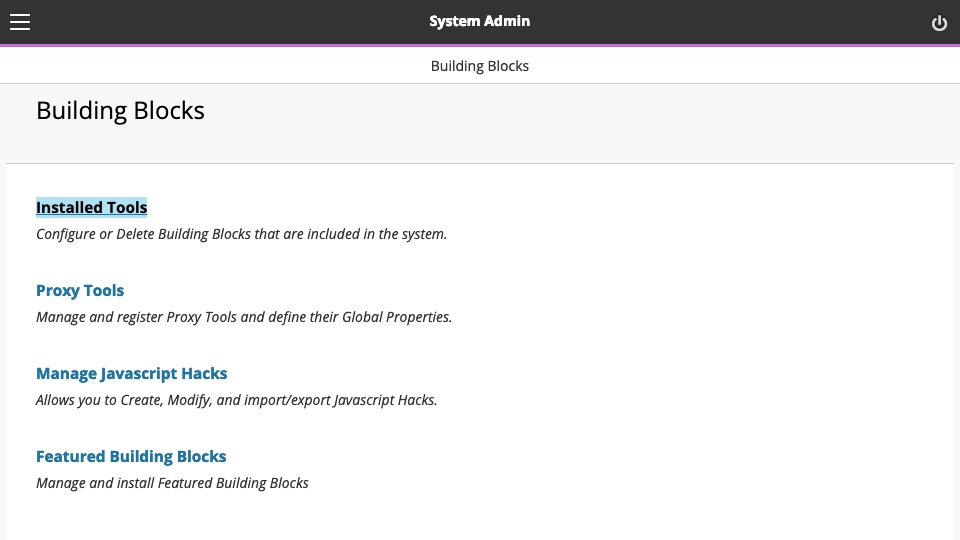
- Now click the "Installed Tools" link on the Building Blocks page.
- You'll see a list of tools. Scroll until you find "Basic LTI Tools." Check the box next to it, then select and click "Settings" from the Basic LTI Tools dropdown menu.

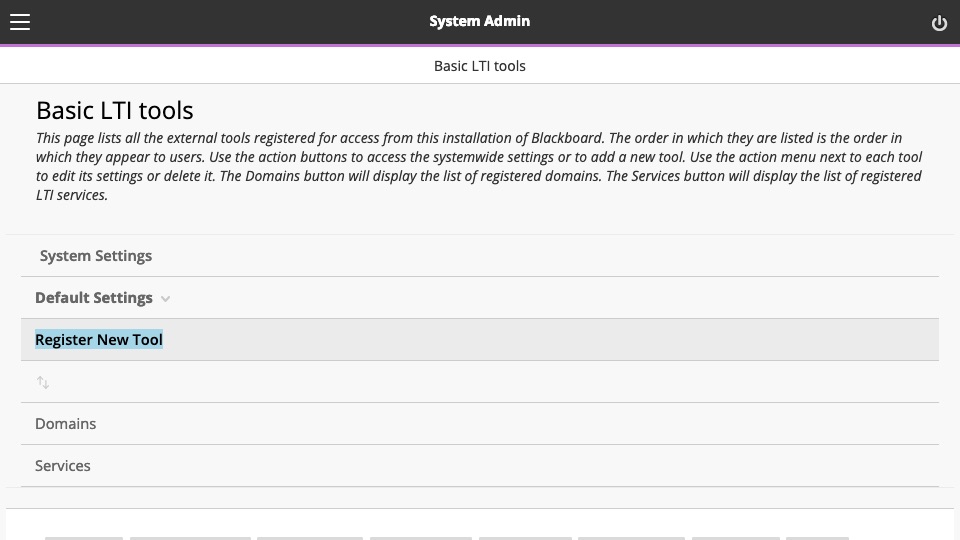
- From the LTI Tools page, click the "Register New Tool" button.
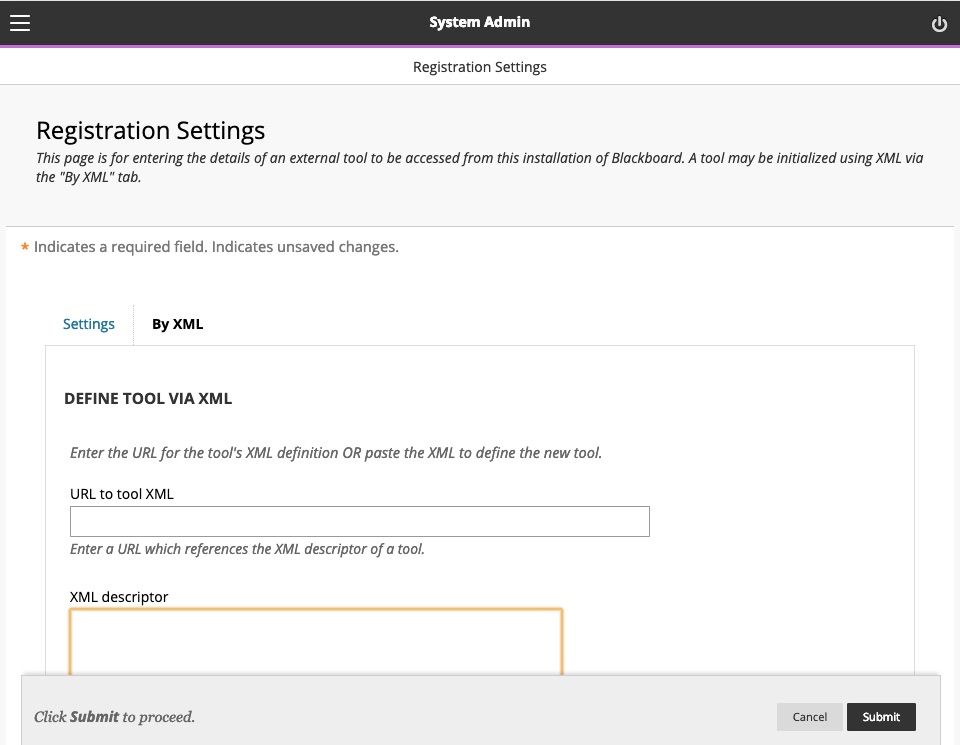
- You'll now select the "By XML" tab, and paste the XML provided by Warpwire into the 'XML Descriptor' field. You can find the XML code on our GitHub page. Navigate to GitHub to read detailed configuration instructions. When you're done, click "Submit."
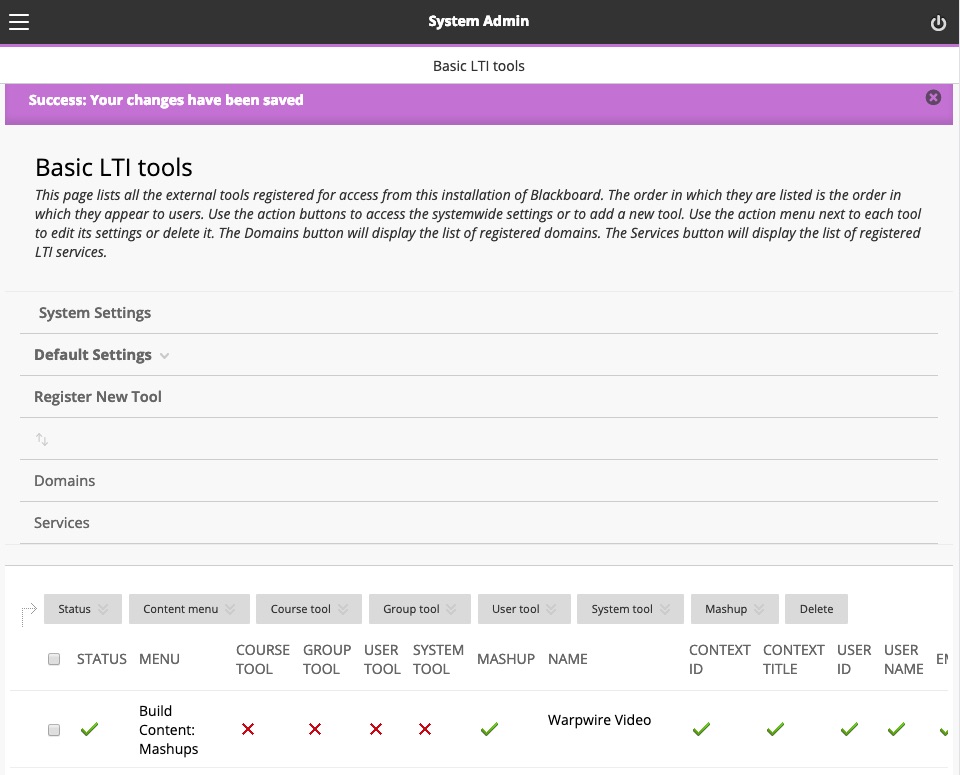
- Once you click "Submit" you'll be brought back to the list of LTI Tools. You'll scroll down until you find Warpwire, click the check box next to it, click the "Status" button, and select "Enable" from the dropdown menu.
- The page will reload. Scroll down until you find Warpwire again, click the check box next to it, click the "Content Menu" button, and select "Build content: Mashup" from the dropdown menu.
- The page will reload. Scroll down until you find Warpwire again, click the check box next to it, click the "Mashup" button, and select "add as mashup" from the dropdown menu.
- When you are done with these three settings, the Warpwire tool row should like the screenshot below:
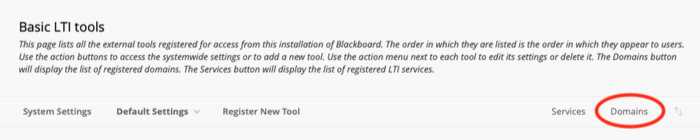
- Scroll to the top of the page and click the "Domains" link on the top-right
- Click "Register New Domain"
- Set the Domain Name to
[YOUR URL].warpwire.com - The Consumer Key and Shared Secret will be provided by Warpwire
- Leave all other options as default and click "Submit."
- Check the checkbox next to the
[YOUR URL].warpwire.com domain and under "Status" click "Approve" 
- Please ensure you are seeing the same green check marks as above, and if not, simply click the arrow next to the domain and select "Edit data settings" and check/select the following and click "Submit:"
- Context ID
- Context SourcedId
- Context Title
- User ID (Required by tool)
- SourcedId
- User name (Required by tool)
- User Roles
- You should now see "Warpwire" listed under Mashups within the rich text editor.
See also: Install the Warpwire LTI Tool in Blackboard.