Asset owners and Media Library admins can replace an asset with a new version.
When an asset is replaced, any links to the old version of the asset will automatically display the new replacement file. While links remain the same, the new asset will have a fresh set of analytics, beginning at the moment of replacement.
If you've made copies of an asset to several Media Libraries, and then replace that file, only the copy you replace will change – the copies in other Media Libraries will still be the original version of the file.
To replace an asset, navigate to the Media Settings window for that asset, by clicking the three dots ![]() to the right of the asset title, then click "Settings".
to the right of the asset title, then click "Settings".

Once the Media Settings window is open, if you're the asset owner or Media Library admin, you will see a "Replace Media" link in the upper-left of the screen.
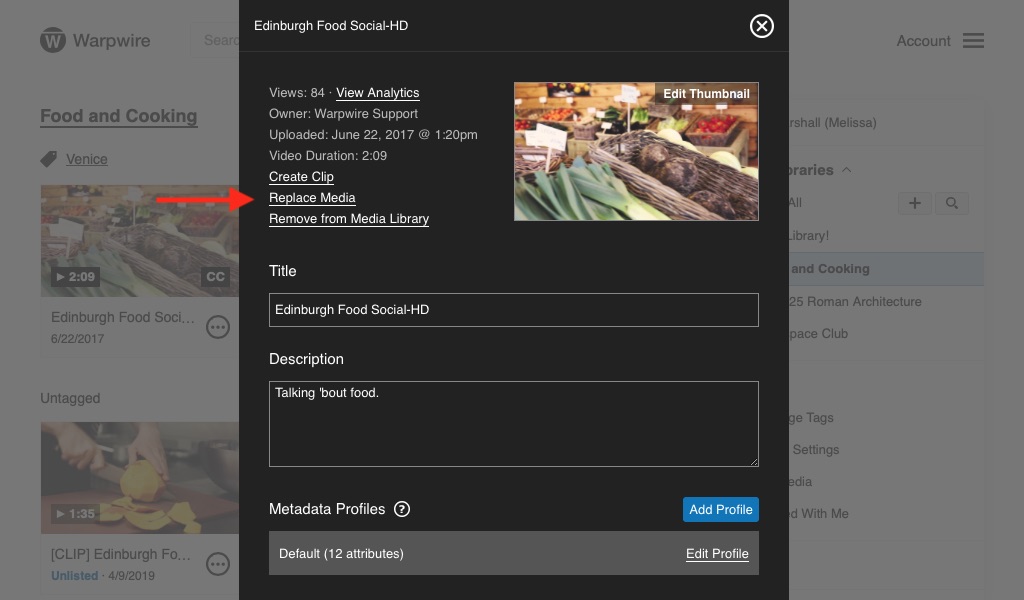
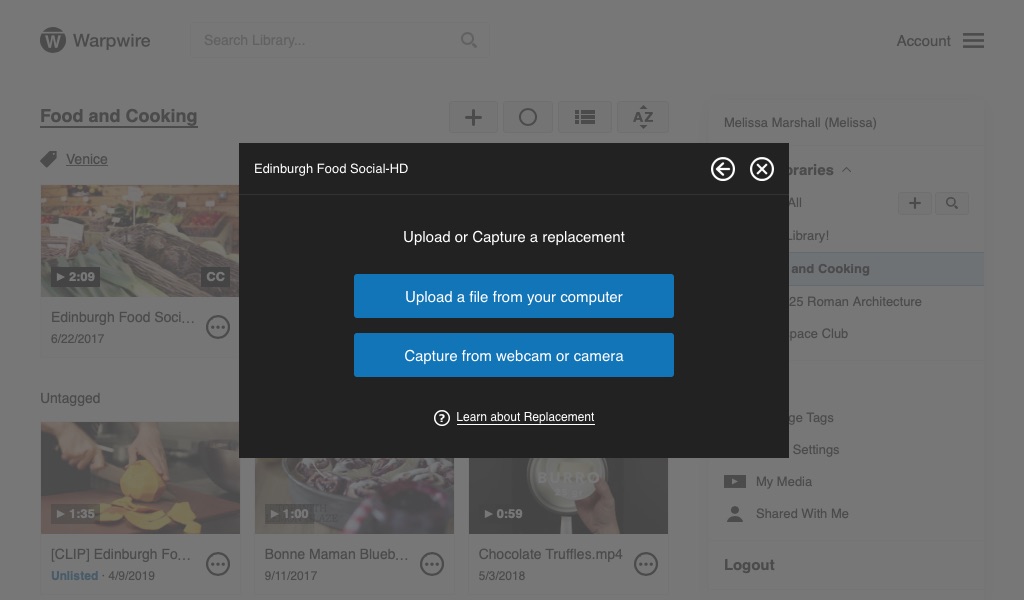
Click "Replace Media." You'll now be asked to either upload or record a replacement.
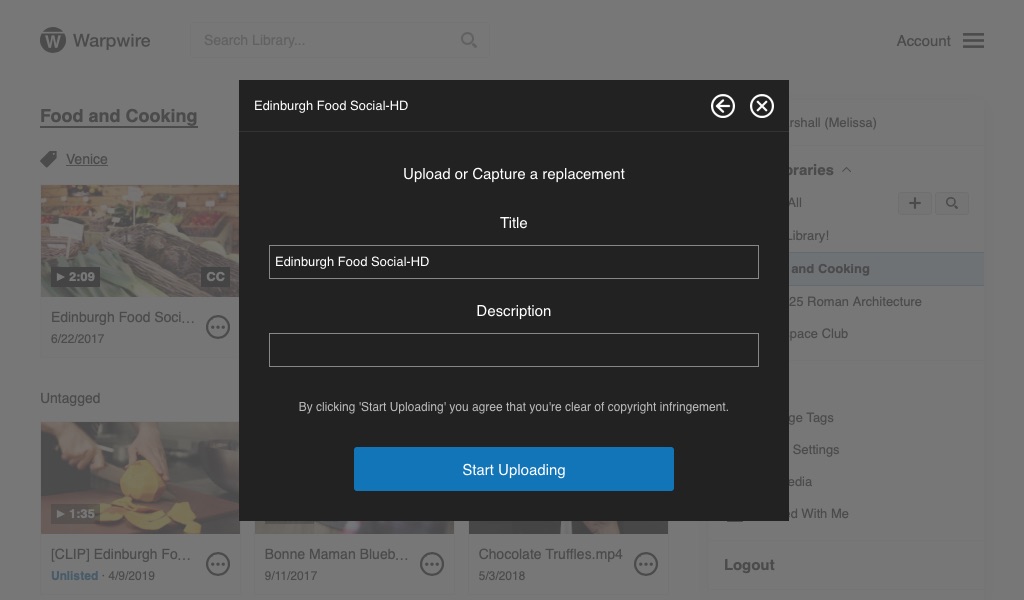
Once you've uploaded or completed the recording, you'll be able to give it a new title and description.
Now that the asset has been replaced, anywhere the original asset was embedded will show the replacement asset, and any links to the original asset will now point to the replacement.
The replacement asset's title and description will override the original asset's title and description.
Note: Depending on your Media Library sort order, your replacement file may appear at the top of your library view, because it is technically the "newest upload," despite it replacing an older file.
From the Media Info page you can also: Choose a Custom Thumbnail, Attach Closed Captions, Add Tags, Change owner, View Analytics, and Remove from Media Library.